This article was co-authored by wikiHow Staff. Our trained team of editors and researchers validate articles for accuracy and comprehensiveness. wikiHow's Content Management Team carefully monitors the work from our editorial staff to ensure that each article is backed by trusted research and meets our high quality standards.
There are 9 references cited in this article, which can be found at the bottom of the page.
This article has been viewed 416,166 times.
Learn more...
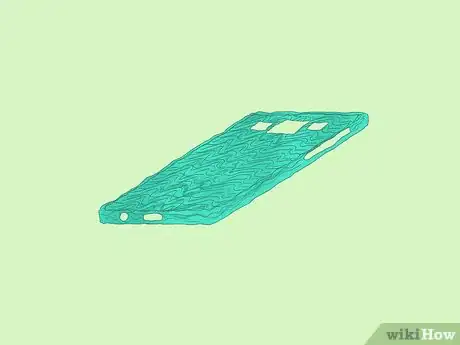
Cell phones come in many shapes and sizes, and finding a case to fit your phone can sometimes be tricky and expensive. Luckily, making a custom cell phone case is easier than you'd think. You can easily make a case at home using a hot glue gun or some silicone and cornstarch. You can also make a simple slip cover out of felt. If you already have a plastic case, then why not decorate it to make it stand out?
Things You Should Know
- Create your own phone case using hot glue, silicone that you can buy from a home improvement or crafts store, or felt.
- You can buy many of these items cheaply, but the steps to make the cases functional are a little more intricate.
- Decorate a plastic case that you already have with puffy paint, dimensional fabric paint, or lace.
Steps
Making a Hot Glue Cell Phone Case
-
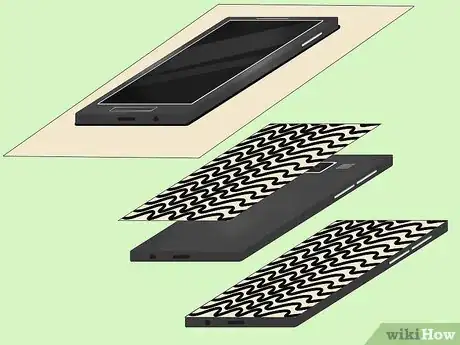
1Tape a template to the back of your phone, if desired. Making a smooth case is difficult with hot glue, so most people choose to do patterns, such as swirls or mandalas. You can free-hand the pattern, or you can trace it. If you want to trace it, do the following:[1]
- Trace your phone onto a sheet of paper.
- Draw your pattern using a black marker. Make sure the design touches the sides.
- Cut out the template along the outline.
- Tape the template to the back of your phone.
-
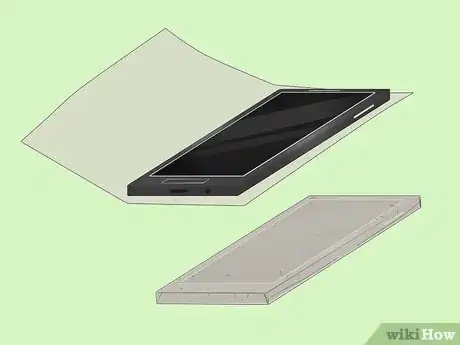
2Wrap your phone like a present with parchment paper. Cut a sheet of parchment paper that's about twice the size of your phone. Place your phone on top, with the screen facing up. Wrap the paper over the side edges of your phone, then secure them with a piece of tape. Wrap the top and bottom edges, and secure them with tape as well.[2]
- Wrap your phone as tightly as you can.
- Make sure that the phone is turned off first to prevent overheating.
- Make sure that you are taping everything on the front of the phone.
Advertisement -
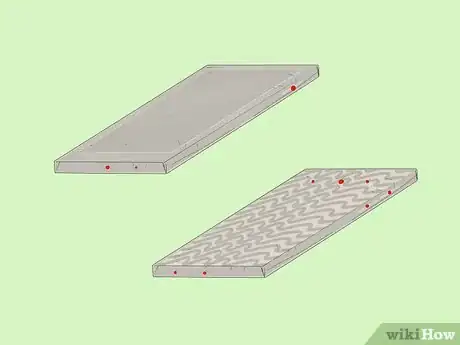
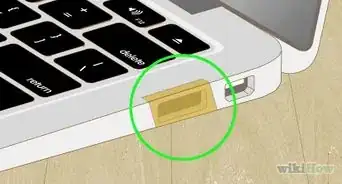
3Mark off the camera, sockets, and buttons with a pen or colored pencil. These will be your guidelines so that you don't accidentally cover them with hot glue.[3]
- Make sure that the color you use shows up against your phone.
-
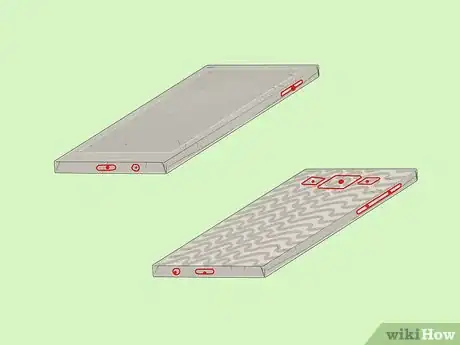
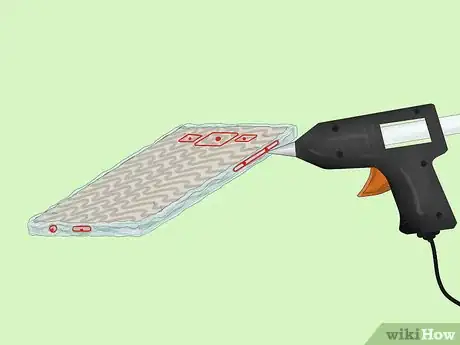
4Outline the sockets, buttons, and camera. This also includes the speaker and mic holes as well. If you cover them up, you don't be able to use your phone properly.[4]
-
5Fill in the side edges. Make sure that you make them nice and thick. Also, make sure that you avoid the buttons and sockets.[5]
-
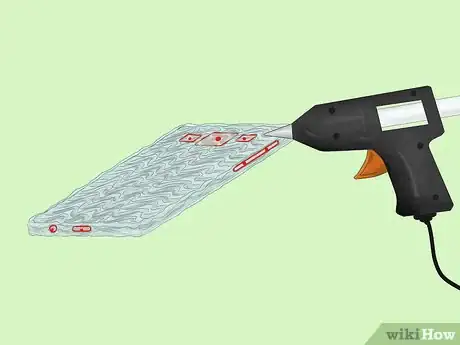
6Fill in the back. Again, hot glue is not the best medium to create a perfectly smooth case, so your best bet is to make a texture of pattern. Whichever you choose, make sure that all the lines connect to the sides of the phone as well as to each other.[6]
-
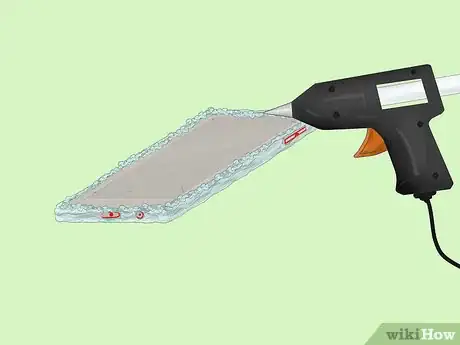
7Outline the front. You can simply draw a thin line around the front of the phone, right next to the side edge. You can also make a series of tiny dots instead. This will give your case a lip and help it stay on your phone.[7]
-
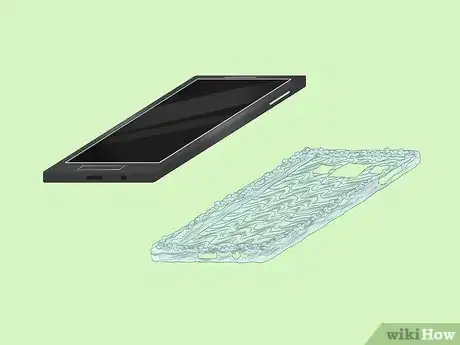
8Remove the case and the parchment paper. Once the glue has hardened, peel it off of your phone. Remove the parchment paper from the phone next. At this point, it would be a good idea to test the case on the phone. If there is any glue covering a button, socket, etc., then you can cut it away with a craft blade.
-
9
Making a Silicone Cell Phone Case
-
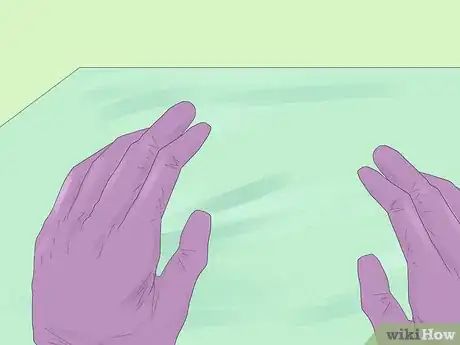
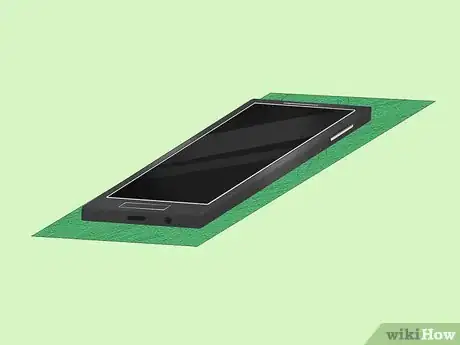
1Put on plastic gloves and protect your work surface. Cover your counter with plastic wrap, parchment paper, or wax paper. You can also work on top of a marble counter or a glass sheet instead.
- Try to work in a well-ventilated area. Silicone can have a strong odor.
- The silicone used in this method is not the same as hot glue.
-
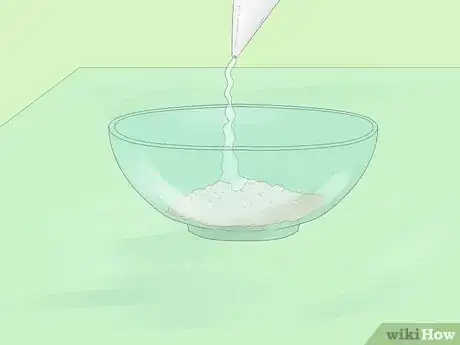
2Measure out your cornstarch and clear silicone. Pour some cornstarch onto a smooth counter or into a glass bowl, then squeeze some clear silicone onto it. The measurements don't have to be precise; you just want to have more cornstarch than silicone. Plan on using about 5 tablespoons (50 grams) of cornstarch and 2 to 3 tablespoons (30 to 40 grams) of silicone.[10]
- Make sure that you are using clear silicone. You can find it in home improvement stores. It comes in a syringe.[11]
- If you can't find cornstarch, look for cornflour. You can also use potato starch instead.
-
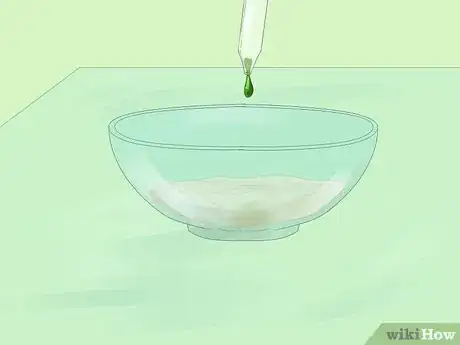
3Consider adding some color. You don't have to do this, but it a good way to make your phone case look more interesting. If you don't do this, your phone case will look white. You use a few drops of liquid dye, liquid watercolor, food coloring, or acrylic paint.
-
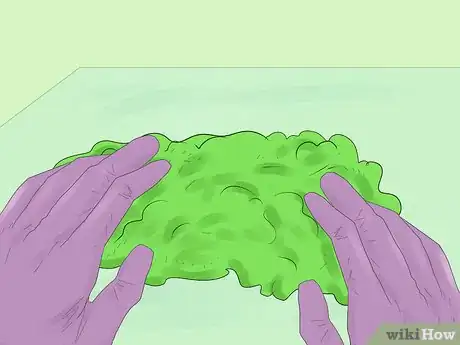
4Knead everything together until the silicone turns to dough. You will need to knead it about 20 times or so. You won't pick up all of the cornstarch, which is normal. The dough may look crumbly at first--just keep kneading!
-
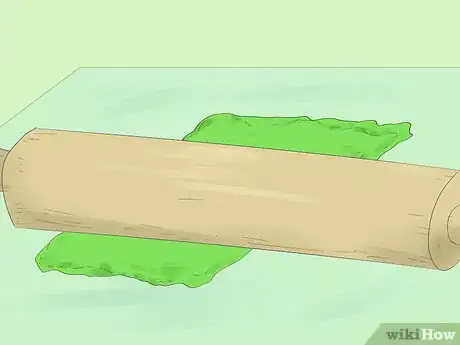
5Roll the dough into a flat sheet. You can do this with a rolling pin, a glass, a wine bottle, or even a spray paint can. Keep rolling until you have a sheet a little larger than your phone. It should be about ⅛ inch (0.32 centimeter) thick.
-
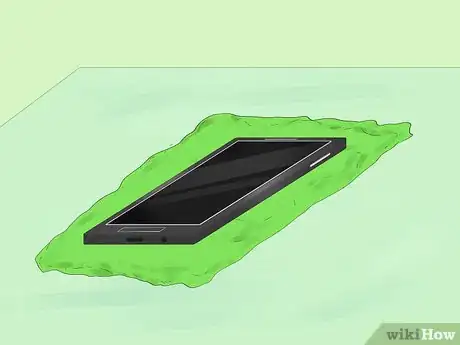
6Place your phone on top of the sheet. Make sure that your screen is facing upwards, and you have equal amounts (or close to it) of dough sticking out over each side.
-
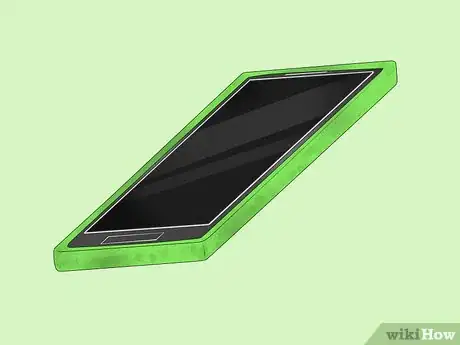
7Wrap the dough over the sides and top of your phone. Slide a paint spatula under the dough, then lift it up and fold the dough over the sides of the phone. Smooth out any creases or wrinkles; try to be as neat as possible.[12]
-
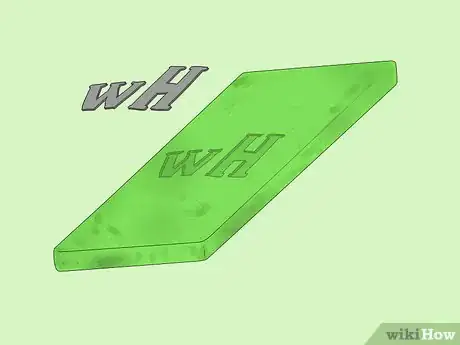
8Use stamps to indent designs, if desired. Flip your phone over and dust it with cornstarch. Use a stamp to indent designs into it. You can also use cardboard cutouts instead to create your own, unique designs. Lift the stamp away when you are done.[13]
- If you want to make a quilted design, let the silicone harden for about 10 to 20 minutes, then dust it with cornstarch. Use a knife to make cross-crossing diagonal lines in a diamond/quilted pattern.[14]
-
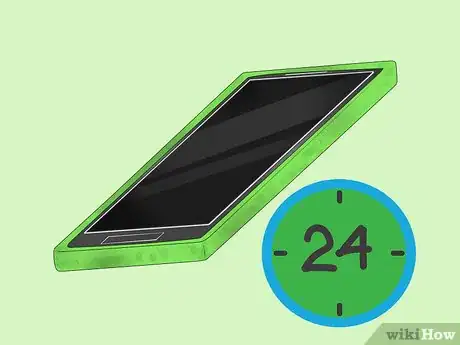
9Let the silicone dry before removing it. How long this takes depends on the type of silicone you used and the weather condition. It may take just two hours, or it may take 24 hours. Once it is dry and solid to the touch (you can't dent it), pull it off of your phone.
- If the case is dusty inside, wipe it down with a damp cloth.
-
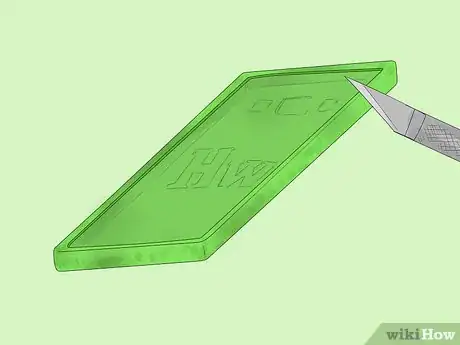
10Trim the excess silicone away from the front. Cut it about 7 millimeters away from the side edges, and 1 centimeter away from the top and bottom edges.[15] Alternatively, you can cut along the indentations caused by the seam between the phone's screen and case.
-
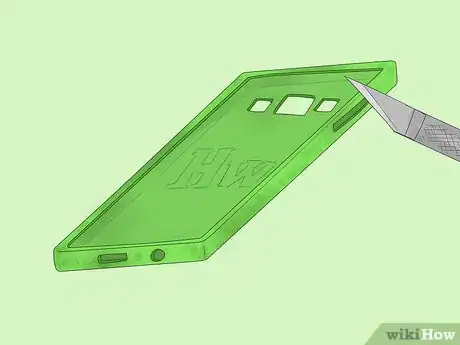
11Cut out any indentations. If you were to look inside your cell phone case, you'd see little indents caused by the camera, flash, buttons, and sockets. Cut all of these out using a sharp craft blade.[16]
- You can also carve a rectangle or trapezoid into the top and/or bottom edge for the speaker instead of cutting out a slot.[17]
-
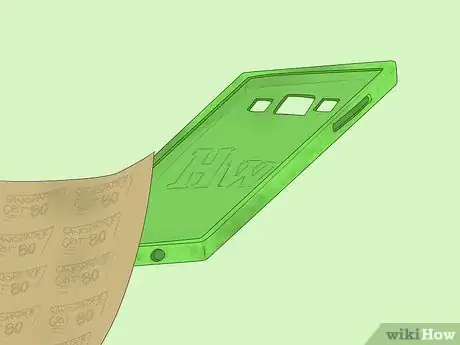
12Sand the case smooth, if desired. You can apply more raw silicone on top if you want to, then smooth it out with a paint spatula or popsicle stick.[18]
-
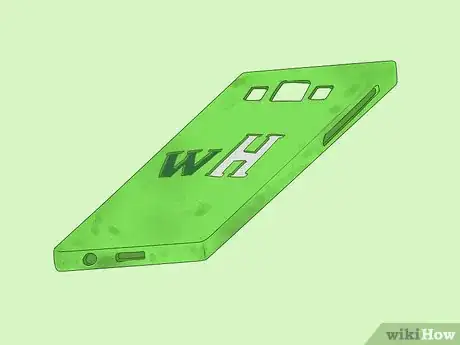
13Paint the stamped areas with nail polish, if desired. Choose a color that goes well with your case. Metallic colors, such as silver, work especially well![19]
- You can make more shapes out of silicone separately, let them dry, paint them with nail polish, then glue them to the case with a drop of clear silicone.[20]
Making a Felt Cell Phone Case
-
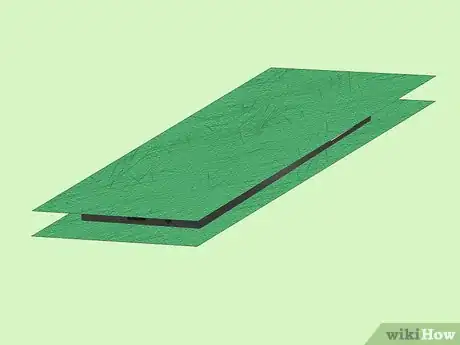
1Cut a piece of felt in half widthwise. If you want a thicker phone case, use two pieces of felt instead. They can be the same color or contrasting colors.[21]
-
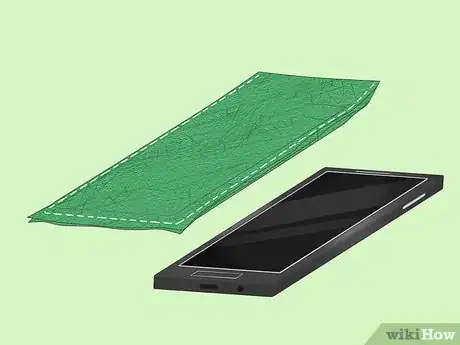
2Cut the pieces ½ inch (1 centimeter) larger than your phone. Place your phone on top of the first piece of felt. Trace around it using a ½-inch (1-centimeter) border. Cut the felt out, then use it as a template for the other piece(s).[22]
-
3Place your phone between the two pieces of felt. Make sure that all of the edges and corners are aligned. If you are making a lined case, with two different colors of felt, choose one color to be on the inside, and the other color to be on the outside.[23]
-
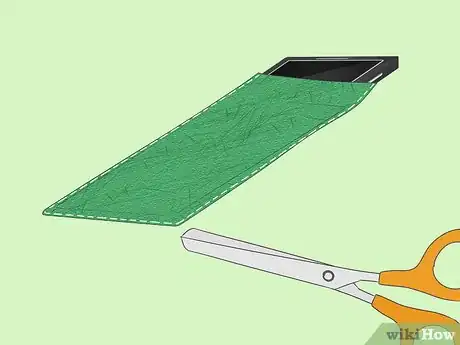
4Pin the pieces of felt around your phone. You only need to pin the bottom and two side edges; leave the top edge open. Try to pin the felt as tightly around your phone as you can. The fit will be snug at first, but it will eventually loosen up.[24]
-
5Remove your phone and sew along the pinned edges. Use the pins as a guide as you sew. Your seam allowance will vary, depending on the thickness of your phone. You can do this on a sewing machine or by hand.[25]
- If you are doing this by hand, consider using embroidery floss in a contrasting color.
- If you are doing this on a sewing machine, backstitch at the start and end of your sewing.
-
6Trim down your seam allowances. Try to cut as close as you can to the stitching, about ⅛-inch (0.3 centimeters).[26] For a more unique look, use pinking shears instead.
Decorating a Plastic Cell Phone Case
-
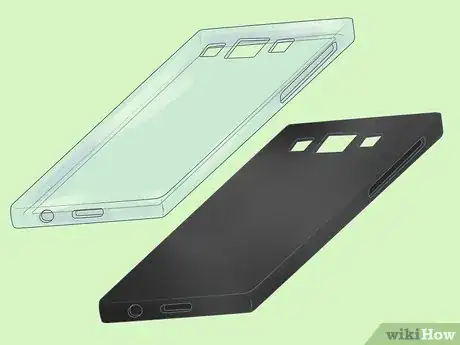
1Buy a plain cell phone case that fits your phone. A clear case will work the best for this, but you can use a colored one depending on the design that you pick. Once you have your case, choose one of the decorating ideas from the list below.
-
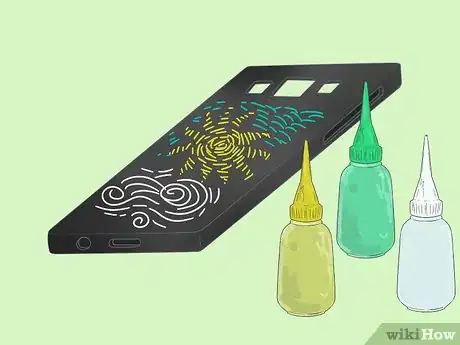
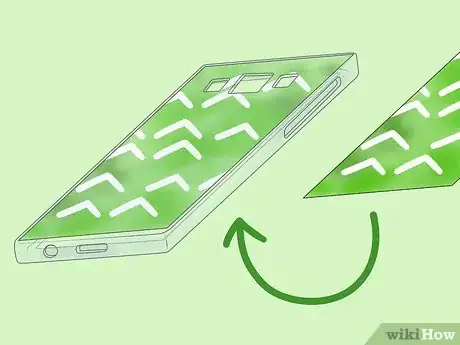
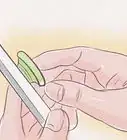
2Decorate a plain case with puffy paint. Buy some puffy or dimensional fabric paint from the art store. Use it to draw designs on the outside of your case. Let the paint dry completely before putting it onto your phone. Great design ideas include dots, spirals, zigzags, and chevron.[27]
-
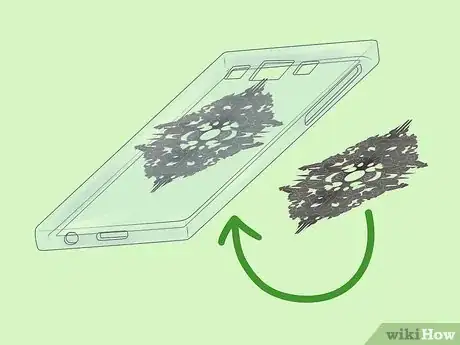
3Add lace to the inside of a clear fabric case. Trace the front of the case onto a piece of lace. Cut the lace out, then coat the inside of the case with decoupage glue. Press the lace into the glue, then coat it with another layer of decoupage glue. Let the glue dry, then cut out the camera hole with a craft blade.[28]
- Make sure that the glue is clear and glossy.
- Add a piece of fabric on top of the lace for a layered effect.
-
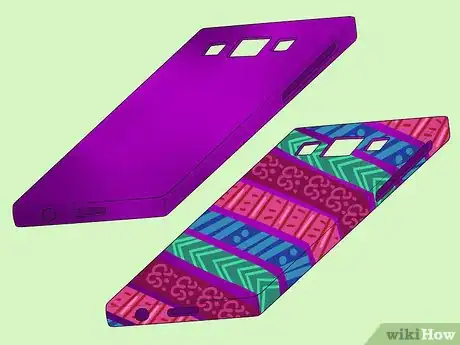
4Wrap washi tape around a colored case. Choose a solid-colored case in a color that you like. Buy some washi tape in coordinating colors or patterns. Wrap the tape around the case, including the sides. Be sure to leave some space between each piece so that the case's color peeks through. Cut out any socket/speaker/camera holes with a craft blade.[29]
- You can find washi tape in the scrapbooking section in an arts and crafts store.
- Try a chevron pattern for something more interesting.
-
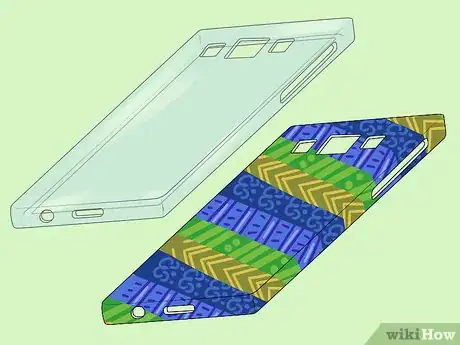
5Cover a clear case with patterned washi tape for a solid effect. Lay down strips of washi tape over the back of a cell phone case. Make sure that the edges touch and the patterns align. Flip the phone over and trim away any excess tape hanging over the sides. Cut out the camera hole as well. Finish off by coating the outside of the case, include the sides, with clear, glossy, decoupage glue.[30]
- You can lay the tape down horizontally or vertically.
- Do not cover the sides of the phone case.
-
6Add scrapbook paper to the inside of a clear cell phone case. Trace the case onto a piece of scrapbook paper, then cut it out. Coat the inside of the case with clear, decoupage glue. Press the paper design-side-down into the glue. Let the glue dry, then cut out the camera hole with a craft blade.[31]
- You can also use patterned, cotton fabric instead.
Community Q&A
-
QuestionHow can I decorate the cover?
 Community AnswerAnyway you like! You could use iron on patches with your initials, buttons, feathers, or anything else you can think of!
 -
QuestionHow do I make a phone case that reflects light?
 Community AnswerYou could glue a small mirror on it with hot glue. They probably have what you'll need at a craft store, like Michael's or Hobby Lobby.
 -
QuestionIs there a no-sew version for people without sewing materials?
 Community AnswerYou could use hot glue in place of the stitching. Or check out How to Make Your Own iPhone Case for a few different examples.
Things You'll Need
Making a Hot Glue Cell Phone Case
- Hot glue gun (low temp)
- Hot glue sticks (low temp)
- Cell Phone
- Parchment paper
- Tape
- Nail polish or spray paint (optional)
Making a Silicone Cell Phone Case
- Clear construction silicone
- Plastic gloves
- Cornstarch, cornflour, or potato starch
- Cell phone
- Paint spatula
- Craft blade
- Plastic wrap, parchment paper, or wax paper
- Glass, spray paint can, or rolling pin
- Stamps (optional)
- Nail polish (optional)
Making a Fabric Cell Phone Case
- Cell phone
- Felt
- Scissors
- Needle
- Thread
- Sewing pins
- Sewing machine (optional)
Decorating a Plastic Cell Phone Case
- Plastic cell phone case
- Decoupage glue, fabric, washi tape, etc.
References
- ↑ https://www.youtube.com/watch?v=Y_eAPVcJnXc
- ↑ https://www.youtube.com/watch?v=Y_eAPVcJnXc
- ↑ https://www.youtube.com/watch?v=Y_eAPVcJnXc
- ↑ https://www.youtube.com/watch?v=Y_eAPVcJnXc
- ↑ https://www.youtube.com/watch?v=Y_eAPVcJnXc
- ↑ https://www.youtube.com/watch?v=Y_eAPVcJnXc
- ↑ https://www.youtube.com/watch?v=Y_eAPVcJnXc
- ↑ https://www.youtube.com/watch?v=Y_eAPVcJnXc
- ↑ https://www.youtube.com/watch?v=2GGk5W4vvjE
- ↑ https://www.youtube.com/watch?v=C7XFD391ZJE
- ↑ https://www.youtube.com/watch?v=8Tqpf10ZagM
- ↑ https://www.youtube.com/watch?v=uHgs8B_6c7I
- ↑ https://www.youtube.com/watch?v=C7XFD391ZJE
- ↑ https://www.youtube.com/watch?v=8Tqpf10ZagM
- ↑ https://www.youtube.com/watch?v=C7XFD391ZJE
- ↑ https://www.youtube.com/watch?v=uHgs8B_6c7I
- ↑ https://www.youtube.com/watch?v=C7XFD391ZJE
- ↑ https://www.youtube.com/watch?v=uHgs8B_6c7I
- ↑ https://www.youtube.com/watch?v=C7XFD391ZJE
- ↑ https://www.youtube.com/watch?v=8Tqpf10ZagM
- ↑ http://www.lanaredstudio.com/2012/07/phone-case-diy.html
- ↑ http://www.lanaredstudio.com/2012/07/phone-case-diy.html
- ↑ http://www.lanaredstudio.com/2012/07/phone-case-diy.html
- ↑ http://www.lanaredstudio.com/2012/07/phone-case-diy.html
- ↑ http://www.lanaredstudio.com/2012/07/phone-case-diy.html
- ↑ http://www.lanaredstudio.com/2012/07/phone-case-diy.html
- ↑ https://www.youtube.com/watch?v=UMNKtXsFD-A
- ↑ https://www.youtube.com/watch?v=UMNKtXsFD-A
- ↑ https://www.youtube.com/watch?v=UMNKtXsFD-A
- ↑ https://www.youtube.com/watch?v=oLrYuzQTtZU
- ↑ https://www.youtube.com/watch?v=oLrYuzQTtZU
- ↑ https://www.diyinspired.com/5-minute-no-sew-diy-iphone-case/
