This article was co-authored by Lois Wade. Lois Wade has 45 years of experience in crafts including sewing, crochet, needlepoint, cross-stitch, drawing, and paper crafts. She has been contributing to craft articles on wikiHow since 2007.
This article has been viewed 53,523 times.
Landscape quilts were very popular several years ago, and are still fun to try now. Most of these early landscape quilts were made using "strips of fabric" sewn edge to edge arranged by the colors of the sky to the ground. These quilts used different shades of blue, green, brown and tan. Some were left simple, and others had applique shapes on top. Some artists became more expressive and made seascapes as well incorporating brighter colors. There is no wrong way for you to make these quilts, and they're a good way to finish off some longer strips of fabric you may already have. Some techniques are more appropriate than others, but here are a few starting tips along with some of the more common methods used. Use whatever techniques you need to accomplish your vision.
Steps
Starting Tips
-
1Select a photo or work from a pencil sketch.
-
2Collect an assortment of fabric. Scraps can work fine, but you may need to purchase specific colors for specific areas of your landscape.Advertisement
-
3Be bold. This quilt is for your own enjoyment.
-
4Plan your work. List out all the aspects of your landscape that need doing... and then prioritize them or order them for later reference.
-
5Visualize your finished piece. What embellishments will you add? What sort of border will there be?
-
6Expect to adjust your plan as you go along.
-
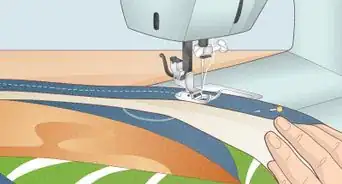
7Use a light weight fabric for a base. Use straight pins and test out your arrangement before you sew them together. Some should go completely across,while others colors can be added in. Usually the background (sky)will be dominate, or it can be flipped and the foreground (ground) will be dominate. These will be sewn all horizontally. Other items can be appliquéd on later.


Applique Method
-
1Start by creating your background/base material.
-
2Cut the strips you like from your fabric scraps.
-
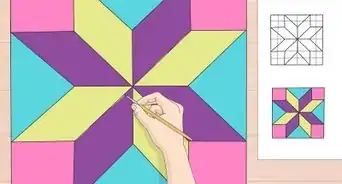
3Position each strip and check the pinned pieces on the foundation cloth. See if you like the way they look before you attach them. Only sew about three strips together at one time and iron each group before moving on to the next. Repeat.
-
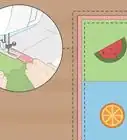
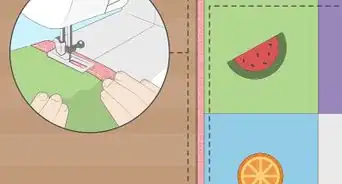
4Attach other shapes (a tree, flower, cloud ) to the piece. Either use an iron on fusible webbing and satin stitch on your sewing machine or by hand basting and then rolling the edges under as you sew them down (can be done by hand or by machine).


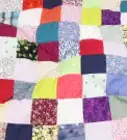
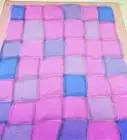
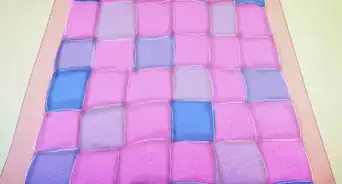
Puff Method
-
1Try a fabric that has a preprinted scene on it. if you're a beginner.
-
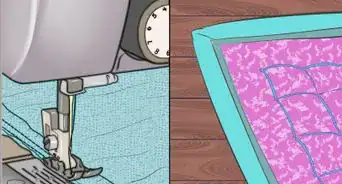
2Layer your quilt pieces, the printed (front side), the quilt batting, and the backing as you would for regular quilting.
-
3Machine or hand sew around the perimeter all of the areas of the picture that you would like to emphasize. You can even use this method to FLATTEN areas.
-
4If you want extra "puffiness" in an area, cut a small slit in the backing material under that area and tuck in more batting before sewing it closed.
-
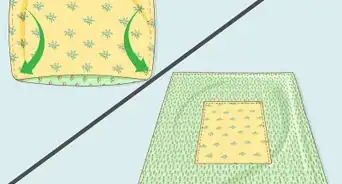
5Add binding on each side. To do this, take a 2 and 1/2" piece of fabric folded and ironed. Attach the open side down with your sewing machine and "flip" it over to the back for a finished look.
-
6Add the finishing touches. Make a "sleeve" to insert a stick across the top and make a loop to hang on the wall. Sign and date your quilts so you will always know who made it and when it was made.
-
7Finished.


Things You'll Need
- Fabric Scraps, cotton or polyester batting.
- Sewing supplies, needles, thread, scissors, etc.
- Sketch pad and pencil (or photograph).

About This Article