This article was co-authored by wikiHow Staff. Our trained team of editors and researchers validate articles for accuracy and comprehensiveness. wikiHow's Content Management Team carefully monitors the work from our editorial staff to ensure that each article is backed by trusted research and meets our high quality standards.
This article has been viewed 27,707 times.
Learn more...
One of the most iconic parts of a Teenage Mutant Ninja Turtle costume is the eye mask. The color is the most important, as each ninja turtle wears a specific one: Donatello wears purple, Leonardo wear blue, Michelangelo has orange, and Raphael has red. The most basic mask is a simple strip of fabric, but you can also add a hint of green by making a lager face mask. This wikiHow will show you how to make both kinds.
Steps
Making a Fabric Eye Mask
-
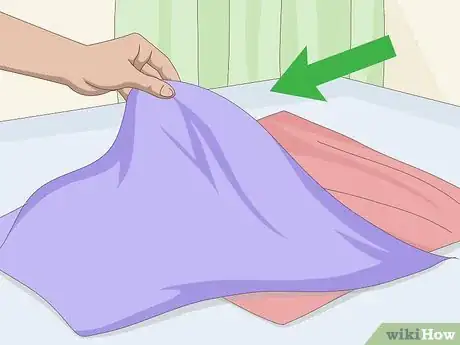
1Choose your fabric. Fabric that does not fray would work the best. Great choices include flannel, fleece, felt, and t-shirt material. What color you pick depends on what turtle you want to be:
- Donatello = purple
- Leonardo = blue
- Michelangelo = orange
- Raphael = red
-
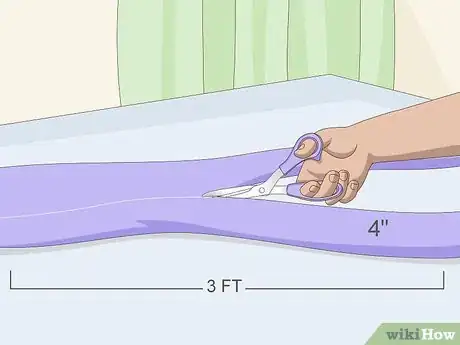
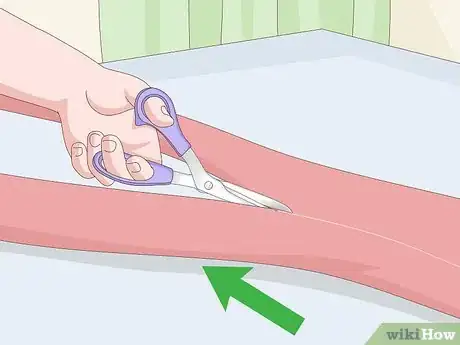
2Cut a long strip out of the fabric. You want the fabric to be long enough so that you can wrap it around you head, tie it, and have a couple inches leftover—about 3 feet (0.91 meters). If this is for an adult, start with a 4-inch (10.16-centimeter) wide strip.[1] If this is for a child. start with a 3-inch (7.62-centimeter) wide strip.Advertisement
-
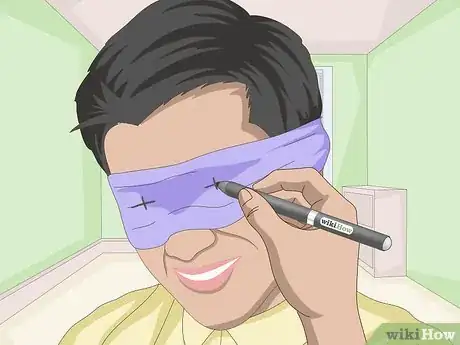
3Figure out the eye placement. There are two ways you can do this. You can measure the distance between your eyes, and make marks on the mask. You can also drape the mask across your face, and make marks over your eyes with a pen.
-
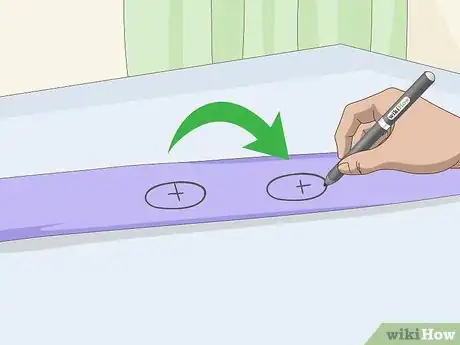
4Refine the eye shapes. Spread the mask out on a flat surface. Draw two almond-shaped eyeholes on the mask, right where you made the marks. It is better to start with smaller shapes that you think you might need. Remember, you can always cut the holes bigger if they are too small.
-
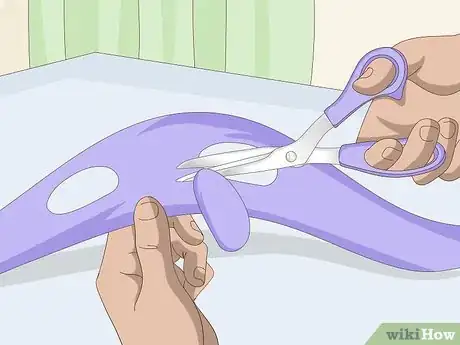
5Cut the eye holes out. Make a small slit in the center of each eye, then cut the holes out along the eyes that you drew.
-
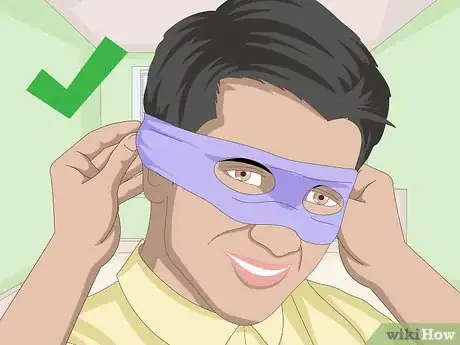
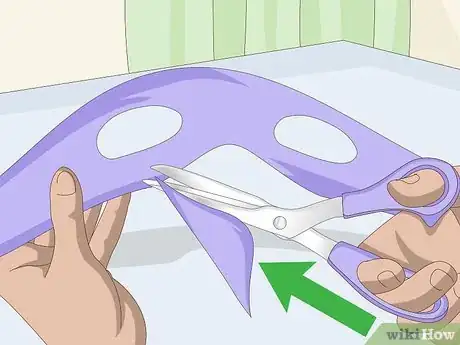
6Try on the mask and make any adjustments. Be sure to tie the mask behind your head, as the fabric will scrunch up a little. If the eye holes are too small, take the mask off and make them bigger. If the mask is too wide, untie the mask, and cut it narrower.[2]
-
7
Making a Foam and Fabric Face Mask
-
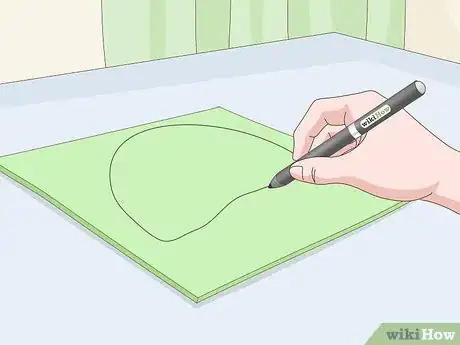
1Draw a mask shape on a piece of green craft foam. This mask needs to be big enough to cover the forehead and about an inch (2.54 centimeters) below the eyes. Measure across and down the person's face, then draw a mask shape based on those measurements.
- You can also use an existing mask as a template.
- You will be placing colored fabric across this mask, so make sure that it is tall enough.
-
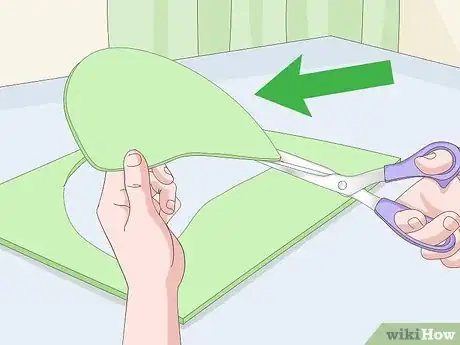
2Cut the mask out. If you want to, you can add a slight curve or groove to the bottom-center of the mask for the nose bridge. Don't worry about the eye holes just yet.
-
3Cut a strip of colored t-shirt, felt, or flannel fabric. The strip needs to be long enough so that you can wrap it around the person's head, tie it in a knot, and have a couple of inches left over. It needs to be wide enough to cover the eyes, but without covering the green mask. What color the fabric is depends on what turtle the person wants to be:
- Donatello = purple
- Leonardo = blue
- Michelangelo = orange
- Raphael = red
-
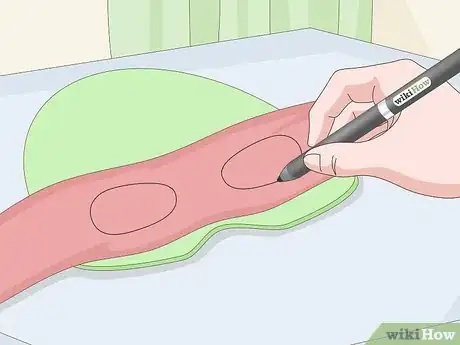
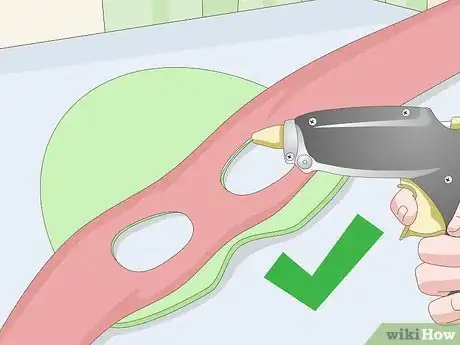
4Glue the fabric over the mask. Place the fabric strip across the mask, right where the eyes would go. Make sure that the fabric is centered, with equal amounts hanging off to either side. Once you are happy with the placement, secure the fabric to the mask with hot glue or fabric glue.[5]
- If you are using fabric glue, let the glue dry before moving on to the next step.
-
5Add the eye holes. The easiest way to do this would be to measure the distance between the person's eyes, and then draw the eye holes on the mask.[6] You can also drape the foam across your face, make marks where your eyes are, then draw the eyes out.
- Make the eye holes almond-shaped.
-
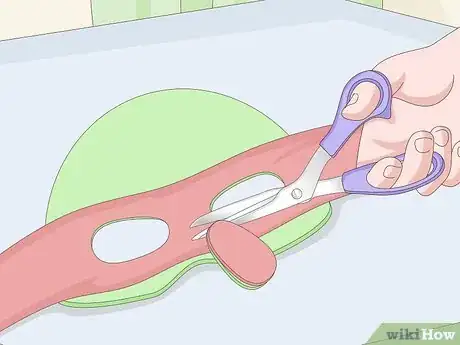
6Cut the eye holes out. The easiest way to do this would be with a craft blade. If you don't have one, cut a slit in the center of each eye, then cut around the lines that you drew.[7]
-
7Finish the mask. If the fabric is loose around the eyeholes, secure it with more glue. For an added touch, cut the ends of the fabric strip at angles. You could also cut notches into them as well.
Things You'll Need
Making a Fabric Eye Mask
- Fabric in red, orange, purple, or blue
- Fabric scissors
- Pen
Making a Foam and Fabric Face Mask
- Green craft foam
- Fabric in red, orange, purple, or blue
- Scissors
- Pen
- Hot glue o fabric glue
References
- ↑ http://www.craftychica.com/2014/08/teenage-mutant-ninja-turtle-t-shirt-masks/
- ↑ https://www.youtube.com/watch?v=t74UXQugFaU
- ↑ https://www.youtube.com/watch?v=t74UXQugFaU
- ↑ http://iamsherrelle.com/a-most-excellent-halloween-costume-teenage-mutant-ninja-turtle/
- ↑ http://www.girllovesglam.com/2016/10/diy-no-sew-ninja-turtle-costume-girls.html
- ↑ http://www.girllovesglam.com/2016/10/diy-no-sew-ninja-turtle-costume-girls.html
- ↑ http://www.girllovesglam.com/2016/10/diy-no-sew-ninja-turtle-costume-girls.html
