This article was co-authored by wikiHow staff writer, Hunter Rising. Hunter Rising is a wikiHow Staff Writer based in Los Angeles. He has more than three years of experience writing for and working with wikiHow. Hunter holds a BFA in Entertainment Design from the University of Wisconsin - Stout and a Minor in English Writing.
There are 17 references cited in this article, which can be found at the bottom of the page.
This article has been viewed 15,394 times.
Learn more...
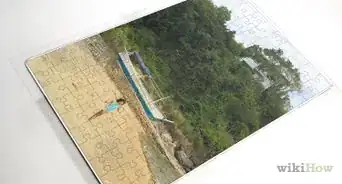
Don’t you wish you could keep working on a puzzle and leave it out without cluttering up a table? If you want a compact and easy solution that you can make at home, a puzzle board is a great DIY project for you! Puzzle boards hold your puzzle and all the pieces and then easily tuck away when you want to clean up without losing your progress. Keep reading for step-by-step plans on how to make simple wooden and cardboard puzzle boards.
Steps
Simple Wooden Puzzle Board
-
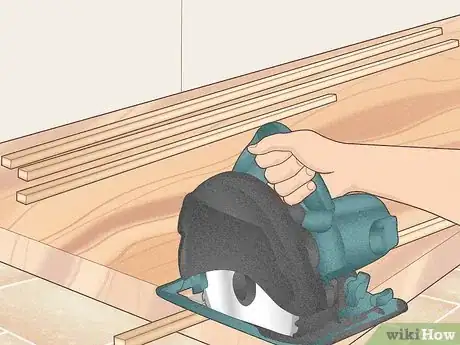
1Trim a piece of plywood to 36 in × 26 in (91 cm × 66 cm) with a circular saw. Buy a piece of plywood and mark the dimensions with a pencil. Use a circular saw to cut the plywood down to size, and then rub the cut edges with 200-grit sandpaper to smooth it out.[1]
- Almost all 500- and 1,000-piece puzzles will fit on this board with extra room to spread out the pieces, but you can cut the board smaller or larger if you want to.
- You can usually get your plywood cut to size at the store when you buy it if you don’t have access to tools at home.
-
2Cut pieces of 1⁄4 in (0.64 cm) trim for each side of the plywood. You can buy decorative trim from your local home improvement store. Use a circular saw to cut all of your pieces. To finish your puzzle board, cut your trim so you have:[2]
- 2 pieces that are 36 in (0.91 m)
- 2 pieces that are 26 in (0.66 m)
Advertisement -
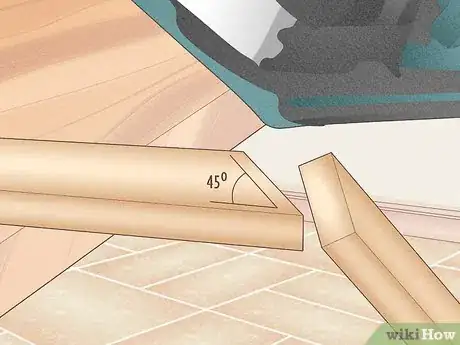
3Saw 45-degree angles into the ends of the trim pieces. Cutting angles in the ends of the trim helps them fit together seamlessly when you attach them. Start at the corner at the end of each board and draw a 45-degree angle. Draw another 45-degree angle on the other end of the board. Lay your trim pieces on top, then use your circular saw to cut through the trim pieces at the lines so each looks like a trapezoid. That way, when the ends of the pieces line up, they’ll fit together in the corner.[3]
- If you don’t want to cut angles into your trim pieces, just cut the shorter trim pieces to 25 1⁄2 in (0.65 m) instead.
-
4Glue the trim around the plywood edges and let it dry for 30 minutes. Apply a line of wood glue to the bottom of each trim piece and press it flat on top of the plywood so it touches the edge. Add the remaining trim pieces along the edges so they fit together and secure them with hand clamps. Let the glue set for 30 minutes before you keep working on the board.[4]
- Clamping the trim to the plywood ensures the wood glue makes a secure bond so they don’t come undone.
-
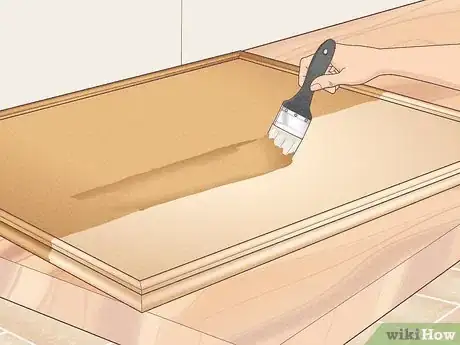
5Stain the board and trim if you want to change the color. Find a wood stain color you want for your puzzle board and apply a thin coat onto the wood with a paintbrush. After about 15 minutes, wipe the stain off with a clean cloth and let it dry for a few hours. Then, you can apply a second coat if you want the color to come through more.[5]
- Be sure to work in a well-ventilated area if you’re using wood stain.
-
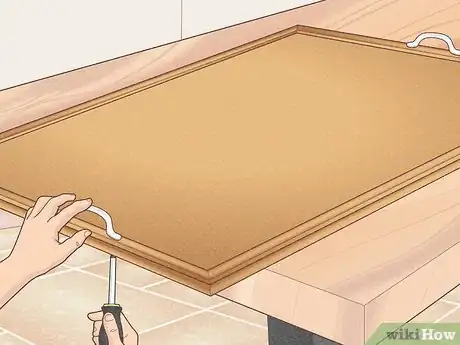
6Screw handles into the trim on the short sides to move the board around easier. Go to your local hardware or home improvement store and look for some decorative handles for your board. Mark the position of the handles on the short trim pieces on the sides, and drill holes for the screws. Screw the handles tightly into the trim pieces[6]
- If you plan on sliding your puzzle board underneath furniture when you’re not using it, make sure the handles don’t stick up so far that it doesn’t fit anymore.
Wooden Puzzle Board with Drawers
-
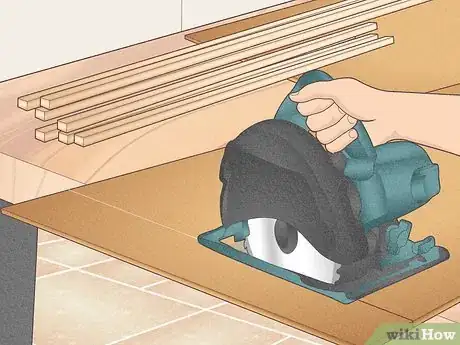
1Cut your particleboard and wood trim pieces with a circular saw. This board has a work surface on top and a large pocket drawer right underneath it to store your puzzle pieces. You can buy your particleboard and wood trim from your local hardware store. Use a circular saw to trim all your wood pieces to size. The pieces you’ll need for this build are:[7]
- 36 in × 26 in (91 cm × 66 cm) particleboard pieces (2)
- 35 in × 13 in (89 cm × 33 cm) particleboard piece (1)
- 35 in (89 cm) pieces of 1⁄2 in (1.3 cm) square wood trim (3)
- 25 1⁄2 in (65 cm) pieces of 1⁄2 in (1.3 cm) square wood trim (2)
- 12 in (30 cm) pieces of 1⁄2 in (1.3 cm) square wood trim (2)
- 36 in (91 cm) piece of 1⁄2 in (1.3 cm) square wood trim (1)
- 36 in (91 cm) pieces of 1⁄4 in (0.64 cm) wood trim (2)
- 25 1⁄2 in (65 cm) pieces of 1⁄4 in (0.64 cm) wood trim (2)
-
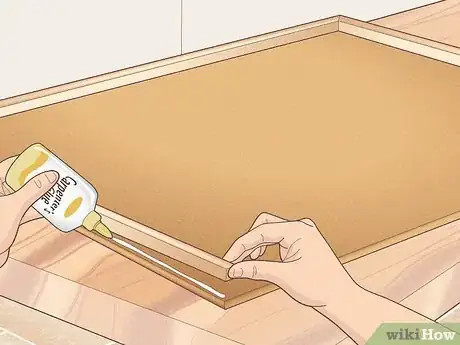
2Secure 1⁄2 in (1.3 cm) trim along 3 edges of the large particleboard. Make sure the rough side of the particleboard is face-down. Glue the longest trim piece along the top edge of the particleboard and attach the 25 1⁄2 in (65 cm) pieces to the sides so they’re flush with the edges. Let the glue dry for 30 minutes, and then flip your puzzle board over and secure nails every 6 inches (15 cm) through the particleboard and into the trim with a nail gun.[8]
- The first large piece of particleboard and trim pieces will create the bottom frame for the puzzle board.
-
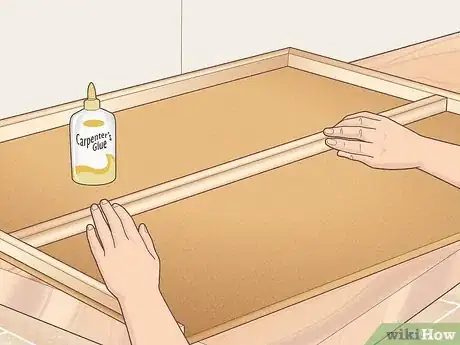
3Add a 1⁄2 in (1.3 cm) trim piece across the center of the particleboard. Measure 13 inches (33 cm) in from the long edge of your particleboard without trim and mark the spot. Apply wood glue to the bottom of a 35 in (89 cm) trim piece and set it horizontally across the mark. Leave the glue to set for 30 minutes before flipping the puzzle board over and adding nails with a nail gun every 6 inches (15 cm) along the line where you just glued trim.[9]
- This trim piece prevents the drawer from sliding deeper into the puzzle board.
-
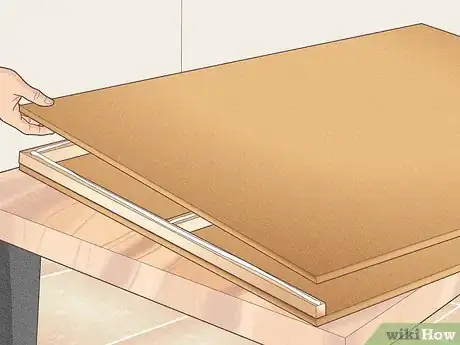
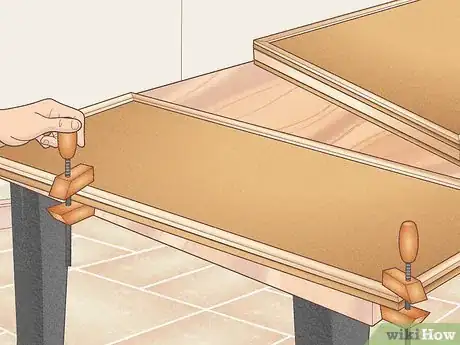
4Glue the top piece of particleboard onto the trim. Apply lines of wood glue on top of the trim so they’re covered thoroughly. Take your second large piece of particleboard and line it up on top of the trim pieces so the edges are flush. Push the particleboard onto the glue and clamp the edges and corners down with clamps. Let the glue set for 30 minutes to create the work surface of your puzzle board.[10]
- This piece of particleboard forms the work surface where you’ll build your puzzle.
-
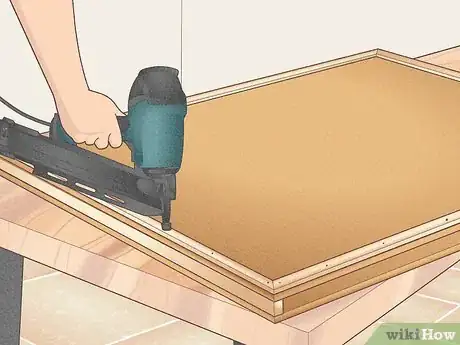
5Nail a 1⁄4 in (0.64 cm) trim border around the edge of the top piece. Line the long pieces of trim on the top and bottom and the shorter pieces on the sides. Apply lines of wood glue onto the trim and press them down so they’re flush with the edges. Then, use your nail gun to drive a nail through the top of the trim and into the particleboard every 6 inches (15 cm) so they don’t come undone.[11]
- The trim on top forms the border around the puzzle board so your puzzle pieces don’t slide off.
-
6Build a drawer with the small particleboard piece and remaining trim. Set the smooth side of the particleboard face-down so the drawer can slide better. Use the smallest leftover piece of particleboard and set the 4 trim pieces on top so they’re flush with the sides. Apply lines of wood glue to the backs of the trim pieces and clamp them to the particleboard for 30 minutes to dry.[12]
- Position a cabinet handle onto the front of one of the long trim pieces on the drawer and mark the hole locations. Drill holes into the front trim on the drawer and use a screwdriver to attach the handle so you can easily pull the drawer open.
- The drawer lets you store your unused pieces so they stay safe when you're not working on the puzzle.
-
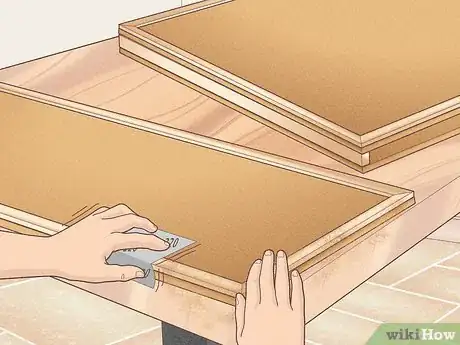
7Sand the top of the trim on the drawer to help it slide in easier. You can use 220-grit sandpaper or an electric sander to smooth out the drawer. Gently rub the tops of the trim pieces so they’re a little smoother to the touch. Try sliding the drawer into the slot on your puzzle board. If it gets caught or stuck, then sand the trim pieces more until you can slide it in and out.[13]
Portable Cardboard Puzzle Board
-
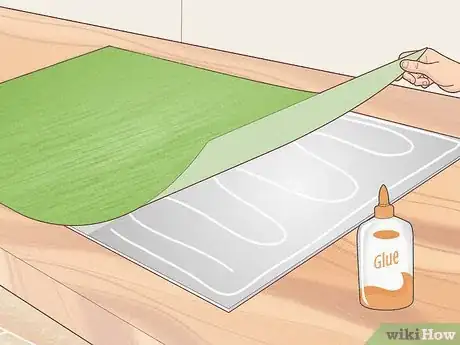
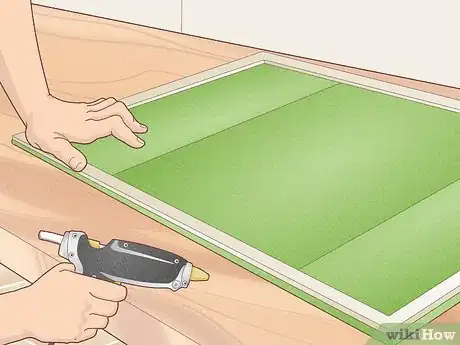
1Glue felt or paper onto the front of a tri-fold display board. Choose felt or decorative paper with a solid neutral color so it’s easier to see your puzzle pieces while you’re working. Get enough material so it’s 2–3 inches (5.1–7.6 cm) longer than each side of the tri-fold display board. Spread white school glue on the front of the display board and press it flat onto the felt of the felt or paper. Leave it for a few minutes to dry completely.[14]
- You can buy all your supplies from your local craft store.
- Tri-fold display boards are a great starting point since the flaps can fold over and protect the puzzle when you’re not working on it.
-
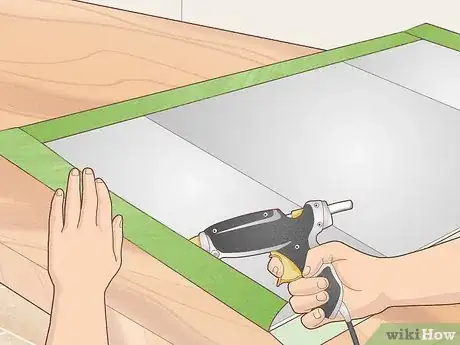
2Glue or tape down the edges on the back of the board. Fold the edges of the felt or paper over and pull them tight so they don’t have any wrinkles. Use white school glue or hot glue to leave the edges of the material exposed. To cover the edges on the material, apply a strip of duct tape over them instead.[15]
- Give your puzzle board a little pizzazz by using patterned duct tape to personalize it even more.
-
3Attach strips of cardboard around the edges on the front of the board. Measure the edges of your display board with a ruler or tape measure. Cut 1 in (2.5 cm) strips of cardboard to the same lengths. Apply hot glue to the back of the strips and press them along the edges on the front of your puzzle board to make a border so puzzle pieces don’t slide off when you’re putting them together.[16]
- You can paint or cover the cardboard strips with felt or paper if you want them to blend in with the rest of the board.
-
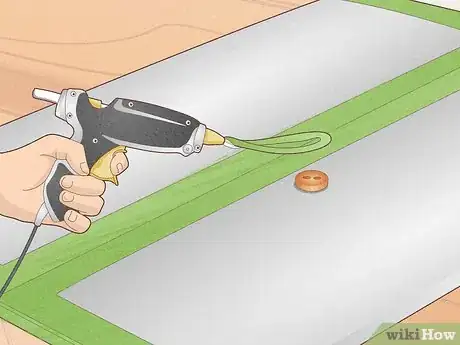
4Add a button and loop of felt on the back of the board to hold it closed. Fold the sides of your puzzle board in so the flaps are closed. Measure halfway down the height of the board and make a dot on each fold about 1 in (2.5 cm) from where they touch in the middle. Make a 2–3 in (5.1–7.6 cm) loop of felt or ribbon and glue it down to one flap. Glue a button to the spot on the other flap to finish your board.[17]
- When you work on your puzzle, make it in the middle section of the tri-fold board. When you want to put it away, just fold the flaps over and wrap the loop around the button.
Warnings
- Always wear safety glasses when you’re using power tools to protect your eyes while you’re cutting and sanding.⧼thumbs_response⧽
Things You’ll Need
Simple Wooden Puzzle Board
- 1⁄4–1⁄2 in (0.64–1.27 cm) plywood
- 1⁄4 in (0.64 cm) wood trim
- Circular saw
- Wood glue
- Clamps
- Stain
- Drill
- Handles
Wooden Puzzle Board with Drawers
- Particleboard
- 1⁄2 in (1.3 cm) wood trim
- 1⁄4 in (0.64 cm) wood trim
- Circular saw
- Wood glue
- Nail gun
- Drill
- Handle
- Sandpaper
Portable Cardboard Puzzle Board
- Tri-fold display board
- Felt or decorative paper
- White school glue or hot glue
- 1 in (2.5 cm) cardboard strips
- Button
References
- ↑ https://youtu.be/VQnBz09EmgY?t=78
- ↑ https://youtu.be/VQnBz09EmgY?t=130
- ↑ https://youtu.be/VQnBz09EmgY?t=143
- ↑ https://youtu.be/VQnBz09EmgY?t=162
- ↑ https://youtu.be/QepDLZwbXmE?t=585
- ↑ https://youtu.be/VQnBz09EmgY?t=221
- ↑ https://youtu.be/sSJs2Gvn-qg?t=114
- ↑ https://youtu.be/sSJs2Gvn-qg?t=175
- ↑ https://youtu.be/sSJs2Gvn-qg?t=180

