wikiHow is a “wiki,” similar to Wikipedia, which means that many of our articles are co-written by multiple authors. To create this article, volunteer authors worked to edit and improve it over time.
This article has been viewed 74,843 times.
Learn more...
The basic tank top is one of the simplest garments to make. You can draft the pattern from another tank top or freehand the pattern based on your own measurements. Once you have the pattern cut out, you'll only need to sew a few simple stitches to put the pieces together.
Steps
Part One: Draft the Pattern
Option One: Shortcut Method
-
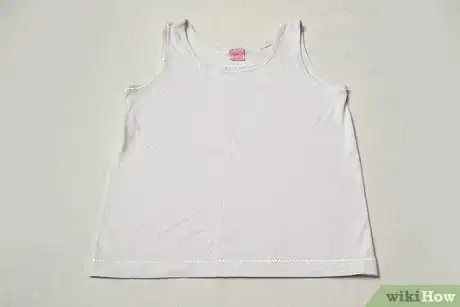
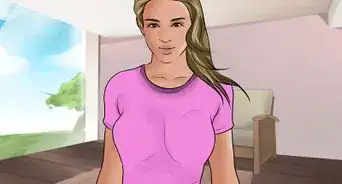
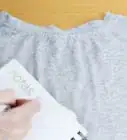
1Find an existing tank top. Check your closet for an existing tank top that fits well. You can draft your pattern using this tank top as a guide.
- Keep it simple. Since you're making a basic tank top, you'll need to draft the pattern from another basic tank. Avoid using tank tops that have darts, pleats, draping folds, or other accents.
- Drafting this pattern will be easier if you work from a woven tank top, but you can use a stretchy knit if necessary.
-
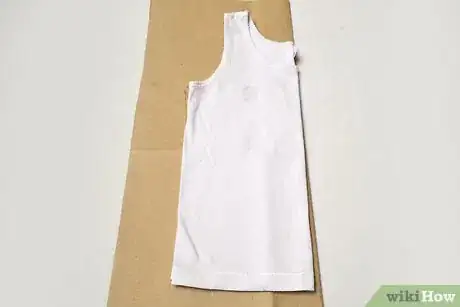
2Fold the tank in half. Fold the tank top in half along its vertical center. Place it on top of brown drafting paper, blank newsprint, or another large sheet of paper.
- Fold the tank top in half along its back so that the front neckline remains visible. It won't matter much while you're making the back pattern piece, but it matters when you draft the front pattern piece.
Advertisement -
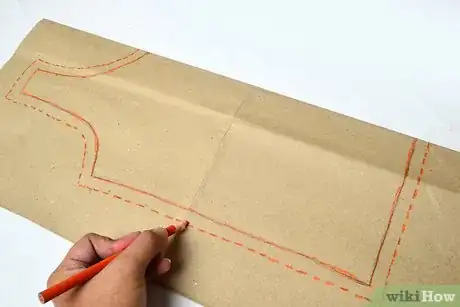
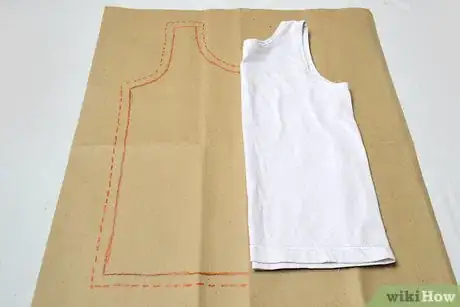
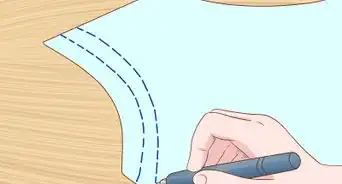
3Add a seam allowance to the outline. Trace around the entire outline of the tank top. Then, draw a second outline around the first, positioning it 1/2 inch (1.25 cm) to the outside.
- This extra 1/2 inch will become your seam allowance.
- If you're drafting the pattern from a knit tank but wish to make a woven version, add another 1 inch (2.5 cm) around the perimeter and to the inside of the 1/2 inch (1.25 cm) seam allowance.
- This is not necessary if you are drafting the pattern to make another knit tank or if you choose to draft from a woven tank.
-
4Tuck in the upper back and repeat. Move the folded tank to another section of paper. Carefully fold the back neckline between the straps, then trace around the outline again, adding another 1/2 inch (1.25 cm) seam allowance.
- In most cases, the back neckline is higher than the front neckline, which is why you'll need two separate pieces. Folding the back neckline into the shirt should make the front neckline visible, thereby allowing you to trace around it.
- Make sure that the rest of the perimeter remains even after you fold in the neckline. If folding the neckline distorts the rest of the tank outline, unfold it again while tracing around the remainder of the outline.
-
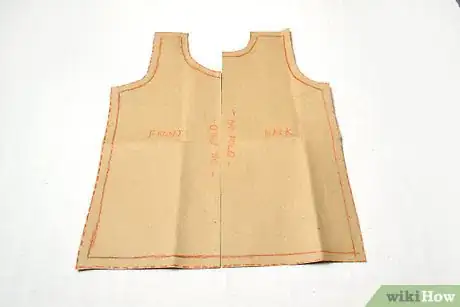
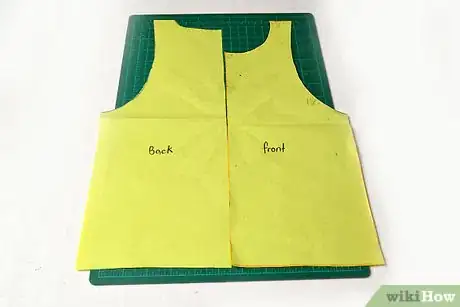
5Cut out the pattern pieces. Use scissors to carefully cut out both pattern pieces (including the seam allowances). Label the pieces "Back" and "Front" respectively.
- It may also be a good idea to mark where the fold sits on each pattern piece.
Option Two: Conventional Method
-
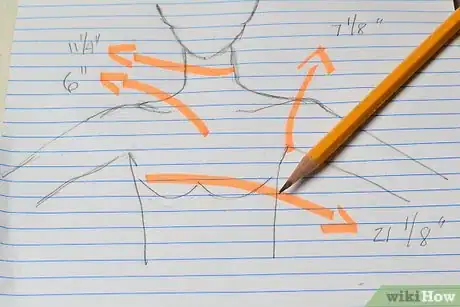
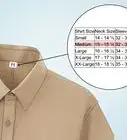
1Take your measurements. To draft a pattern from scratch, you'll need to know the size of your bust/chest measurement, armhole depth, neck depth, and neck width. You'll also need to know your desired length.
- To measure your bust/chest, wrap the measuring tape around the widest part of your bust (women) or chest (men). Keep the tape taut and parallel to the ground. If you'd prefer a slightly loose tank top, add 1 inch (2.5 cm) to this measurement; otherwise, use the measurement exactly as it is.
- To measure your armhole depth, draw the measuring tape from the top outside edge of the shoulder down to the center of the armpit.[1]
- To measure your neck depth, place the measuring tape at the collarbone, directly where the shoulder and neck seams meet on your shirt. Measure down at an angle to the middle of your bust line or chest line.
- To measure your neck width, wrap the measuring tape around your entire neck, keeping it parallel to the ground without making it too tight. Divide this measurement in half.
- To measure your desired length, measure from the top of your shoulder down to the waistband of your pants or whichever spot you'd like the tank to reach. Keep your back as straight as possible while taking this measurement.
-
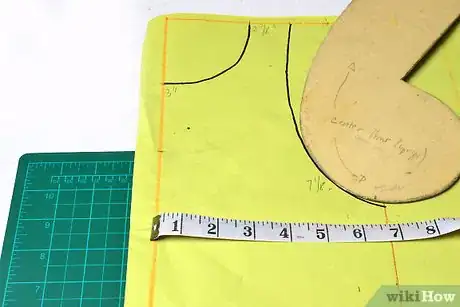
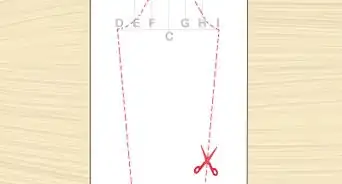
2Sketch the front outline. Draw a rectangle with a height matching your desired length and a width matching half your bust/chest size. You'll draft the front pattern piece within this rectangle.
- To create the neck opening:
- Start at the top left corner and measure down to the length of your neck depth. Mark this point.
- Start at the top left corner and measure across to a point equal to half of your neck width, plus 1 inch (2.5 cm). Mark this point.
- Draw a curved line along between these two points. This line will be your neckline; erase or disregard the portion of rectangle lying to the upper left of this new line.
- To create the armhole:
- Start at the upper end of the neckline and measure 2 to 3 inches (5 to 8 cm) along the top, depending on how wide you want the straps to be. Mark this point.
- Start in the upper right corner of the rectangle and measure down to a point matching your armhole depth. Mark this point.
- Draw a curved line between these two points. This will be your armhole; erase or disregard the portion of rectangle lying to the upper right of this new line.
- After completing the outline of the tank, draw a second outline around the first, placing it 1/2 inch (1.25 cm) to the outside. This will be your seam allowance.
- To create the neck opening:
-
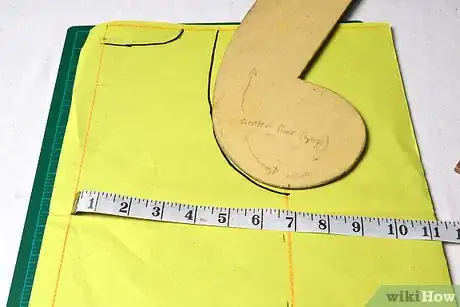
3Sketch the back outline. On a clean piece of drafting paper, draw another rectangle with a height matching your desired length and a width matching half your bust/chest size. You'll draft the back pattern piece within this rectangle.
- To create the neck opening:
- Start at the top left corner and measure down 2 to 3 inches (5 to 8 cm) depending on how high you want the back neckline to be. (Note that the back neckline is usually higher than the front neckline.) Mark this point.
- Start at the top left corner and measure across to a point equal to half your neck width, plus 1 inch (2.5 cm). Mark this point.
- Draw a curved line between both of these points. This line will be the neckline for your back pattern piece; erase or disregard the remaining portion of rectangle lying to the upper left of the new line.
- Create the armhole measurement by following the same procedure used for the front pattern piece.
- Sketch a seam allowance of 1/2 inch (1.25 cm) around the finished outline.
- To create the neck opening:
-
4Cut out both pattern pieces. Use scissors to cut out both pattern pieces along the outside perimeter of your seam allowances. Label the pieces "Front" and "Back" accordingly.
- You should also mark the fold line of both pieces. This line lies to the left side of the pattern, beneath the neckline and on the side opposite the armhole.
Part Two: Sew the Tank Top
-
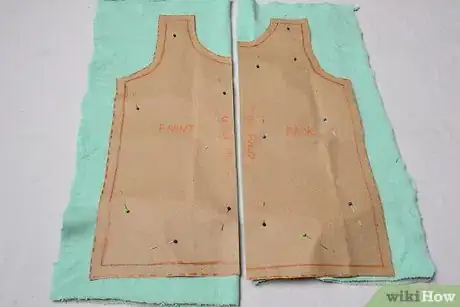
1Trace the pattern onto the fabric. Fold your fabric in half. Place both pattern pieces onto the same side of the fabric and pin them in place.
- When placing your pattern pieces, line up the sides marked "fold" with the actual fold of your fabric.
- Try to keep the pattern pieces and fabric as flat as possible when pinning them in place.
- Use a fabric pencil or piece of chalk to trace the outline of both pattern pieces onto the fabric. Do not unpin the fabric yet, however.
-
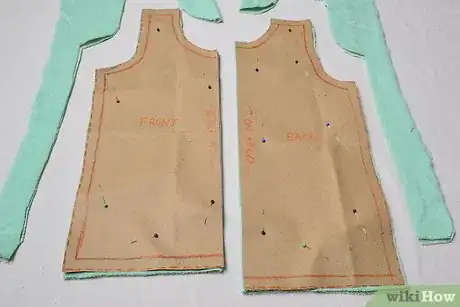
2Cut out both pieces. Use pinking shears to cut along the traced pattern lines. After cutting out both pieces, unpin and unfold them.
- Set aside the pattern pieces. If they're still in good shape, you can reuse them later.
- If you don't have pinking shears, use a rotary cutter or standard scissors to cut out the material. Pinking shears will minimize potential fraying, but they aren't strictly necessary.
-
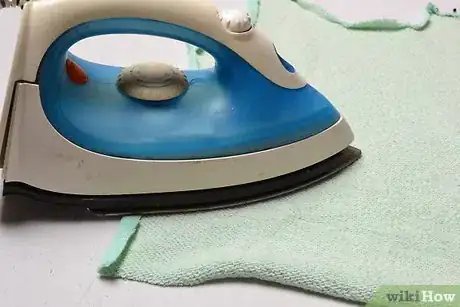
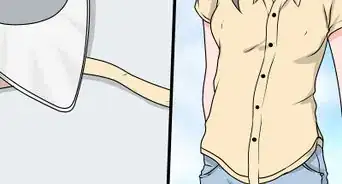
3Fold and press the raw edges. Fold the bottom hem up 1/4 inch (0.6 cm), then fold over it again by another 1/4 inch (0.6 cm) so that the raw edge gets trapped inside the second fold. Pin and iron press the fold in place.
- Repeat this procedure for the armhole openings and neckline, as well.
- For the sides and shoulder edges, fold the edge in by 1/4 inch (0.6 cm) but do not perform the double fold. Pin and press these folds into place.
- Repeat this procedure for both halves of the tank top.
-
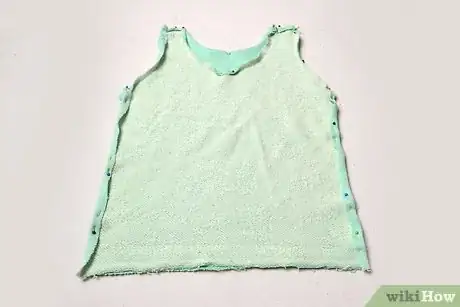
4Pin the front and back together. Lay the front piece face-up, then place the back piece face-down on top of it. Evenly align both perimeters and pin the two pieces together.
- Note that the "right" sides must face each other and the "wrong" sides should face outward.
- Make sure that both pieces are flat and that the edges match all the way around, excluding the necklines.
- Pin the shoulders and sides in place. The remaining edges do not need to be pinned.
-
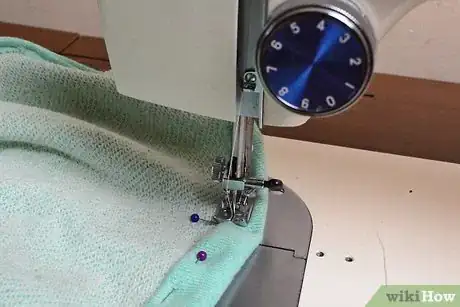
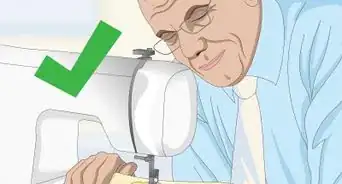
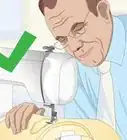
5Sew together at the sides and shoulders. Machine stitch along the upper part of the shoulder straps and along both side edges, using a seam allowance no greater than 1/4 inch (0.6 cm).
- This step creates seams at the shoulders and sides. You do not need seams anywhere else on the garment.
- Use a zigzag stitch instead of a straight stitch. The zigzag stitch gives the material more stretch while also helping to minimize potential fraying.
-
6Hem the remaining raw edges. Machine stitch along the open bottom, neckline, and armholes. Use a seam allowance no greater than 1/4 inch (0.6 cm).
- Sew around the entire opening; do not stitch the front and back pieces together during this step.
- Sew the hems using a standard straight stitch instead of the zigzag stitch.
-
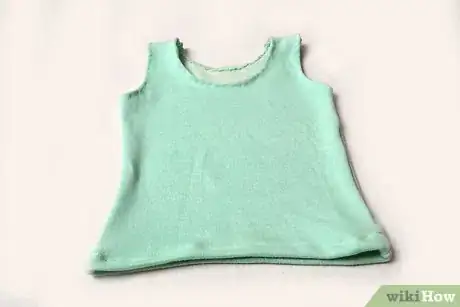
7Try it on. Your tank top should be complete. Try it on, wear it out, and show it off.
Things You'll Need
- Existing tank top (optional; shortcut drafting only)
- Tape measure (optional; conventional drafting only)
- Pencil
- Brown drafting paper or plain newsprint
- Scissors
- Straight pins
- 1 to 2 yds (1 to 2 m) apparel fabric
- Fabric pencil or chalk
- Pinking shears
- Iron
- Ironing board
- Sewing machine
- All-purpose thread
References
About This Article
If you have sewing experience and some fabric, you can make your own tank top right at home. You'll need a couple of yards of fabric, large sheets of paper for your template, and a sewing machine. You can draw around a tank top you already own or measure your body to get the right shape for your top. Once you've drawn your templates for the front and back of your tank top, you'll need to copy it onto your fabric. Then, cut them out, pin the 2 pieces together, and stitch the edges together. For more tips, including how to hem your tank top, read on!
