X
wikiHow is a “wiki,” similar to Wikipedia, which means that many of our articles are co-written by multiple authors. To create this article, 14 people, some anonymous, worked to edit and improve it over time.
This article has been viewed 35,067 times.
Learn more...
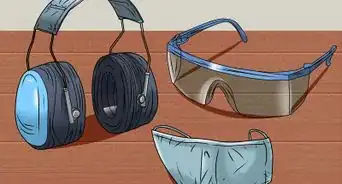
The first major power tool a woodworker buys is a table saw. That is usually followed by a wood router, power miter saw, drill press and joiner. Wood routers spin very sharp bits at high rates of speed. It isn't difficult to learn to operate a wood router, although it can be appear intimidating to a novice.
Steps

Method 2
Method 2 of 3:
Operation of the three sizes of fixed-base wood routers
-
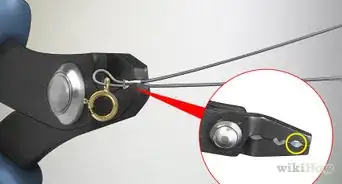
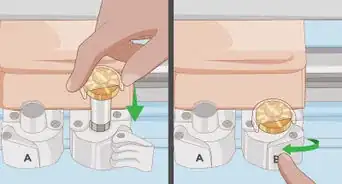
1Install the router bit that you want to use by loosening the collett. This is done by turning the collett nut counter-clockwise.
-
2Insert the desired bit and tighten the collett by turning the nut clockwise. Clamp on the base and loosen the slide of the router body to the depth you need. Then, reclamp the body in place.
-
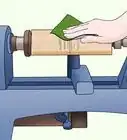
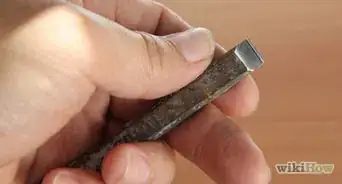
3Turn the router on. Use a scrap piece of wood to check the depth of the bit.
-
4Use the fine adjustment to correct the height if necessary.
-
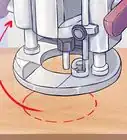
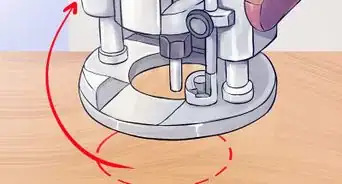
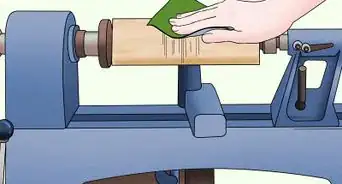
5Begin routing the wood, moving the router from right to left.


Advertisement
Method 3
Method 3 of 3:
Operation of the three sizes of plunge-base wood routers
-
1Set the depth of a plunge base router by setting the depth stop on the router base. This allows the motor to plunge downward to the depth you desire for making the cut.
-
2Switch on the router. Push downward and move the router from right to left while holding down on the base. Let up when you have reached the end of your cut. The motor should move upward retracting the bit.
-
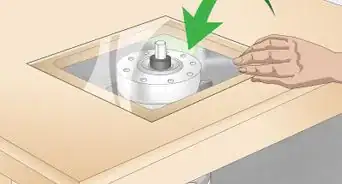
3Use a router table. These tables can be used with medium and larger sized plunge and fixed-base routers. They vary in size from stand-alone to bench-top.
- The router is mounted upside down on a special plate that fits into a hole cut into a table top. Otherwise, it operates the same. The advantage is that it makes more accurate cuts and expands the use of a router.


Advertisement


References
About This Article
Advertisement