This article was co-authored by wikiHow Staff. Our trained team of editors and researchers validate articles for accuracy and comprehensiveness. wikiHow's Content Management Team carefully monitors the work from our editorial staff to ensure that each article is backed by trusted research and meets our high quality standards.
There are 10 references cited in this article, which can be found at the bottom of the page.
This article has been viewed 17,674 times.
Learn more...
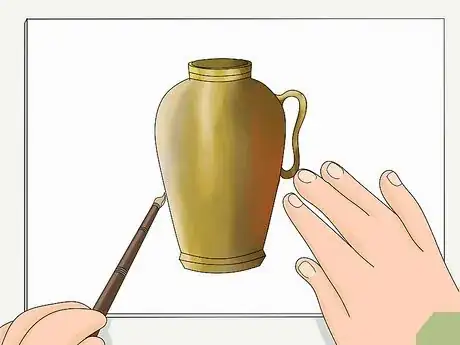
When you want to replicate gold objects in paintings, mix different colors together to simulate the highlights, base color, and shadows of the gold. Blend them together using different gradients to imitate the way light would reflect off of the object. If you’re wondering about painting on top of real gold, you can paint over gold leaf with acrylic or oil paints after it has been applied to a variety of surfaces including canvas, paper, and even furniture. If you want to paint common household items gold, try spray painting them.
Steps
Replicating Gold Objects in Paintings
-
1Put yellow, dark red, reddish-brown, black, and white paints on a palette. Use something like cadmium yellow, crimson or magenta, oxide brown or burnt umber, chromatic black, and true white colors. These will be what you mix together to achieve different shades of gold and mimic the effects of light hitting the object.[1]
- The exact color names can vary depending on paint brands.
-
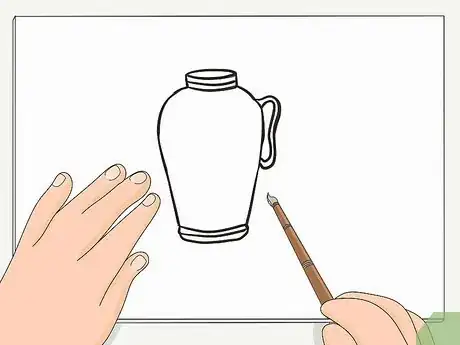
2Paint a black outline of the gold object you want to add to your painting. Use a fine-tipped paintbrush and your black paint to sketch a rough outline of the object on your canvas or paper. Don’t worry about making it too detailed, just sketch the basic shape.[2]
- For example, if you want to paint a gold vase, just paint the outline of the overall shape as well as lines that represent any unique features, such as where the vase gets narrower and the metal dips inwards.
Advertisement -
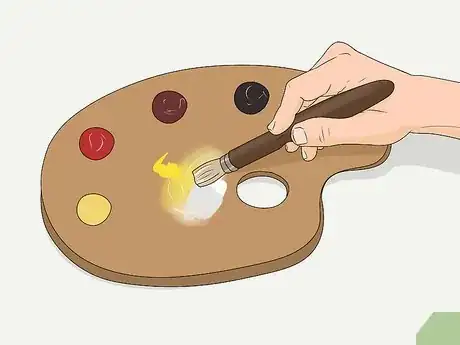
3Mix together white and yellow paint to apply highlights of the gold first. Stir together equal parts of your cadmium yellow and white paints on your palette. Use a medium-sized paintbrush to apply the paint to areas of the object where there are highlights.[3]
- Highlights are wherever the most light would be hitting the object. For instance, if you are painting a gold vase, imagine that the light is shining on it from the left side of the page. The highlights would be on the inside of the lip of the vase at the right side of the page and towards the left side of the outside of the vase.
- Keep in mind that gold is very reflective and thus has very strong highlights. The brightest parts of the highlights can appear almost white.[4]
-
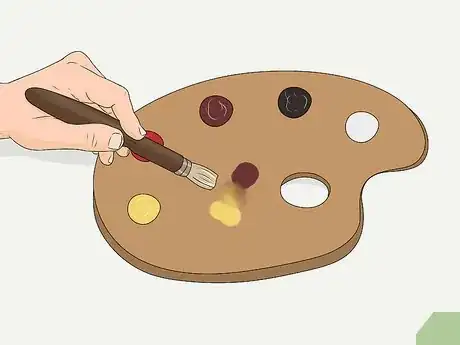
4Combine your reddish-brown and yellow paints to fill in the base gold color. Mix together your cadmium yellow and burnt umber or oxide brown paints in equal parts and adjust the mixture until you like the gold color. Use a medium-sized paintbrush to fill in the object you are painting around the areas you applied highlights to.[5]
- You can paint over the highlighted areas to adjust them and blend them in. Make the areas closest to the highlights lighter and the areas further away from the highlights darker.
-
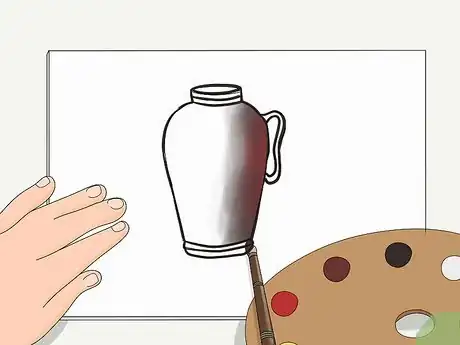
5Add black and dark red to the base gold color mixture and paint in shadows. Stir a tiny bit of black into the mixture of yellow and brown on your palette to darken it, then stir in a tiny bit of the magenta or crimson to make it warmer. Use this to paint shadows on the areas of the object where the light doesn’t hit.[6]
- For example, if you are painting a gold vase with the light coming from the left side of your canvas or paper, paint shadows on the far right side of the outside of the vase and on the inside of the left side of the lip.
- If you look at shadows on a real gold object, you will notice they are often almost red in color. You can adjust your paint mixture to make it redder as you see fit to make the shadows warmer and more realistic looking.[7]
-
6Work on blending the colors in to replicate the effect of light on the gold. Adjust the mixes you made for the highlights, the base gold color, and the shadows by changing the ratios of the paints to make them darker and lighter. Blend the areas between the highlights, regular gold, and shadows using different gradients of color to mimic how gold looks when light is shining on it.[8]
- It helps to look at a picture of a gold object or have a real gold object in front of you while you do this so you can see how the light reflects off of it and creates different hues. Try your best to imitate these effects.
Painting on Top of Gold Leaf
-
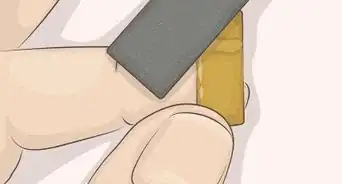
1Avoid touching gold leaf that is less than 22 karats with bare fingers. Gold leaf with a purity of less than 22 karats or imitation gold leaf will oxidize if it is exposed to the oils on your bare fingers. Wear latex gloves if you must touch the gold leaf for any reason.[9]
- The only easy way to tell what purity gold leaf is would be to check the manufacturer’s information on the packaging. If you aren’t the person who applied the gold leaf and you don’t have the packaging available, it is safest to just not touch it.
- Fingerprints will continue oxidizing even after gold leaf is sealed with a protective coating, so it’s very important to avoid touching it.
- If you don’t know how pure the gold leaf is, avoid touching it to be safe.
-
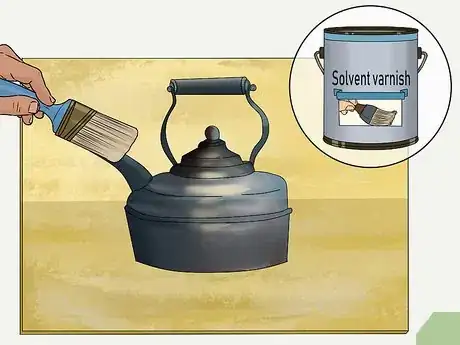
2Seal gold leaf with solvent-based varnish before painting if it is under 22 karats. Apply 2-3 coats of mineral spirit acrylic (MSA) varnish with a paintbrush, spray on 2-3 coats of archival MSA varnish, or apply any other type of solvent-based varnish. Work in long, even strokes with the brush or spray can to evenly coat the gold leaf.[10]
- The coats of varnish will protect the gold leaf from oxidation since most acrylic paints contain ammonia in their formulas, which oxidizes gold leaf.
- Don’t use a polymer-based varnish to seal the gold leaf as this also contains ammonia that will oxidize it.
-
3Paint directly on top of high-purity gold leaf that is 22-24 karats. Real gold leaf of high-purity doesn’t need to be sealed before painting. Pure gold won’t oxidize for any reason.[11]
- You can also safely handle high-purity gold leaf without gloves.
-
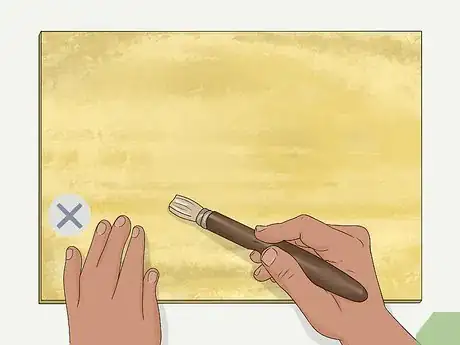
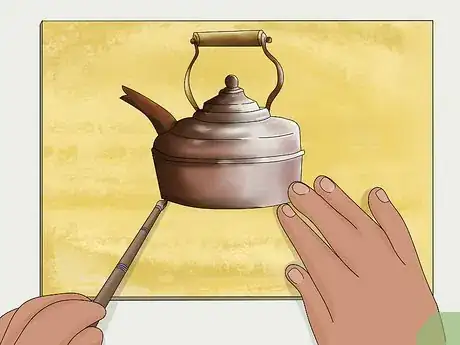
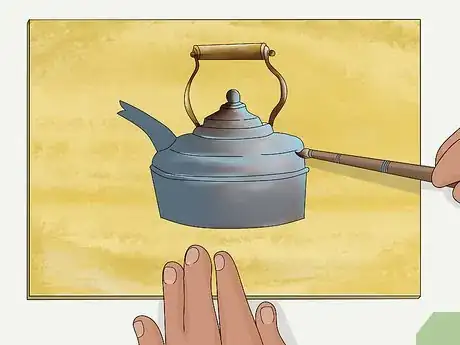
4Apply acrylic paint opaquely or transparently over gold leaf for different effects. Paint using a paintbrush and an acrylic paint of your choice as is or water it down to create transparent washes. Leave some areas of gold unpainted, some completely covered, and some partially showing through transparent layers to combine the gold leaf with the paint in different ways.[12]
- It’s completely up to you how you want to use acrylic paint on top of the gold leaf. Experiment with different techniques to create different effects and achieve the look you want.
Tip: If you get too much paint on any areas of the gold, you can lightly sand it off once it is dry as long as you protected the gold leaf with at least 3 coats of clear varnish before painting it.
-
5Paint with oil on top of gold leaf if you want rich colors. Apply oil paint to gold leaf using a paintbrush to create whatever designs you want to. Oil paint colors tend to be brighter and richer than acrylic paint, so it's a good option when you want to paint very colorful designs.[13]
- You can paint on top of gold leaf with oil as if you were painting on canvas or any other surface. The designs and effects you create are totally up to you as the artist.
-
6Add a clear acrylic-based varnish the same day if you used acrylic paint. Acrylic paint usually dries in less than 1 hour and no longer than 2 hours. Apply 1 coat of polymer varnish gloss on top of the dried acrylic paint to protect and preserve it.[14]
- Never use this type of acrylic-based varnish as a pre-sealant or on top of oil paint.
-
7Finish oil paintings by applying a coat of solvent-based varnish after 1 month. Wait for 1 month to ensure that the oil paint has fully cured before you seal it. Use a paintbrush to apply 1 coat of MSA varnish, spray on 1 coat of archival MSA varnish, or use any other solvent-based varnish to seal and protect the oil paint.[15]
- You can use the same type of varnish you used as a pre-sealant for the final protective coat on top of oil paint.
Things You’ll Need
Replicating Gold Objects in Paintings
- Palette
- Fine-tipped paintbrush
- Medium-sized paintbrush
- Yellow, dark red, reddish-brown, black, and white paints
Painting on Top of Gold Leaf
- Latex gloves (optional)
- Paintbrush
- MSA varnish or archival MSA varnish
- Acrylic paint
- Oil paint
- Polymer varnish
- MSA varnish or archival MSA varnish
- Paintbrush
References
- ↑ https://www.youtube.com/watch?v=-JXvE444HZw&feature=youtu.be&t=45
- ↑ https://www.youtube.com/watch?v=-JXvE444HZw&feature=youtu.be&t=105
- ↑ https://www.youtube.com/watch?v=-JXvE444HZw&feature=youtu.be&t=165
- ↑ https://www.creativebloq.com/features/painting-gold-7-essential-tips
- ↑ https://www.youtube.com/watch?v=-JXvE444HZw&feature=youtu.be&t=220
- ↑ https://www.youtube.com/watch?v=-JXvE444HZw&feature=youtu.be&t=387
- ↑ https://www.creativebloq.com/features/painting-gold-7-essential-tips
- ↑ https://www.youtube.com/watch?v=-JXvE444HZw&feature=youtu.be&t=673
- ↑ https://www.justpaint.org/acrylics-on-gold-leaf/
- ↑ https://www.justpaint.org/acrylics-on-gold-leaf/
- ↑ https://www.justpaint.org/acrylics-on-gold-leaf/
- ↑ https://nancyreyner.com/prepare-gold-leaf-oil-painting/
- ↑ https://kathrynweisberg.com/blog/74827/painting-in-oil-with-gold-leaf
- ↑ https://nancyreyner.com/prepare-gold-leaf-oil-painting/
- ↑ https://nancyreyner.com/prepare-gold-leaf-oil-painting/

