X
This article was co-authored by wikiHow Staff. Our trained team of editors and researchers validate articles for accuracy and comprehensiveness. wikiHow's Content Management Team carefully monitors the work from our editorial staff to ensure that each article is backed by trusted research and meets our high quality standards.
This article has been viewed 21,763 times.
Learn more...
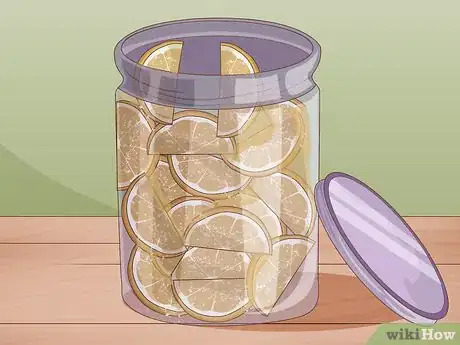
Preserving limes is an impressive yet easy way to up your cooking game. Avoid food waste and ensure that your recipes are packed with flavor with this simple culinary technique. Pickle limes by preparing a jar and filling it with limes and salt. Then let time work its magic!
Steps
Part 1
Part 1 of 3:
Sterilizing a Jar
-
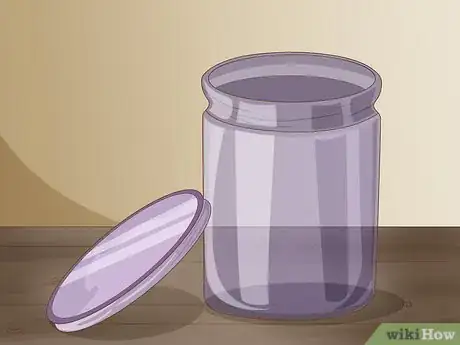
1Select a glass canning jar. Choose a jar with a wide opening so that it'll be easy to insert the limes and squash them down. You don't want to get your hand stuck! Find a canning jar that has a matching lid and band so that it can seal properly.[1]
-
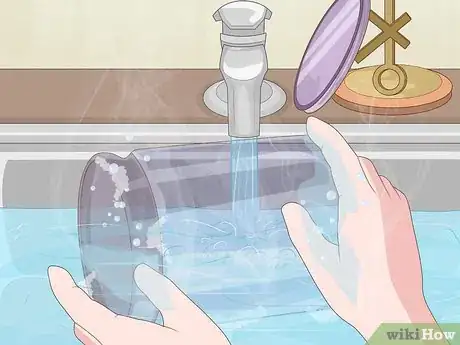
2Wash the jar, lid, and band. Use hot water and soap when cleaning, then rinse everything thoroughly.[2]Advertisement
-
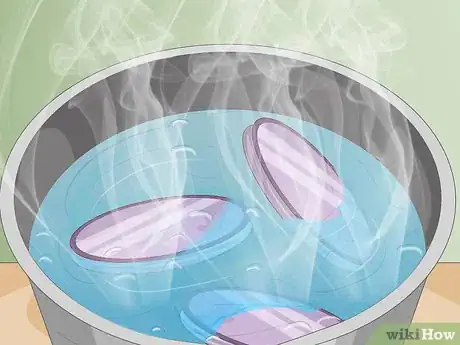
3Submerge the jar, band, and lid in hot water on the stove. Choose a pot with a lid then place a rack (a canning rack is best) inside. Rest the glass jar on the rack, replace the pot lid, and let the water boil for 10 minutes before lowering to a simmer. In a different saucepan, simmer the lid and band for the jar.[3]
- Do not allow the lid and band to reach a boil.
-
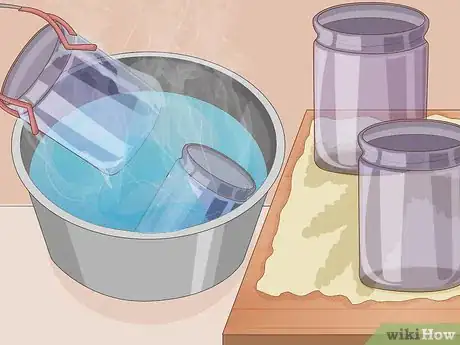
4Remove the jar, lid, and band from the water. Using kitchen tongs or—if you have them on hand—canning tongs, lift the jar, lid, and band out. Put them on a piece of clean paper towel so that they are ready for use.[4]
Advertisement
Part 2
Part 2 of 3:
Preparing the Preserve Mixture
-
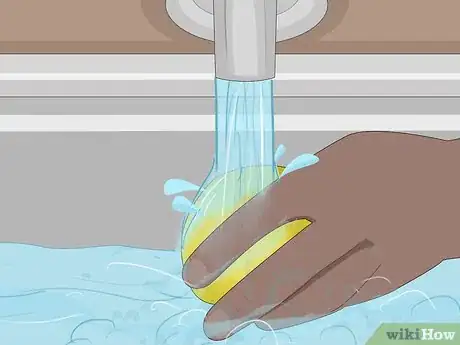
1Wash the limes. Since you are preserving the rind and pith, it is important that the outside of the lime is clean and free of chemicals. Buy organic limes or use a fruit and vegetable wash to remove any residue.[5]
- To fill a one-quart jar, you will need roughly 8 limes.
-
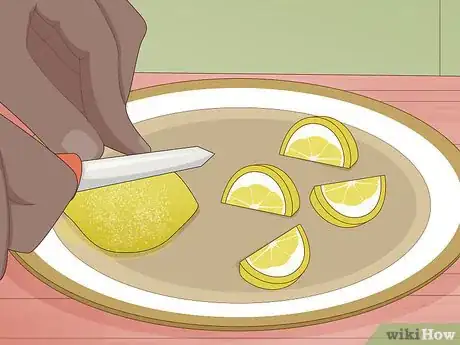
2Cut the limes into four sections, without completely separating the fruit. To keep the fruit steady, it can help to slice the tips off each end of the lime first. Place the trimmed lime on one end, then make two cuts, in the shape of an X. Stop cutting before the lime is fully quartered.[6]
-
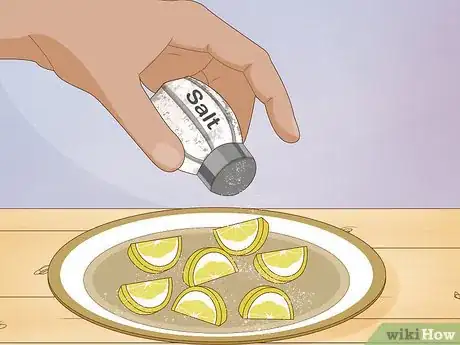
3Spread salt over the segments until the inside of the fruit is covered. Then, use your hands to reshape the lime back into its original form. Repeat this process until all the limes are packed with salt.
-
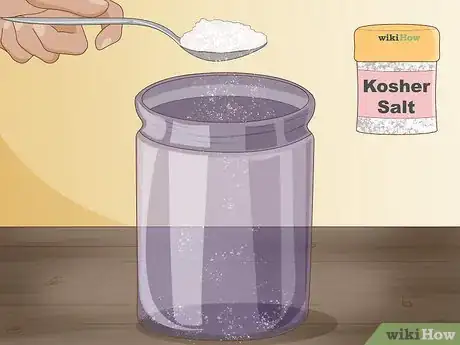
4Sprinkle a tablespoon of kosher salt into the bottom of the jar. The salt is important because it draws out the juice.[7]
-
5Create a layer of limes dusted with a thin covering of salt. If you want to add other seasonings, do so now. Extra herbs and spices add a signature touch to your limes and it's fun to play around with flavor combinations. Repeat your alternating layers of lime and salt until the jar is almost full.
-
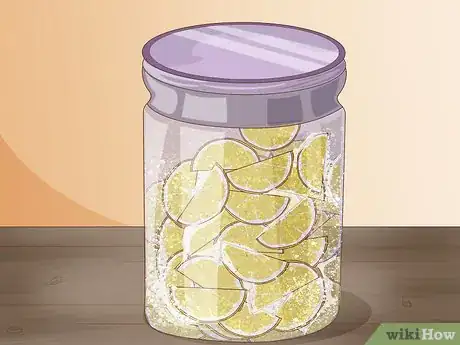
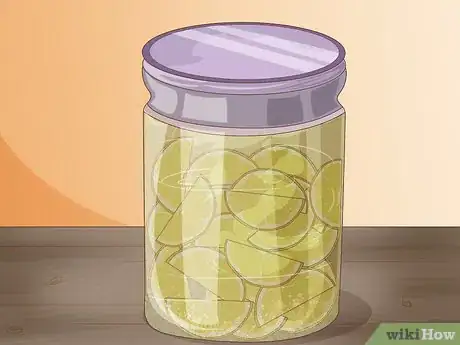
6Cover the limes with lime juice. Using a wooden spoon, press down on the limes to squeeze out the juice. Don't worry about damaging the limes because the whole point is to extract the juice. If your limes are not completely covered, you can always add extra fresh lime juice until they're fully immersed. Afterwards, close the jar.[10]
Advertisement
Part 3
Part 3 of 3:
Preserving the Limes
-
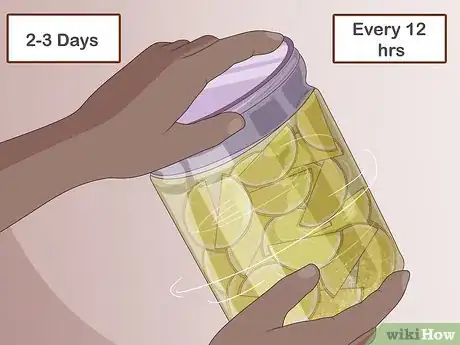
1Shake the jar of limes every 12 hours, over the course of 2 to 3 days. Alternatively, you can reopen the jar, press down hard on the limes, and then reseal the jar. Keep the jar in a dry location, at room temperature and out of direct sunlight.[11]
-
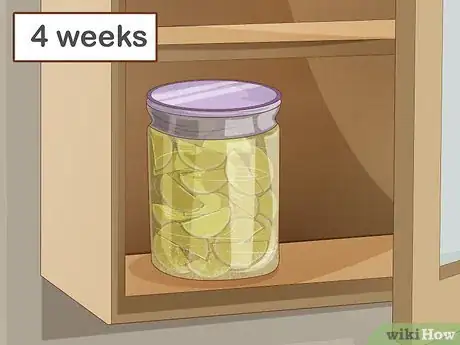
2Store the jar in a dry, dark location for 4 weeks. You don't need to do anything except wait. Pickling takes time.[12]
-
3Open the jar and marvel at your perfectly-preserved limes! They are now ready to eat. After opening, keep the jar in the refrigerator.[13]
Advertisement
Things You'll Need
- Pot with lid
- Saucepan
- Rack
- Tongs
- Wooden spoon
- A wide-mouthed jar
- Limes
- Salt
References
- ↑ https://www.foodnetwork.com/how-to/photos/how-to-sterilize-jars-for-canning-jam
- ↑ https://www.foodnetwork.com/how-to/photos/how-to-sterilize-jars-for-canning-jam
- ↑ https://www.foodnetwork.com/how-to/photos/how-to-sterilize-jars-for-canning-jam
- ↑ https://www.foodnetwork.com/how-to/photos/how-to-sterilize-jars-for-canning-jam
- ↑ https://www.bonappetit.com/test-kitchen/article/what-to-do-with-preserved-limes
- ↑ https://www.bonappetit.com/test-kitchen/article/what-to-do-with-preserved-limes
- ↑ http://phickle.com/preserved-grapefruit-lime-or-orange/
- ↑ https://www.delicious.com.au/recipes/preserved-lemons-limes/fb14b00e-5a2e-44db-8904-b24df4267ce8
- ↑ http://phickle.com/preserved-grapefruit-lime-or-orange/
- ↑ http://phickle.com/preserved-grapefruit-lime-or-orange/
- ↑ https://www.bonappetit.com/test-kitchen/article/what-to-do-with-preserved-limes
- ↑ https://www.bonappetit.com/test-kitchen/article/what-to-do-with-preserved-limes
- ↑ https://www.delicious.com.au/recipes/preserved-lemons-limes/fb14b00e-5a2e-44db-8904-b24df4267ce8
- ↑ https://www.bonappetit.com/test-kitchen/article/what-to-do-with-preserved-limes
- ↑ https://www.bonappetit.com/test-kitchen/article/what-to-do-with-preserved-limes
- ↑ https://www.stabroeknews.com/2015/the-scene/02/07/using-preserved-limes/
- ↑ https://www.stabroeknews.com/2015/the-scene/02/07/using-preserved-limes/
About This Article
Advertisement
