X
wikiHow is a “wiki,” similar to Wikipedia, which means that many of our articles are co-written by multiple authors. To create this article, volunteer authors worked to edit and improve it over time.
This article has been viewed 52,926 times.
Learn more...
Most programs allow you to print in black and white, but this will result in a sharp and hard to look at image. If you have a few minutes, you can convert the image using the Channel Mixer in your favorite image editing program. This will allow you to make the photo black and white while ensuring that the exposure and levels look good.
Steps
Part 1
Part 1 of 2:
Converting the Image to Black and White
-
1Understand why you'd want to convert first. While you can open any picture and quickly print it in black and white, you may want to use image editing software to convert it first. This will result in much better detail and shading, and will lead to more artistic photos. It may take a while to convert your first image, but once you get used to the process it will go much quicker.
- If you don't want to convert the image and just want to print it in black and white, click here.
-
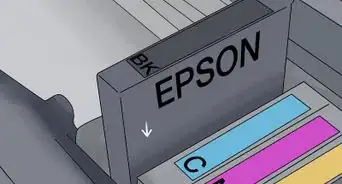
2Gather your tools. In order to do this, you'll need an advanced image editing program. The most popular option is Photoshop, which costs an arm and a leg. You can also use GIMP, which is a free, open-source image editing program. It offers many of the same features as Photoshop, but is known for being a little less user-friendly.
- You can download GIMP from gimp.org/downloads/
Advertisement -
3Open the image you want to convert in your image editor. You can use your image editing program to open image files in almost any format.
-
4Open the Channel Mixer. This tool allows you to adjust the color levels of your image.
- Photoshop - Click "Layer" → "New Adjustment Layer" → "Channel Mixer". This will create a new channel mixer layer and open the Channel Mixer tool.
- GIMP - Click "Colors" → "Components" → "Channel Mixer". This will open the Channel Mixer tool.
-
5Select the black and white preset. Both Photoshop and GIMP include a preset for converting the image to black and white.[1]
- Photoshop - Click the "Presets" menu in the Channel Mixer and select "Black & White".
- GIMP - Check the "Monochrome" box in the Channel Mixer.
-
6Use the sliders to adjust the levels. Once you've applied the black and white preset, you can use the sliders to make fine adjustments to the shading. There are three sliders: Red, Blue, and Green. Adjusting these sliders changes the strength of the original colors. For example, putting the Red slider at 100 and the other two at 0 will make the red parts of the image much lighter and the blue and green parts much darker.
- Keep the total value of all three sliders at exactly 100 to preserve the exposure of the original image. Values above this will result in a much brighter image, and values below will be darker.
-
7Save your adjusted image. Once you are satisfied with the changes, save your new image. Make sure that you give it a new name so that you don't overwrite the original image.


Advertisement
Part 2
Part 2 of 2:
Printing the Image
-
1Open the image. You can open the image in any image editor or preview program.
-
2Open the Print window. You can usually find this in the file menu or toolbar, or you can press ⌘ Cmd/Ctrl+P.
-
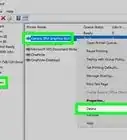
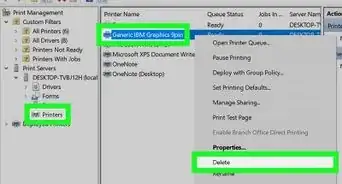
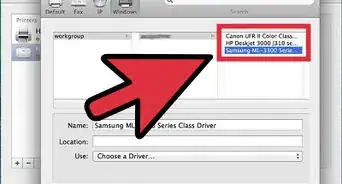
3Open the Printer Properties window and select "Black and White" or "Grayscale". For most programs, you'll need to open the Printer Properties or Preferences window in order to select black and white or grayscale. The options you get when printing vary from printer to printer and in different programs. For example, in the Windows Photo Viewer program, you'll need to click the "Options" link in the Print window, and then the "Printer properties" link.
- This is not necessary if you've already converted your image into black and white using the method outlined above.
-
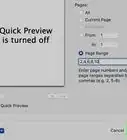
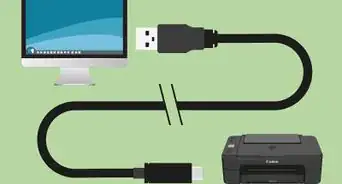
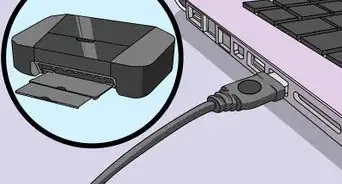
4Insert and select the proper paper. Some printers support photo paper that can make your printed picture look like an actual developed photo. The method for inserting this paper varies depending on your printer, so refer to your printer's documentation and indicators on the printer itself.
- The method for selecting the proper paper size depends on what program you are using to print. In the Windows Photo Viewer, for example, you can use the "Paper size" drop-down menu to select the size of the paper you inserted in your printer.
-
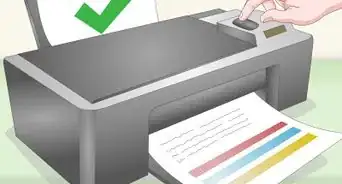
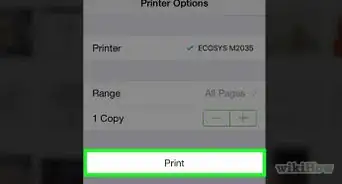
5Print the photo. If your photo is color, make sure you've selected the black and white or grayscale option. If you've already converted your image, you can just print it. Photos take a lot longer to print than text, but black and white photos are a little faster.
-
6Finished.


Advertisement

References
About This Article
Advertisement