This article was co-authored by wikiHow staff writer, Jack Lloyd. Jack Lloyd is a Technology Writer and Editor for wikiHow. He has over two years of experience writing and editing technology-related articles. He is technology enthusiast and an English teacher.
The wikiHow Tech Team also followed the article's instructions and verified that they work.
This article has been viewed 685,585 times.
Learn more...
This wikiHow teaches you how to set up a printer on your computer if you don't have the printer's software installation disk. You can usually do this with a USB cable that comes with your printer, though you may need to download the software directly from the printer manufacturer's website if the printer is older.
Things You Should Know
- Most printers, like HP, Epson, or Cannon, will automatically prompt you to download the appropriate software once it's connected to a computer.
- Connect your printer to a computer with a cable for Mac and Windows.
Steps
Using a USB Cable on Windows
-
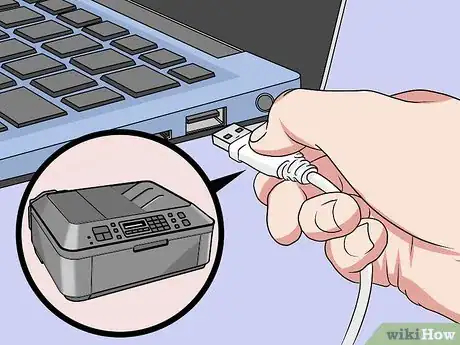
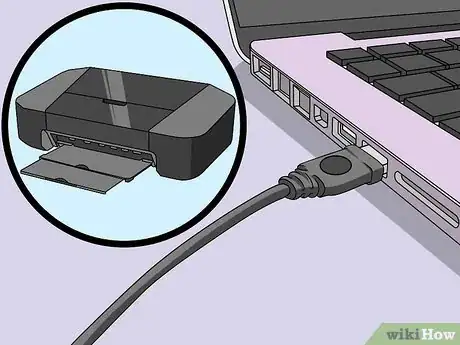
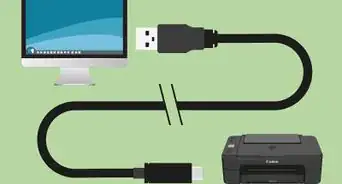
1Plug the printer's USB cable into your computer. It should fit into one of the USB ports on the side of your computer (laptop) or on the back or front of the CPU box (desktop).
- If your printer doesn't have a USB cable, you may have to buy one for your printer before continuing. Look up the printer's model number followed by "USB cable". If there isn't a USB cable available for your printer, you'll need to install the software manually instead.
You may also have to plug the non-USB end of the cable into the printer.
-
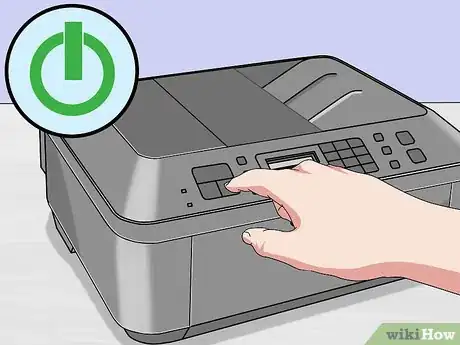
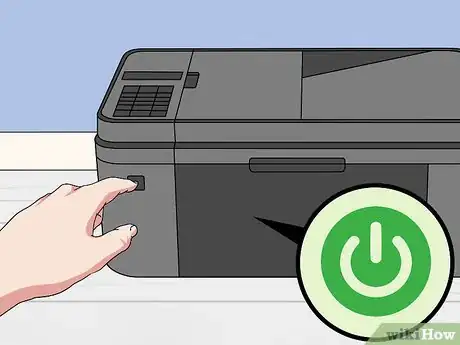
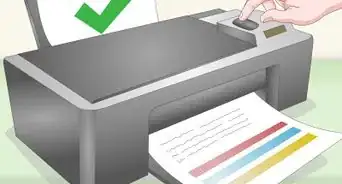
2Turn on the printer. Press the printer's On button to turn on the printer. Be sure to wait for a minute or so after doing this before proceeding.
- If plugging the printer into your computer doesn't prompt the installation process to start, continue with this method.
In many cases, simply turning the printer on after connecting it to the computer will prompt the printer installation to begin. If so, follow the on-screen prompts until your printer is installed.
Advertisement -
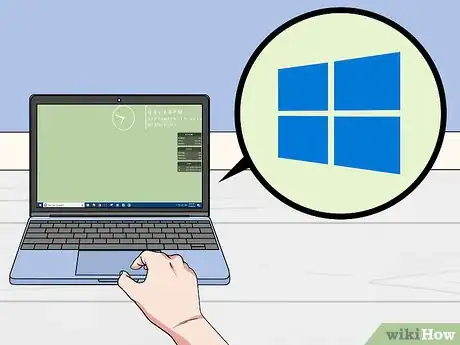
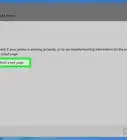
3
-
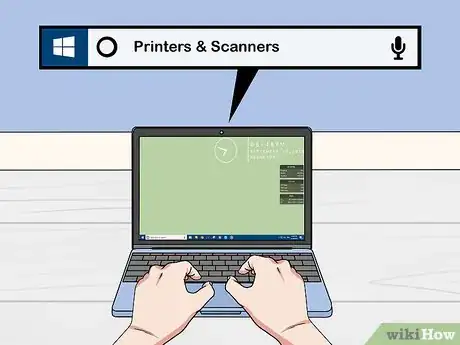
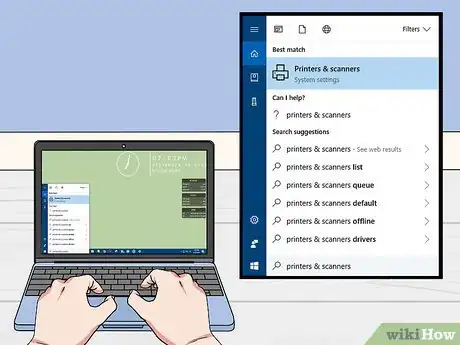
4Type printers & scanners into Start. Doing so will search for the Printers & Scanners section on your computer.
-
5Click Printers & scanners. You'll see this at the top of the Start window.
-
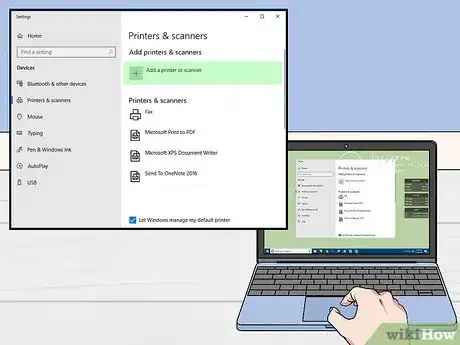
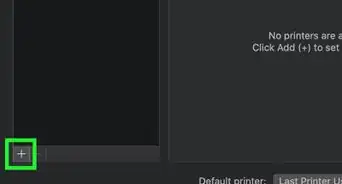
6Click Add a printer or scanner. It's at the top of the Printers & Scanners window.
-
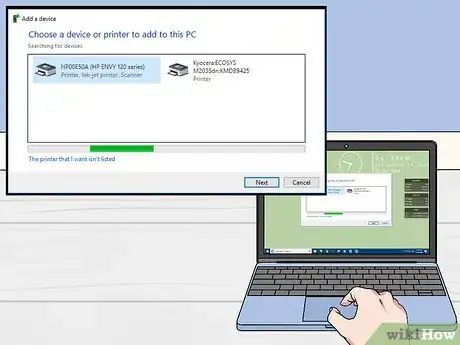
7Click your printer's name. It should be in the Add a printer or scanner window. Doing so will bring up the printer's installation window.
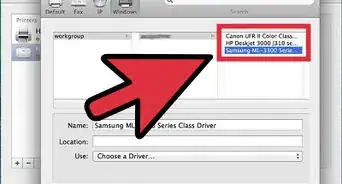
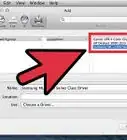
If your printer's name doesn't appear, click the the printer that I want isn't listed link, then select a search option and follow the on-screen prompts. You may end up downloading the printer's software before continuing.
-
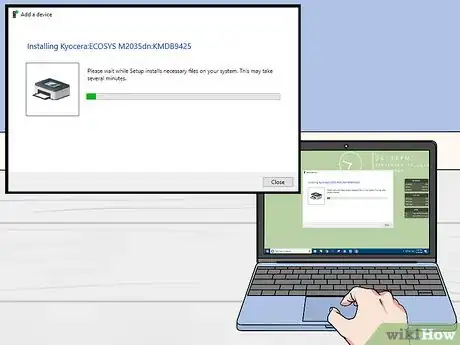
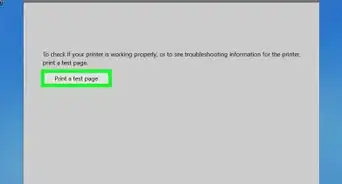
8Follow the on-screen installation steps. Each printer will have a distinct installation process. Once the installation process is complete, your printer should work.
Using a USB Cable on Mac
-
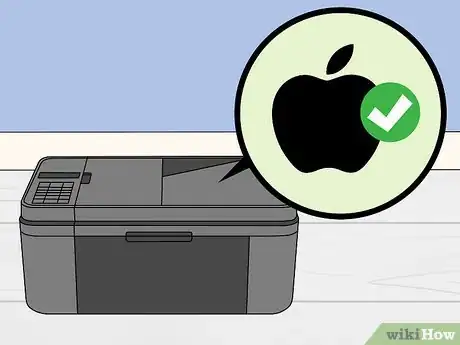
1Ensure that your printer is compatible with Mac. Not all printers can run on a Mac's operating system. Before you spend hours trying to install a printer on your Mac, look up the printer's model name and number to see if it is compatible with your Mac.
-
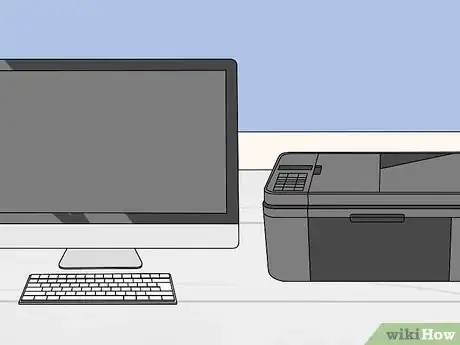
2Make sure the printer is close to your computer. Most printers come with relatively short USB-to-printer cables that allow you to connect your printer to your Mac for direct communication between the printer and your computer. To attach this cable, your printer and computer must be close to each other.
-
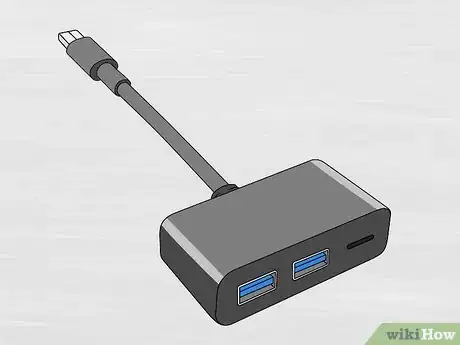
3Make sure you have a USB adapter if needed. Most modern Mac computers don't have traditional USB ports—instead, they have smaller USB-C ports. If this is the case, you will need a USB-to-USB-C adapter from Apple to attach a USB cable to your Mac.
-
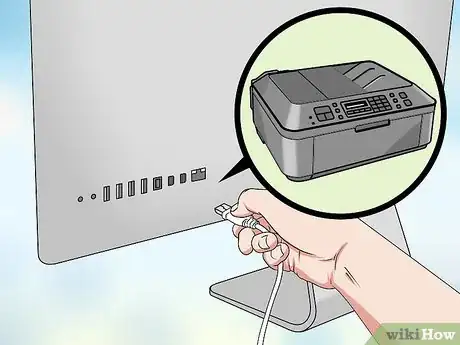
4Plug the printer's USB cable into your computer. It should fit into one of the USB ports on the side of your computer (laptop) or on the back of the iMac display (desktop).
If you need an adapter, plug the adapter into the USB-C port first, then plug the cable into the USB adapter.
-
5
-
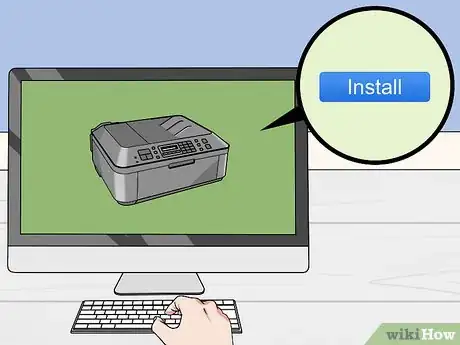
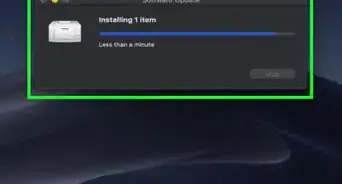
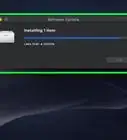
6Click Install when prompted. Macs will automatically detect your printer and determine whether or not it needs to be updated; if you've never installed the printer on your Mac, you will receive the update prompt.
-
7Follow the on-screen prompts. Click through the printer's installation steps to install the latest software and drivers on your Mac. When the process is complete, you'll be able to use your printer.
Downloading Software
-
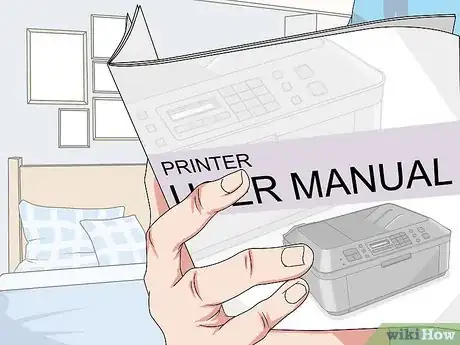
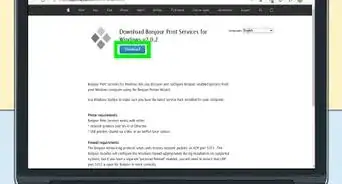
1Consult your printer's manual. The manual may have a section with instructions specific to your printer model regarding what you can do to install your printer without the software. If this is the case, follow those instructions to find and download your printer's software.
-
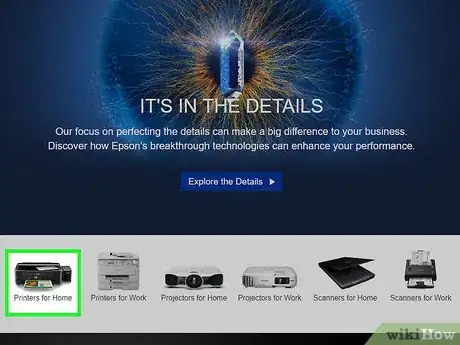
2Go to the printer manufacturer's website. For example, you would go to http://www.hp.com/ for an HP printer. Some other popular printer manufacturer's websites are:
- Canon - https://www.usa.canon.com/internet/portal/us/home/support
- Epson - https://epson.com/
- Brother - http://www.brother-usa.com/printer/
-
3Click the Printers tab. Each manufacturer website will vary in appearance, so you may have to poke around for this option at the top of the page.
If there's a search bar at the top of the website, type in your printer's model name and then skip the next step.
-
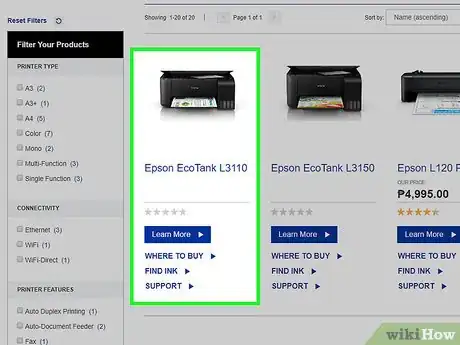
4Search for your printer model. Either scroll through available models, or type your printer model's name into a search bar if applicable.
-
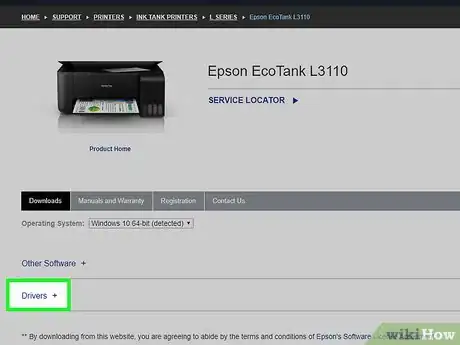
5Look for a "Software" download link. You may have to re-enter your printer model in a search bar to find software here as well.
- Some websites place the Download Software link in very small text at the bottom of the page.
-
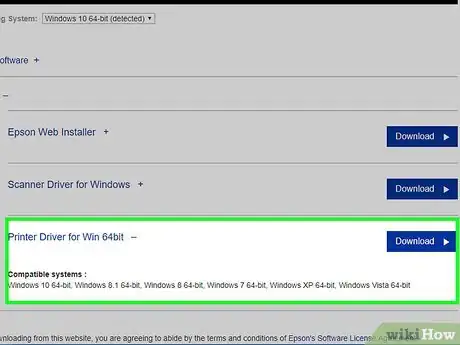
6Click the download link for your printer's software. Doing so should prompt the software to begin downloading to your computer.
-
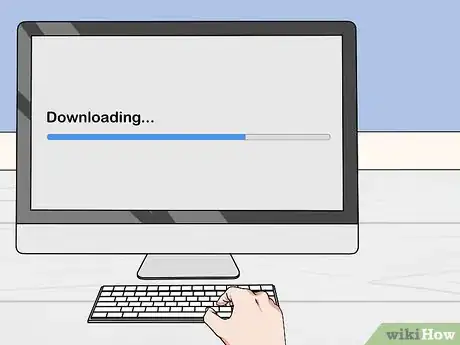
7Wait for your printer's software to download. This can take anywhere from a few seconds to a few minutes.
- If prompted, select a save location first.
-
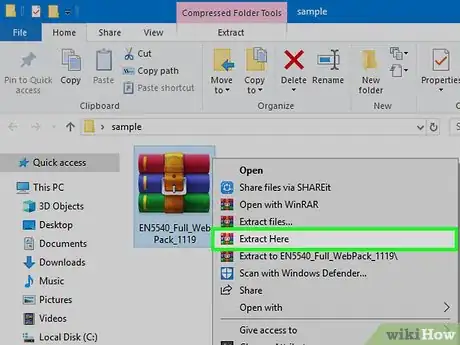
8Unzip the software's folder if you're on Windows. Simply double-click the folder, double-click the setup file, click OK when prompted, choose a location, and click Extract Here... to unzip the folder.
- Mac users can simply double-click the folder to open it.
- If your software downloaded in one unzipped setup file, skip this step.
-
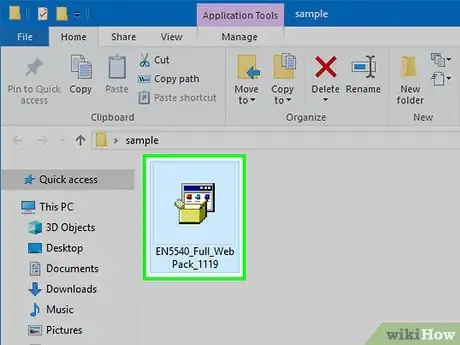
9Double-click the software setup file. On Windows computers, you'll first have to open the new unzipped folder and then double-click the EXE file in it. Mac users can simply double-click the setup file (most likely a DMG file) to run it.
- If you're on a Mac running MacOS Sierra, you may need to verify the software before continuing.
-
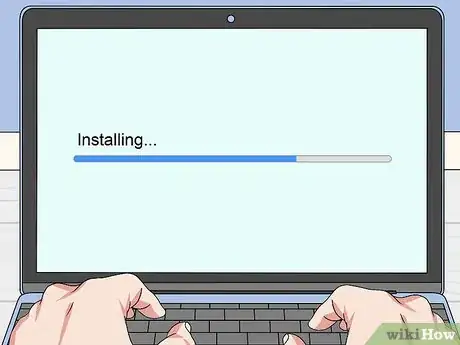
10Follow the on-screen instructions. What you see after double-clicking the software setup file will vary depending on your operating system and your printer in general, so just follow the on-screen prompts until the installation is complete.
-
11Try to connect to your printer. If your printer has a USB cable, connect it to your computer to see if your computer now recognizes your printer. If the printer connects via Wi-Fi only, make sure that both the printer and your computer are connected to the Internet. You should now be able to access your printer.
Community Q&A
Did you know you can get answers researched by wikiHow Staff?
Unlock staff-researched answers by supporting wikiHow
-
QuestionCan you set up a printer without the disc?
 wikiHow Staff EditorThis answer was written by one of our trained team of researchers who validated it for accuracy and comprehensiveness.
Staff Answer wikiHow Staff EditorStaff Answer
 -
QuestionDo you need a USB cable to connect a wireless printer?
 wikiHow Staff EditorThis answer was written by one of our trained team of researchers who validated it for accuracy and comprehensiveness.
Staff Answer wikiHow Staff EditorStaff Answer
 -
QuestionHow do I install a printer with a disc?
 wikiHow Staff EditorThis answer was written by one of our trained team of researchers who validated it for accuracy and comprehensiveness.
Staff Answer wikiHow Staff EditorStaff Answer
Warnings
- Do NOT download and install software from sites that you do not trust. Doing so can expose your computer to malware.⧼thumbs_response⧽
About This Article
If you need to install a printer without an installation disk, you can use a USB cable. If you’re using a Windows computer, first, plug the printer’s USB cable into your computer’s USB port, which should be on the side of your computer if you have a laptop or on the front of your computer tower. Press the power button on the printer to turn it on. Then, click the Windows logo in the bottom-left corner of the screen to open the Start menu. Type “Printers and Scanners” into Start, then click on the top result. Next, click “Add a printer or scanner,” which should open the printer installation window. Click on your printer, or, if the name of your printer doesn’t appear, click the “the printer that I want isn't listed” link to add it manually. Then, simply follow the on-screen installation steps. If you need to install a printer without an installation disk, you can use a USB cable. If you’re using a Windows computer, first, plug the printer’s USB cable into your computer’s USB port, which should be on the side of your computer if you have a laptop or on the front of your computer tower. Press the power button on the printer to turn it on. Then, click the Windows logo in the bottom-left corner of the screen to open the Start menu. Type “Printers and Scanners” into Start, then click on the top result. Next, click “Add a printer or scanner,” which should open the printer installation window. Click on your printer, or, if the name of your printer doesn’t appear, click the “the printer that I want isn't listed” link to add it manually. Then, simply follow the on-screen installation steps. To learn how to install a printer on a Mac, read on!
