This article was co-authored by Duston Maynes. Duston Maynes is an Automotive Repair Specialist at RepairSmith. Duston specializes in leading a team that handles a variety of automotive repairs including replacing spark plugs, front and rear brake pads, fuel pumps, car batteries, alternators, timing belts, and starter motors. Duston holds an Associate’s degree in Automotive/Diesel Technology from The Universal Technical Institute of Arizona and is a Certified Diagnostic Technician and Automobile Mechanics Technician through BMW STEP. RepairSmith received The 2020 Big Innovation Award by Business Intelligence Group and The Startup of the Year by the American Business Awards. RepairSmith was also included in Built in LA’s 50 Startups to Watch and The Business Intelligence Group’s 52 Names Leading the Way in Customer Service. RepairSmith offers in-home services to provide car owners convenient and complete auto repair everywhere.
There are 7 references cited in this article, which can be found at the bottom of the page.
wikiHow marks an article as reader-approved once it receives enough positive feedback. In this case, 85% of readers who voted found the article helpful, earning it our reader-approved status.
This article has been viewed 694,880 times.
Most modern vehicles come equipped with serpentine belts, though they may occasionally be called fan belts. Older vehicles may have belts that are used only to power the fans that cool the radiator. These belts are very similar and may be treated in the same fashion. A noisy fan or serpentine belt can make chirping, squeaking or squealing sounds that may be consistent or may come and go. Often, these sounds indicate an issue that may need to be resolved like a loose or damaged belt.
Steps
Applying Belt Dressing to Neoprene Belts
-
1Ensure your vehicle is equipped with a neoprene belt. Most modern vehicles have a serpentine belt instead of a fan belt, though the names may be used interchangeably. Older model vehicles and some high-performance applications still utilize fan belts instead of electric fans. Older belts were made of neoprene and would benefit from the application of belt dressing, but newer EPDM-made belts may dry out as a result of using belt dressing.
- If your fan belt was installed after the year 2000, it is likely an EPDM-made belt.
- The two belts are difficult to tell apart visually until they are worn out and need to be replaced.
-
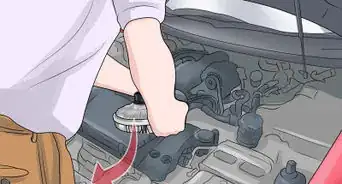
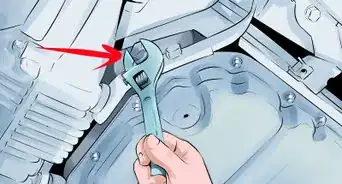
2Open the hood. You will need to apply the belt dressing directly onto the belt. In order to do so, you will need to open the hood of the vehicle and remove any cowl cover that may be in place over the fan belt itself. This may require the use of some basic hand tools like a socket or hand wrench.[1]
- Some vehicles have engine covers that will need to be removed.
- You will need a direct line of sight and access to the belt while the engine is running.
Advertisement -
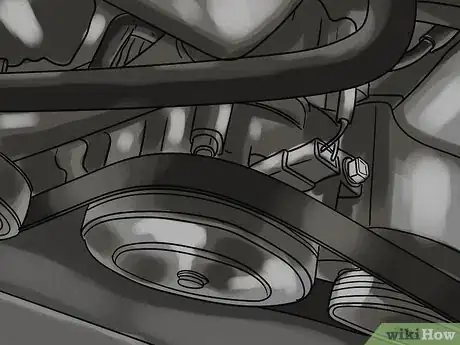
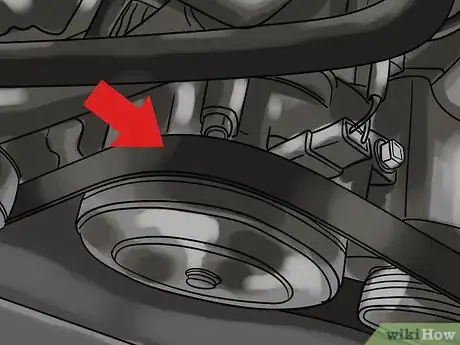
3Locate the fan belt. The fan belt will likely be located at the front of the engine, attached to a pulley that rotates the cooling fan or fans for the radiator. It will often be black or grey. You may be able to locate it faster by starting at the radiator fan and working backward.[2]
- In many older American vehicles, the fan belt is connected to a shaft with a large metal fan at the end and is easy to identify.
- Serpentine or accessory belts that serve the same function as a fan belt may be on the side of a horizontally mounted engine.
-
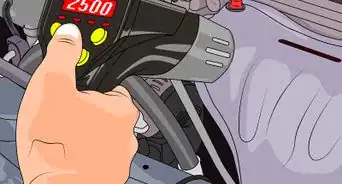
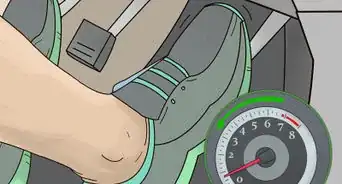
4Start the vehicle. Ensure the vehicle is in park with the parking brake engaged, then start the engine. You will need the engine to be running in order to apply the belt dressing evenly over the entire length of the belt.[3]
- Leave the hood open and engine covers removed when starting the engine.
-
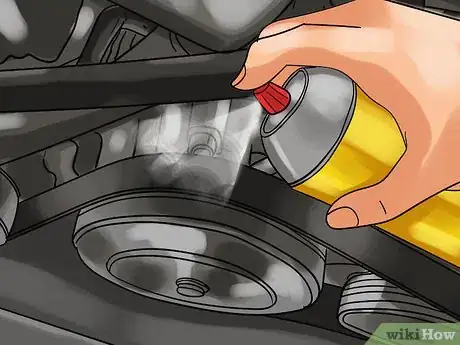
5Spray the belt dressing directly onto the belt. With the engine running, spray the belt dressing directly onto the back of the fan belt. As the engine runs, the fan belt will be moving quickly, so you can leave the can in one place and spray onto the belt as it spins.[4]
- Spray the belt dressing onto the belt until the entire belt is wet.
- The squeaking from the fan belt should stop almost immediately.
Tightening or Aligning a Fan Belt
-
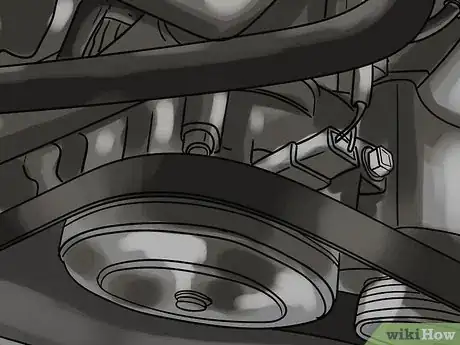
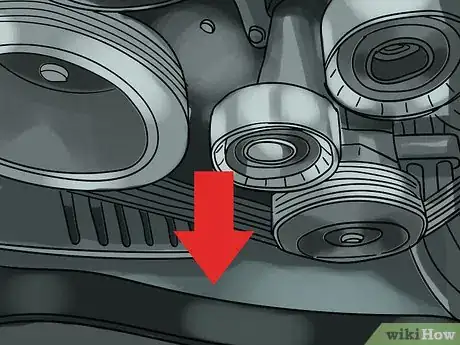
1Inspect the belt for misalignment. A common cause of noisy fan belts is a slight misalignment of the belt on the pulleys. With the hood open, examine the belt to ensure it is mounted on the top most pulley completely straight.[5] If you are unsure, place a tape measure along the pulley to provide yourself with a frame of reference.[6]
- If the belt is offset even slightly, it will cause squeaking, squealing or chirping.
- A belt that is not properly aligned will wear out faster.
-
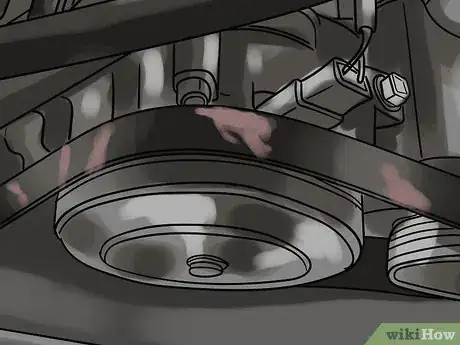
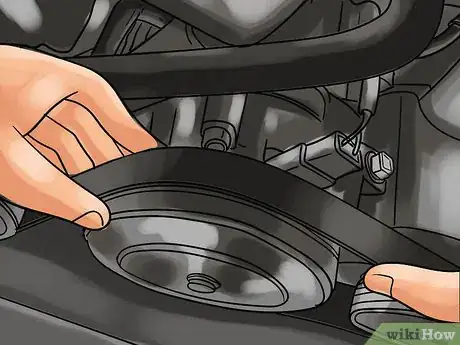
2Identify signs of damage or excessive wear. If your belt needs to be replaced, it will often become noisy as a result of the wear or damage. Shine a light on the belt and look at it closely. If there are any visible cracks or chunks of belt missing, the belt should be replaced immediately.[7]
- Modern EPDM-made belts are designed to last up to 100,000 miles before being replaced but may wear prematurely due to misalignment or unusual driving conditions.
- Neoprene belts must be replaced every 30,000 to 60,000 miles.
-
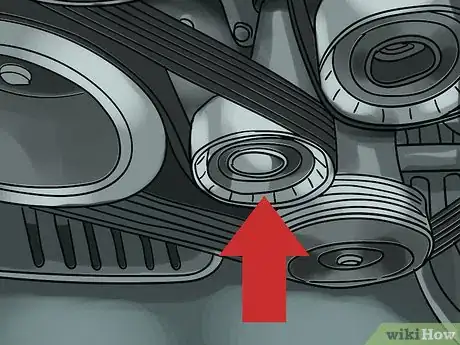
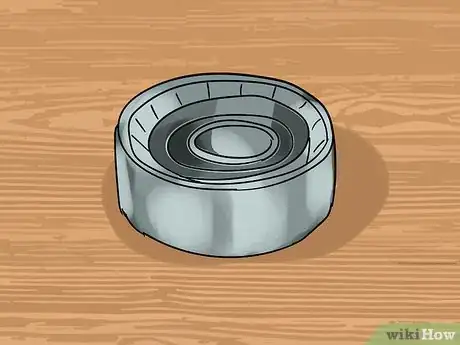
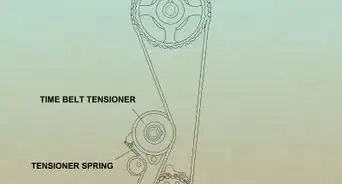
3Locate the tensioner pulley. Some vehicles come equipped with a tensioner pulley that applies tension to the serpentine or fan belts. If you are unsure if your vehicle came equipped with a tensioner pulley, refer to the service manual for your specific year, make and model vehicle.[8]
- The tensioner pulley is often bolted directly to the engine block and has an opening that will fit a ½ inch drive ratchet.
- Not all vehicles come equipped with a tensioner pulley.
-
4Replace the tensioner pulley. If the tensioner pulley (or auto tensioner) is too worn out to be able to apply sufficient tension to the belt, you will need to replace it. You should not be able to press on the pulley to relieve belt tension by hand. If you are able to, the tensioner must be replaced.[9] Most tensioners are held in place using only one or two bolts.[10]
- Remove the old tensioner by removing the bolts passing through it and into the engine block.
- You may want to replace the belt at the same time due to any damage that may have resulted from the loose tensioner.
-
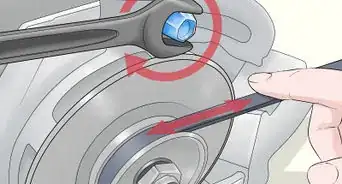
5Tighten the tensioner. In some vehicles, the belt tension is established by an adjustable bracket on an accessory such as the alternator. In these cases, loosen the two bolts that pass through the adjustable eyelet on the bracket. Slide a pry bar between the alternator and the engine block and pry the alternator away from the engine with the belt over the pulley. Maintain that tension while you tighten the two bolts you loosened in the eyelets.[11]
- This task may be easier to accomplish with a friend helping maintain the tension on the belt.
- Be careful to ensure the belt is completely straight on the pulley.
Replacing the Belt
-
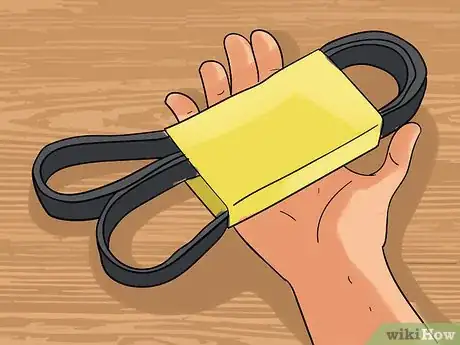
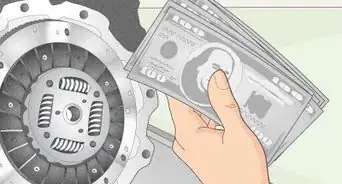
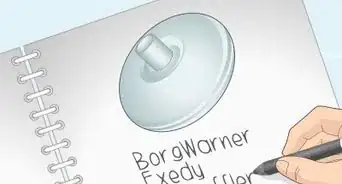
1Purchase a replacement belt. You can purchase a replacement belt from your local auto parts store. Make sure to provide them with the exact year, make and model of the vehicle as well as engine size so you receive the correct replacement belt.[12]
- It is recommended that you use an EPDM style belt to replace your old one.
- Compare your new belt to the old one to ensure the new belt is the proper length and width.
- You'll need to replace the belt it's worn or damaged. If it has oil on it, you should also replace it, or it could slip off while you're driving.[13]
-
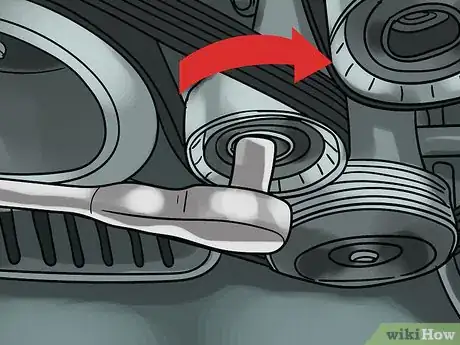
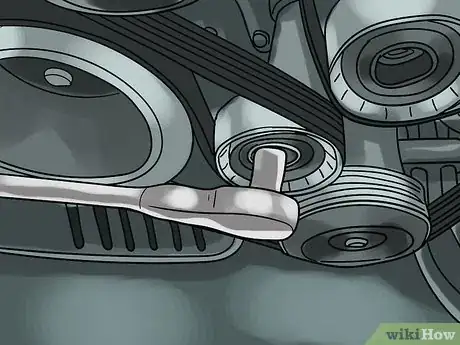
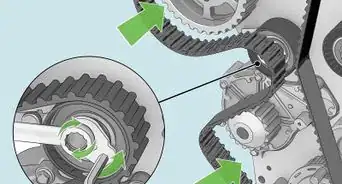
2Relieve the tension on the belt. If your vehicle came equipped with an auto tensioner pulley, it can usually be loosened by inserting the end of a ½ inch drive ratchet into the hole at the center of the pulley. In some vehicles, it may be a bolt head you will need to locate the proper size wrench to turn. Twist the pulley clockwise to bend the tensioner arm down and remove the tension from the belt.[14]
- If the belt tension is held in place using the alternator bracket, loosen the bolts that pass through the eyelets on the bracket to relieve the belt tension.
-
3Remove the belt from the engine. Make note of how the belt is run through the engine. If it is strictly for use on the fan, it will have very few twists and turns, but if it is a more modern serpentine belt design, it may need to pass through and around a number of pulleys. Your vehicle's service or owner's manuals should provide a diagram on how the belt is to be run, but you still may want to get a good look at it before removing it.[15]
- If you do not have a diagram of how the belt should be run, take a picture of the old belt with your phone before removing it.
-
4Install the new belt. Run the new belt through the pulleys in the same way the previous one was. Be sure the belt fits onto each pulley evenly and in a completely straight line to avoid damaging the belt and making lots of noise.[16]
- Refer to the owner's or service manual for your specific vehicle to be sure you've run the fan or serpentine belt correctly.
- Running the belt at an angle will result in loud squealing. Be sure it is mounted flat and evenly.
-
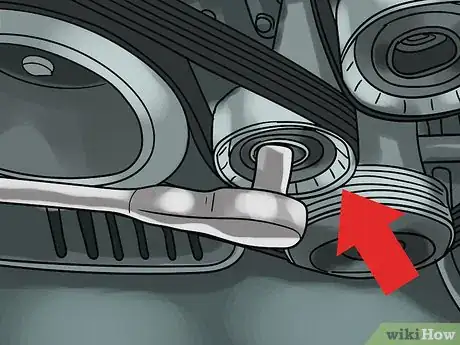
5Apply tension to the belt. With the new belt in place, relieve the tension you have applied to the auto tensioner to secure it. In vehicles equipped with a bracket to apply tension, insert a pry bar between the bracket and the block and pry it away from the engine. Tighten the eyelet bolts with tension applied.[17]
- Visually inspect the new belt to ensure it is straight.
- Start the vehicle to check for squealing.
Expert Q&A
-
QuestionWhy does my fan belt squeal when I start my car?
 Duston MaynesDuston Maynes is an Automotive Repair Specialist at RepairSmith. Duston specializes in leading a team that handles a variety of automotive repairs including replacing spark plugs, front and rear brake pads, fuel pumps, car batteries, alternators, timing belts, and starter motors. Duston holds an Associate’s degree in Automotive/Diesel Technology from The Universal Technical Institute of Arizona and is a Certified Diagnostic Technician and Automobile Mechanics Technician through BMW STEP. RepairSmith received The 2020 Big Innovation Award by Business Intelligence Group and The Startup of the Year by the American Business Awards. RepairSmith was also included in Built in LA’s 50 Startups to Watch and The Business Intelligence Group’s 52 Names Leading the Way in Customer Service. RepairSmith offers in-home services to provide car owners convenient and complete auto repair everywhere.
Automotive Repair Specialist The belt tension might not be good enough, a pulley might be binding, an aged tensioner might be causing a slip in the belt, or oil on the belt might be forming an oil leak. Stop by a local shop to get your vehicle properly diagnosed.
 -
QuestionCan a misaligned belt cause any serious damage, other than the annoying squealing?
 Logic Johnson LafontaineTop AnswererNo serious damage, but your belt probably won't last as long as a well aligned one, since there`s going to be some unnatural stress on at least one of the grooves.
 -
QuestionIs there a warranty on a driving belt and pulley of secondhand car?
 Community AnswerMost states have 'as is' rules - when you purchase a car, you get it in the condition it's in with no warranty whatsoever, unless otherwise specified in the contract or bill of sale.
Warning
- The information in this article is intended to provide general answers for frequently asked questions about this topic, and may not be applicable to all vehicles. Please refer to your vehicle’s owner’s manual for details about maintenance intervals and other vehicle specifications. If you are unsure about your ability to perform any repair, we recommend contacting a certified automotive technician to perform the necessary work.
References
- ↑ https://www.youtube.com/watch?v=CyDbgBl2f7I
- ↑ https://www.youtube.com/watch?v=CyDbgBl2f7I
- ↑ https://www.youtube.com/watch?v=CyDbgBl2f7I
- ↑ https://www.youtube.com/watch?v=CyDbgBl2f7
- ↑ Duston Maynes. Automotive Repair Specialist. Expert Interview. 10 June 2021.
- ↑ https://www.howacarworks.com/electrical-systems/checking-adjusting-and-refitting-drive-belts
- ↑ http://www.aa1car.com/library/serpentine_belt.htm
- ↑ http://www.aa1car.com/library/serpentine_belt.htm
- ↑ Duston Maynes. Automotive Repair Specialist. Expert Interview. 10 June 2021.
- ↑ http://www.aa1car.com/library/serpentine_belt.htm
- ↑ http://www.aa1car.com/library/serpentine_belt.htm
- ↑ http://www.popularmechanics.com/cars/how-to/a4121/4311197/
- ↑ Duston Maynes. Automotive Repair Specialist. Expert Interview. 10 June 2021.
- ↑ http://www.popularmechanics.com/cars/how-to/a4121/4311197/
- ↑ http://www.popularmechanics.com/cars/how-to/a4121/4311197/
- ↑ http://www.popularmechanics.com/cars/how-to/a4121/4311197/
- ↑ http://www.popularmechanics.com/cars/how-to/a4121/4311197/
About This Article
To quiet a noisy fan belt, start by lifting the hood of the car and inspecting the belt. If it is not completely straight, you'll need to realign the belt. If it looks worn or frayed, you may need to replace it. In general, EPDM-made belts need to be replaced every 100,000 miles. If it doesn't look worn, you can turn the car on and spray fan dressing on the belt. Apply the fan dressing while the motor is running so that the entire belt gets covered. To learn how to align your fan belt, scroll down.
