This article was co-authored by wikiHow Staff. Our trained team of editors and researchers validate articles for accuracy and comprehensiveness. wikiHow's Content Management Team carefully monitors the work from our editorial staff to ensure that each article is backed by trusted research and meets our high quality standards.
wikiHow marks an article as reader-approved once it receives enough positive feedback. In this case, several readers have written to tell us that this article was helpful to them, earning it our reader-approved status.
This article has been viewed 101,738 times.
Learn more...
Pencil sharpeners are a great tool to keep your pencils sharp at all times. However, sometimes the blades on handheld sharpeners get dull or clogged, and have to be replaced or cleaned. Luckily, taking the blades out is very easy. All you need is a screwdriver and a few minutes of patience. When you get the blades out, you can clean or sharpen them to keep your pencil sharpener in top shape.
Steps
Removing the Blade
-
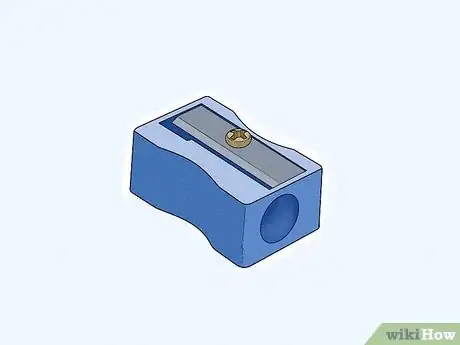
1Turn the sharpener so the blade is facing up. Put the screwdriver down on a flat, solid surface. Then flip it so the blade part is facing up.[1]
- Make sure the surface you’re working on isn’t wobbly. If you slip, the blade could cut you.
-
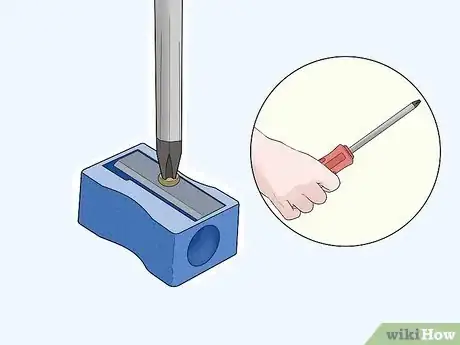
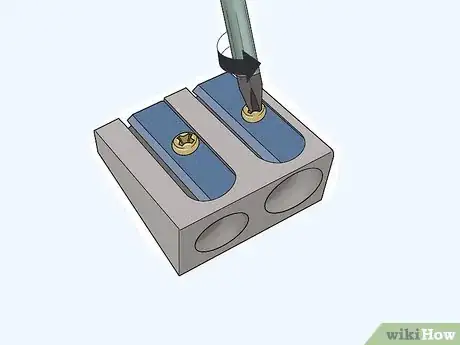
2Get a Philips head screwdriver that matches the screw on the blade. Most pencil sharpeners use small Philips head screws to attach the blades. Get a small Philips head screwdriver and make sure it fits into the screw holding the blade down. You might have to try a few before you find the right size.
- Some sharpeners might use a flathead screw instead, so be ready to use one of these if you have to.
- If you have an eyeglass kit, the small screwdriver in that might work. If you don't have a screwdriver, you could use something small and flat that will fit into the screw. A small paperclip, for example, could work.
Advertisement -
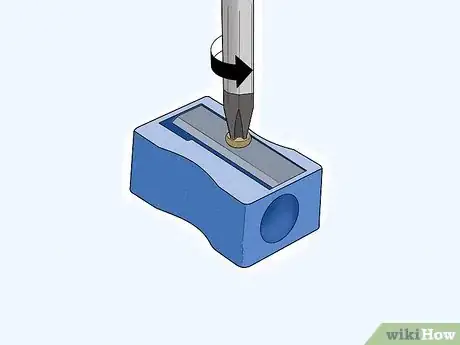
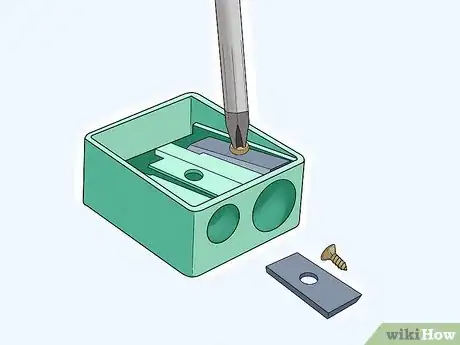
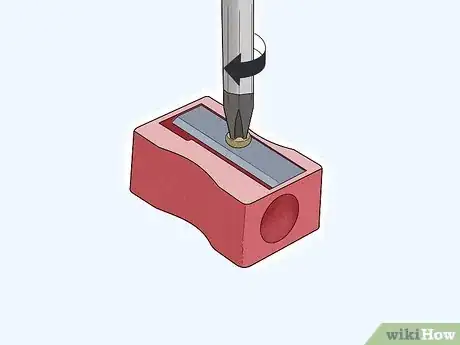
3Remove the screw on the blade by turning it counterclockwise. Insert the screwdriver into the screw and turn it to the left, or counterclockwise. Keep turning until the screw comes out.[2]
- Sharpener blades usually have 1 or 2 screws, so remove all of the ones that you see.
- Keep track of the screws you take off so you can put the sharpener back together.
-
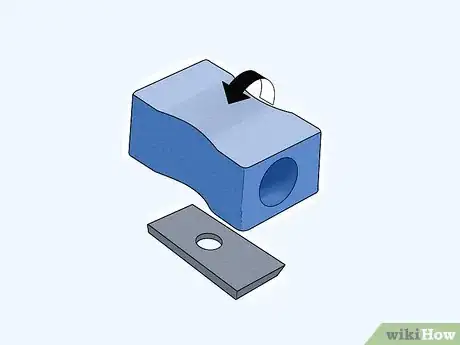
4Flip the sharpener upside down to pop the blade out. With the screws gone, the blade should come out easily. Simply turn the sharpener upside down so the blade falls out. You may have to give it a little shake.
- Hold the sharpener close to the table so the blade doesn’t bounce when it comes out.
- Do not try to dig the blade out with your finger. It’s sharp and you could cut yourself. The blade will come out easily if you flip the sharpener.
-
5Repeat the process if there are multiple blades. Some sharpeners have multiple blades. You can follow the same process for each one. Simply remove the screws and flip the sharpener so they fall out.[3]
-
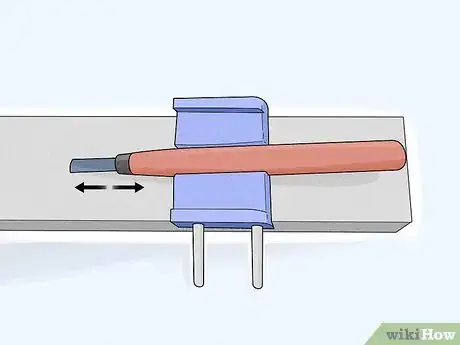
6Sharpen the blade with a sharpening stone. If the blade is dull, then a quick sharpening should do the trick. Wet a normal sharpening stone with some water, then rub the blade back and forth across the stone at a 20-degree angle. Continue until the blade sharpens, which is usually after a few passes.[4]
- Sharpening such a small blade can be difficult because it's tough to grip. You might just want to use a fresh one from the manufacturer.
- In some cases, the blade just needs a quick cleaning instead of a sharpening. Try rubbing some alcohol on the blade to get rid of any gunk that's stopping it from sharpening properly.
-
7Screw the blade back into the sharpener. Whether you're using a fresh blade or you sharpened the old one, putting the blade back on is simple. Simply place the blade back into the slot you removed it from and line up the blade hole with the hole on the sharpener. Then put the screw back in and turn it clockwise until it's tight.[5]
- If the blade has more than one screw hole, make sure you line all of them up.
Taking Apart the Housing
-
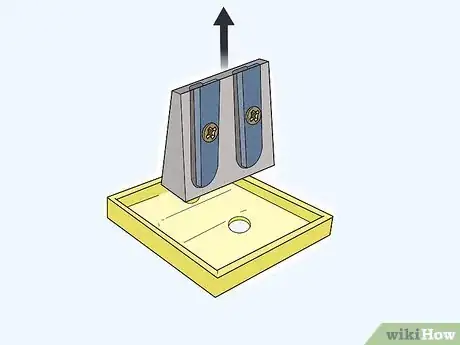
1Pull the lid off of the body. Some pencil sharpeners have a canister or cup to catch pencil shavings. The lid, which holds the sharpener, sits on top of that body. It’s usually not attached, so simply lift it off the cup.[6]
- If the cup has pencil shavings in it, be careful and don’t spill them everywhere. Dump them into a trash can.
-
2Remove the screws holding the sharpener to the lid. Flip the lid upside down. There should be screws underneath the lid holding the sharpener in place. Use a Philips head screwdriver and remove all those screws. You can then pull the sharpener off of the lid.[7]
- Keep track of the screws you remove so you can put the sharpener back together.
- Different sharpeners might have a different number of screws. Most have 2, but remove all of the screws you see.
-
3Slide the sharpener out of its housing. The sharpener might be inside a plastic housing. If so, simply slide it out of the open side to reach the sharpener blades.[8]
- Not all sharpeners have a plastic housing, so you might not have to slide yours out.
-
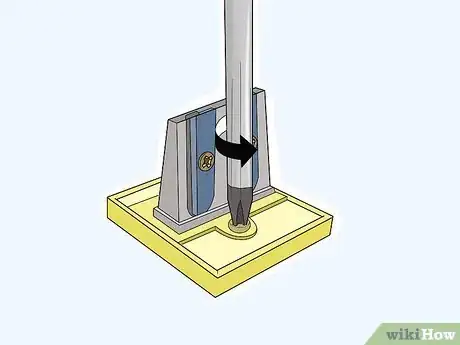
4Take out the blades by removing the screws. Once you’ve taken apart the sharpener housing, you can reach the blades. Unscrew these if you want to replace or sharpen them.[9]
- The screwdriver that fits the screws on the lid might not fit the screws on the blade, so you’ll need a different screwdriver.
Things You’ll Need
- Philips head screwdriver
Warnings
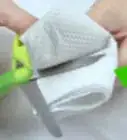
- If you're throwing the blades out, wrap them in a paper towel or newspaper first. This way, no one will get cut if they touch them.⧼thumbs_response⧽
- The blade on a pencil sharpener can be very sharp. Don’t play with it or touch the sharp part with your fingers, or you could get a cut.⧼thumbs_response⧽
- Don’t use the sharpener blade for anything except sharpening pencils.⧼thumbs_response⧽
References
- ↑ https://choosemarker.com/how-to-sharpen-pencil-sharpener-blade/
- ↑ https://choosemarker.com/how-to-sharpen-pencil-sharpener-blade/
- ↑ https://choosemarker.com/how-to-sharpen-pencil-sharpener-blade/
- ↑ https://youtu.be/qPO9FxSOv78?t=202
- ↑ https://choosemarker.com/how-to-sharpen-pencil-sharpener-blade/
- ↑ https://image.tigersupplies.com/Manuals/DAH301-20171112053049354.pdf
- ↑ https://youtu.be/x3-fs5S5UZY?t=46
- ↑ https://youtu.be/x3-fs5S5UZY?t=68
- ↑ https://youtu.be/x3-fs5S5UZY?t=175

-Step-22.webp)
