This article was co-authored by wikiHow staff writer, Janice Tieperman. Janice is a professional and creative writer who has worked at wikiHow since 2019. With both a B.A. and M.A. in English from East Stroudsburg University, she has a passion for writing a wide variety of content for anyone and everyone. In her free time, you can find her working on a new crochet pattern, listening to true crime podcasts, or tackling a new creative writing project.
The wikiHow Video Team also followed the article's instructions and verified that they work.
This article has been viewed 12,282 times.
Learn more...
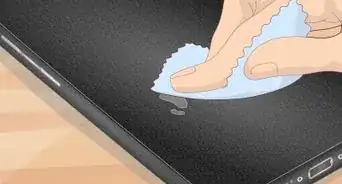
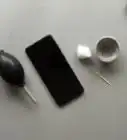
Our smartphones can really take a beating! Lots of tapping and swiping can wear down the oleophobic coating, or oil-repellent protection on your phone screen. Thankfully, an at-home oleophobic coating kit can help your phone look good as new and keep those pesky fingerprint smudges at bay.
Steps
Fresh Coating
-
1Squeeze a drop of water on your screen to see if the coating is still intact. If water forms a bead, your phone’s oleophobic coating is still working properly. However, if the water flattens and rolls down your screen, then you’ll need to give your coating a touch-up.[1]
- Your phone’s default oleophobic coating only lasts about 1-2 years. If you use your smartphone really frequently, your coating will come off more quickly.
-
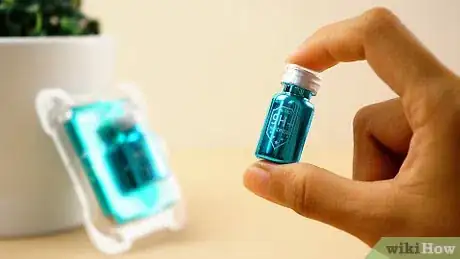
2Get an oleophobic restoration kit online. Shop online for an oleophobic coating kit—these typically aren’t that pricey and cost $20 or less. These kits come with a very small bottle of oleophobic coating that you apply directly to your phone screen.[2]Advertisement
-
Video Player is loading.
This is a modal window.
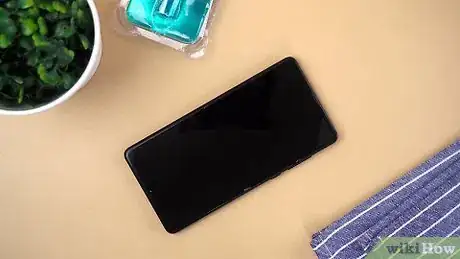
The media could not be loaded, either because the server or network failed or because the format is not supported.3Wipe the screen with 70% isopropyl alcohol and dry it off. Grab an isopropyl alcohol wipe and clean off the front of your screen. Clean off the entire screen, so it’s nice and clean before you add the coating. Then, grab a microfiber cloth and dry off any leftover moisture.[3]- If you don’t have alcohol wipes on hand, dab a microfiber cloth in 70% isopropyl alcohol and clean off the screen.
-
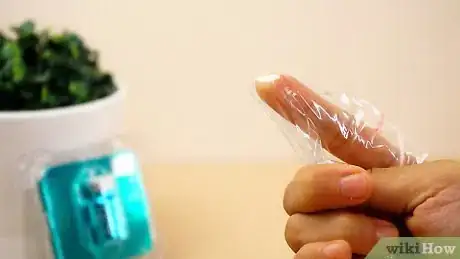
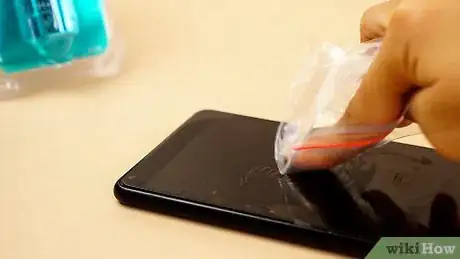
4Cover your pointer finger with a plastic baggie so you don’t touch the screen. Stick your finger into the corner of a plastic sandwich bag. This will help you apply the oleophobic coating without getting your fingerprints all over the screen.[4]
- Plastic wrap can also work for this, as long as your finger isn’t directly touching the screen.[5]
- Oleophobic compound tends to evaporate really quickly, so you need to be ready to wipe it onto your screen.
-
Video Player is loading.
This is a modal window.
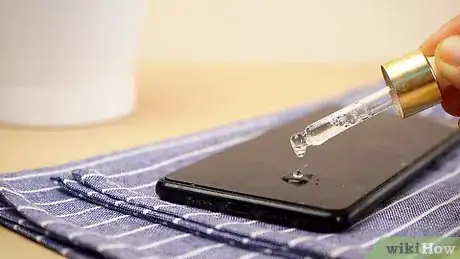
The media could not be loaded, either because the server or network failed or because the format is not supported.5Squeeze 10-15 drops of oleophobic coating over the screen. Grab the oleophobic coating from an at-home kit—this usually comes in a really small bottle. Drip at least 10 drops of the product all over your screen, so you can apply a nice, even coating.[6]- You can purchase an oleophobic coating kit online.
-
Video Player is loading.
This is a modal window.
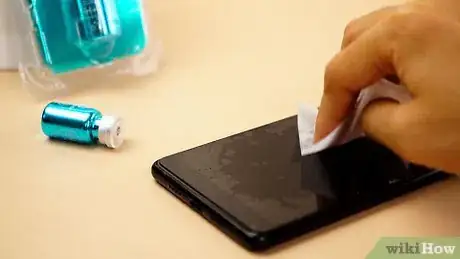
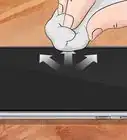
The media could not be loaded, either because the server or network failed or because the format is not supported.6Spread the coating all over your screen with your finger. Move your finger all around the screen, smearing the product into the glass. Try to create an even coating over the screen as you go.[7]- Don’t press too hard! A gentle wiping motion will do the trick for this.
-
7
-
8Apply the coating 2-3 more times to finish restoring it. Squeeze on 10 more drops of coating, working them into the screen with a plastic-covered finger. Let the product cure again for at least more hours, which will really give the coating a boost.[10]
- A coating will typically last about 1-2 months.
Maintenance and Care
-
Video Player is loading.
This is a modal window.
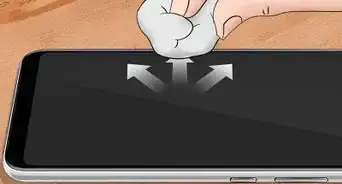
The media could not be loaded, either because the server or network failed or because the format is not supported.1Dust off your screen as-needed with water and a lint-free cloth. Lightly dampen a clean, lint-free cloth with water. Wipe down the screen as needed to clear away any dirt.[11] -
2
-
3Don’t use abrasive cleaners on your screen to prevent damage. Never clean off your screen with harsh chemicals like bleach, dish soap, polish, or glass cleaner. These will take a big toll on your oleophobic coating.[14]
Things You’ll Need
Updated Coating
- Water
- Alcohol wipes
- Oleophobic coating kit
- Plastic bag
- Microfiber cloth
References
- ↑ https://cellularnews.com/mobile-accessories/what-is-oleophobic-coating/
- ↑ https://cellularnews.com/mobile-accessories/what-is-oleophobic-coating/
- ↑ https://www.ifixit.com/Guide/How+to+Restore+or+Apply+an+Oleophobic+Coating/9682
- ↑ https://technoroll.org/guide-on-oleophobic-coating/#
- ↑ https://www.ifixit.com/Guide/How+to+Restore+or+Apply+an+Oleophobic+Coating/9682
- ↑ https://www.ifixit.com/Guide/How+to+Restore+or+Apply+an+Oleophobic+Coating/9682
- ↑ https://technoroll.org/guide-on-oleophobic-coating/#
- ↑ https://cellularnews.com/mobile-accessories/what-is-oleophobic-coating/
- ↑ https://www.ifixit.com/Guide/How+to+Restore+or+Apply+an+Oleophobic+Coating/9682
- ↑ https://www.ifixit.com/Guide/How+to+Restore+or+Apply+an+Oleophobic+Coating/9682
- ↑ https://cellularnews.com/mobile-accessories/what-is-oleophobic-coating/
- ↑ https://cellularnews.com/mobile-accessories/what-is-oleophobic-coating/
- ↑ https://time.com/5310453/clean-my-phone/
- ↑ https://technoroll.org/guide-on-oleophobic-coating/#
- ↑ https://www.ifixit.com/Guide/How+to+Restore+or+Apply+an+Oleophobic+Coating/9682
- ↑ https://www.ifixit.com/Guide/How+to+Restore+or+Apply+an+Oleophobic+Coating/9682
