wikiHow is a “wiki,” similar to Wikipedia, which means that many of our articles are co-written by multiple authors. To create this article, 45 people, some anonymous, worked to edit and improve it over time.
This article has been viewed 548,134 times.
Learn more...
Does your iPod sometimes get so messed up that a simple restart won't fix it, and getting an appointment at the Apple Store will take 2 weeks—only to have some genius tell you that you need to restore your iPod? Skip the wait, avoid the lines, and do it yourself. This guide will show you how to restore any iPod. The iPod Touch section will also work for any iPhone or iPad.
Steps
Restoring an iPod Touch
-
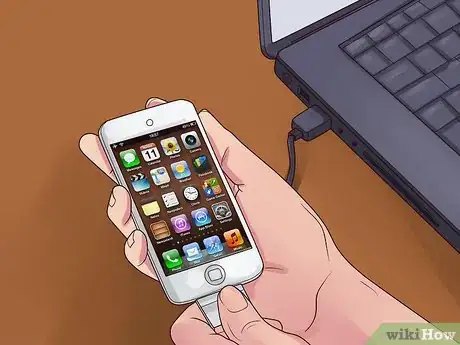
1Connect your iPod Touch to the computer. Open iTunes on your computer. Make sure that iTunes has been updated to the latest available version.
-
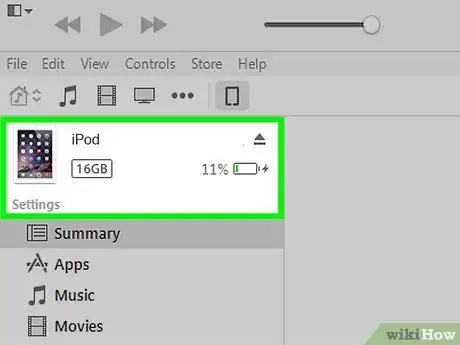
2Select your device. It should be listed in the left frame of the iTunes window. If you don’t have the frame open, you can select your device from the dropdown menu in the top-right corner of iTunes.
- If your iPod is not detected by iTunes when you connect it to your computer, you may need to put it into DFU mode before you can restore it.
Advertisement -
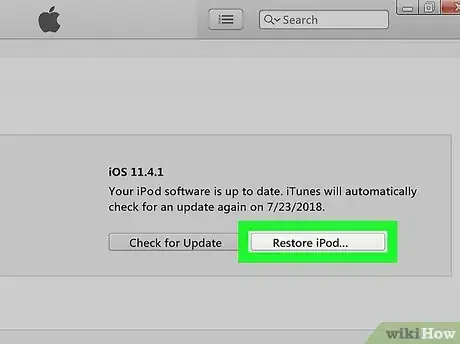
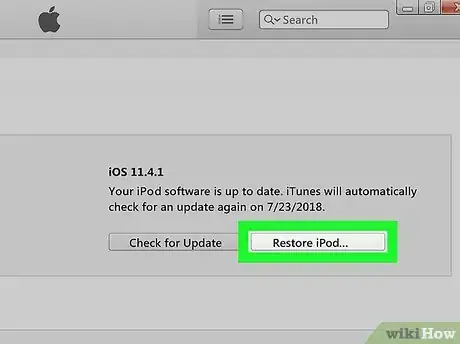
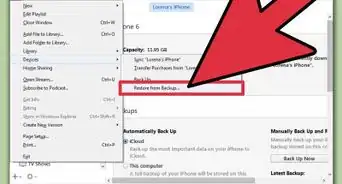
3Click the Restore button. This button can be found in the Summary tab once you select your device. You will be asked if you would like to perform a backup. Click yes if you would like to save your data, settings, and apps. Your device will begin automatically backing up. When it is finished, the device will reboot.
- Data synced with iTunes will not be backed up and will need to be re-synced later.
-
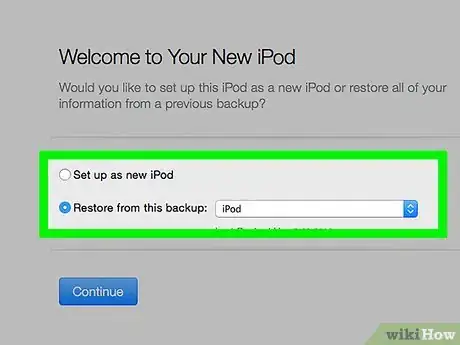
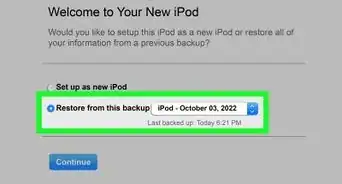
4Select how you would like to restore. If you want to reload your apps, settings, and data, select either Restore from iCloud Backup or Restore from iTunes Backup. You will then be given an option to choose the backup to restore from. If you’d like to restore your device to the original factory settings, select Set Up as New Device.
- When choosing your restore method, choose the option that gives you access to the backup that you want to restore.
-
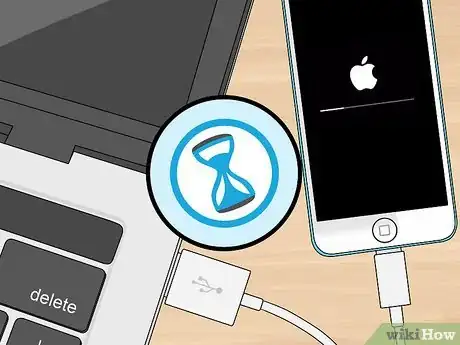
5Wait for the restore process to complete. This may take several minutes. The device will display the progress and the time remaining on the screen.
-
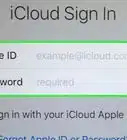
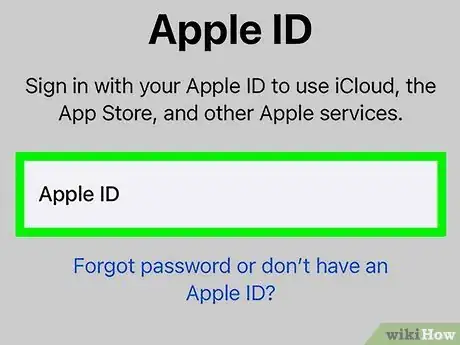
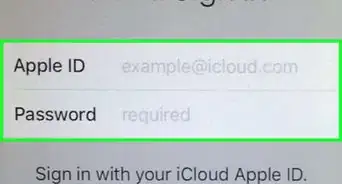
6Enter your Apple ID. When you begin using your device again, you will need to enter your Apple ID and password in order to access your apps and cloud data.[1]
Restoring an iPod Classic, Shuffle, Nano, and Mini
-
1Make sure that your computer has an active internet connection. Restoring the iPod may require downloading the newest version of iTunes or the latest iPod software.
-
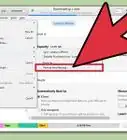
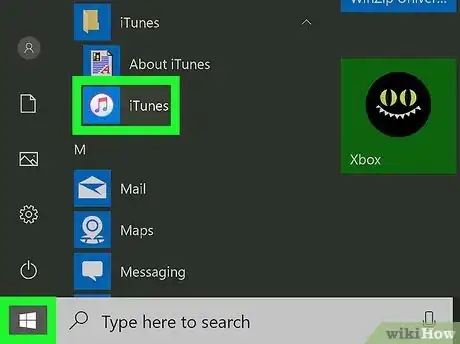
2Launch iTunes. Check to make sure you have the latest version by clicking on the iTunes menu, and selecting Check for updates...
-
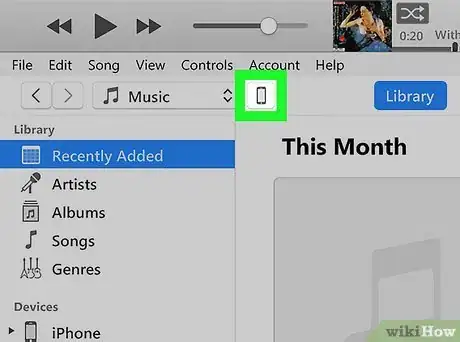
3Connect your iPod to your computer. After a few moments, it should be listed in the left frame of the iTunes window. If you don’t have the frame open, you can select your device from the dropdown menu in the top-right corner of iTunes.
- Click on your iPod to open the Summary tab of the main iTunes window.
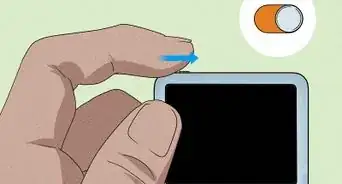
- If your device is not recognized and the display shows a sad face, try putting the iPod into Disk Mode before restoring. If you cannot enter Disk Mode, then there is a hardware issue.
-
4Click Restore. This will erase everything on your iPod and restore it to factory conditions. Accept the warning prompts and your restore will begin.
- Mac users will be asked for the administrator password.
- If using Windows, you may see one or more restore options prompting iTunes to automatically download the latest iPod Software. Holding down the SHIFT key before clicking the Restore button will allow you to browse your computer for version of firmware you wish to use.
-
5Wait for the first stage of the restore process to complete. iTunes will display a progress bar while it is working. When this stage is done, iTunes will present one of two messages with instructions specific to the iPod model you are restoring:
- Disconnect iPod and connect it to iPod Power Adapter (for older iPod models).
- Leave iPod connected to computer to complete restore (applies to new iPod models).
-
6Keep the iPod connected. During the second stage of the restore process, the iPod will display a progress bar on the screen. It is very important that the iPod remain connected to the computer or iPod power adapter during this stage.[2]
- The progress bar may be difficult to see because the backlight on the iPod display may be turned off.
-
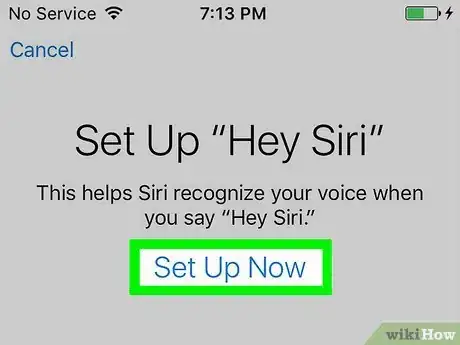
7Setup your iPod. Once the restore process is complete, iTunes will open the Setup Assistant. You will be asked to name the iPod and select your sync options. At this point, the iPod has been fully reset. Sync it to your computer to reload your music.
Community Q&A
-
QuestionI have an old laptop, and it is not recognizing my iPod. Is it possible to create an external file to get music onto my iPod?
 Community AnswerCheck to see if you need to update your USB drivers. Then, try a different cable and a different USB entry port.
 -
QuestionHow do I download iTunes without using the Microsoft Store?
 Community AnswerUse Apple's website to download iTunes for older versions of Windows. Then run the installer.
Warnings
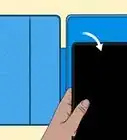
- When the iPod requests power, give it to it, and do not disconnect it until the progress bar is gone. If you do so and your iPod battery runs flat during this process, your iPod will end up being an expensive paperweight!⧼thumbs_response⧽
- Because Restore erases all of the songs and files on iPod, make sure to back up any files you've saved on the iPod disk. All of your songs, videos, podcasts, audiobooks, and games can be loaded back to your iPod provided that you have them stored in your iTunes Library.⧼thumbs_response⧽
About This Article
1. Connect the iPod to a computer.
2. Open iTunes.
3. Click the iPod button.
4. Click Restore.
5. Select a restore option.
6. Sign in with your Apple ID.








-Step-29.webp)
