This article was co-authored by wikiHow staff writer, Rain Kengly. Rain Kengly is a wikiHow Technology Writer. As a storytelling enthusiast with a penchant for technology, they hope to create long-lasting connections with readers from all around the globe. Rain graduated from San Francisco State University with a BA in Cinema.
There are 11 references cited in this article, which can be found at the bottom of the page.
This article has been viewed 811,586 times.
Learn more...
Otterboxes are some of the most durable smartphone and tablet cases you can buy—but that same durability can make it difficult to remove from your device. If you know which type of case you have, you can use different tips and tricks to pry them off carefully without damaging your phone or tablet. With a little bit of patience and some elbow grease, you can get your Defender, Symmetry, or Commuter series case off quickly without a ton of frustration. This wikiHow will show you how to open and remove an Otterbox case from your iPhone, iPad, Android, or tablet.
Things You Should Know
- For Defender series, remove the snap-on holster to reach the soft silicone. Use your finger or credit card to carefully peel off the silicone.
- For Commuter series, start from the top. Pull the plastic up and off the rubber, then remove the rubber casing.
- For iPad, unlatch the silicone segments and remove. Remove the backing's latch, then separate the backing from the front.
Steps
Defender Series
-
1Remove the snap-on holster. If the device is in a belt clip or other snap-on attachment, pop it off using the large tab on the side. This will make it much easier to take the rest of the case off, so it’s best to do it right away.[1]
- The process for removing a Defender Otterbox case will be the same for virtually all devices (iPhone, Android, etc.). The only differences will be the number and the style of tension clips.
- Use this method to remove an Otterbox case for cleaning or to replace it.
-
2Find an opening in the silicone slipcover. The most difficult part of removing the Defender case is peeling off the flexible silicone layer. Your best bet is to start at the camera opening, the charging port, or a corner of the screen.[2]
- The silicone cover is the flexible outer layer of the case, not the hard plastic inside.
Advertisement -
3Wedge a thin tool or your finger under the cover. Use the tip of your finger to pry the silicone cover away from your phone. If you can't fit your finger into one of these openings, use an old credit card or a coin to help you out. Stick it underneath the slipcover, and wiggle it back and forth until you can insert your finger into the gap.[3]
- Make sure you’re not using a credit card you still use! If you wiggle too hard or too fast, your card could accidentally snap.
-
4Peel the silicone off carefully. Once you've wedged a corner open, you should be able to go around the phone pulling off the silicone. Be careful when removing the silicone from your open ports to avoid tearing any port covers.[4]
-
5Release the tension clips along the edge of the case. Feel along the edge of the case and find the small clips along your phone. Use your fingers to pop the clips up one by one until the 2 sides separate and fall off your device.[5]
- If you can't get your finger under the clip, you may need to use a small flat-head screwdriver or a stiff credit card to get some leverage.
- If you’re using a tool to pry the clips open, lift towards the front of the case. Don't try to pull down, or you may break the plastic.
- Some clips may be easier to remove than others, especially when all clips are closed. If you're having trouble with one, move onto a different clip.
Commuter Series
-
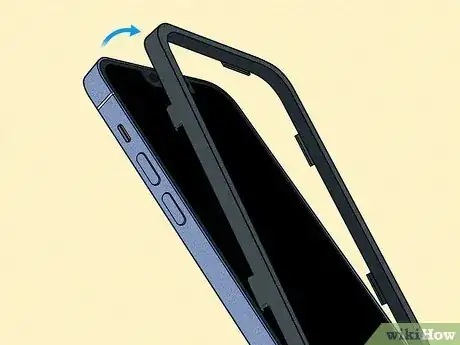
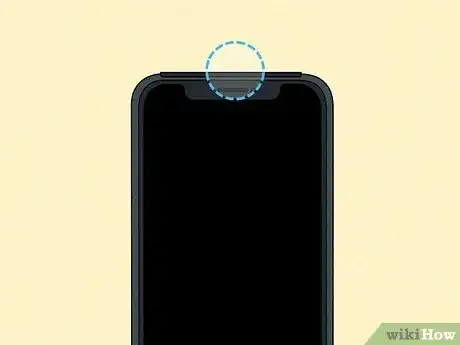
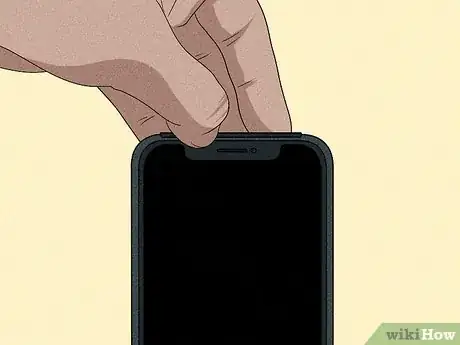
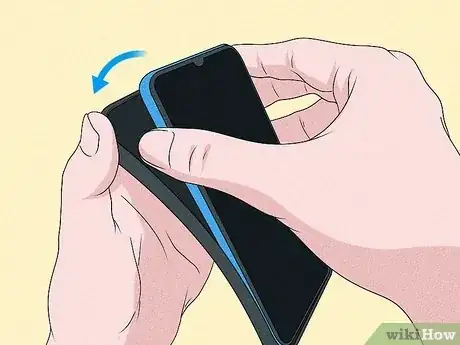
1Start at the top of the device. You'll have the easiest time removing the plastic part of the case if you work from the top of the device. Grab one of the corners on the top edges above the front camera with the phone facing toward you.[6]
-
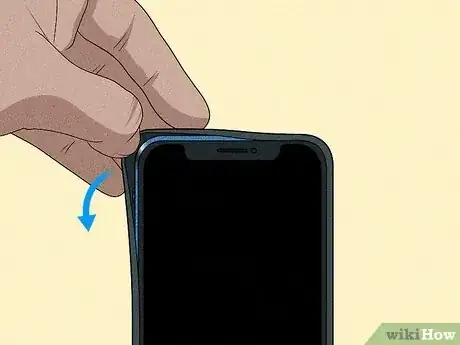
2Pull the top plastic up and off the rubber. You may have to lift a bit to get the plastic over any Power buttons. When you lift the plastic top off, the rest of the case should come off easily.[7]
- If you have any trouble, try pushing a coin or a credit card underneath the rubber case.
-
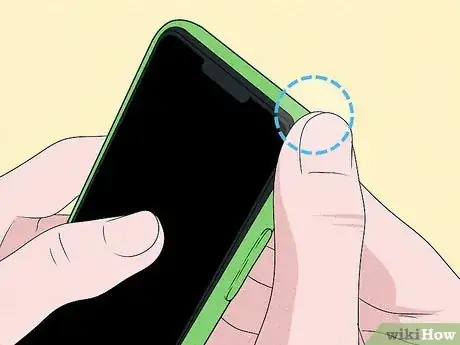
3Push the rubber casing off one of the corners with your thumb. Starting from the corner is the easiest way to begin removing the rubber. The seal will be tight, so you'll need to push with some force.[8]
-
4Work the rubber casing off of the device. Be careful with the ports, as the rubber port covers can tear easily. Once the rubber is off your device, you’re in the clear.[9]
- Try storing your case somewhere it won’t collect dust. Dirt can collect in the case, and you may need to clean your phone speaker if it builds up enough. Make sure to keep your phone case clean.
Symmetry Series
-
1Push the case off one of the corners with your thumb. The Symmetry series is one of Otterbox's simplest cases: a flexible silicone enclosure for your phone. The seal is tight, so you'll have the best luck starting from a corner and pushing the case off the edge.[10]
- Otterbox recommends starting at the top edge to remove Symmetry cases.
-
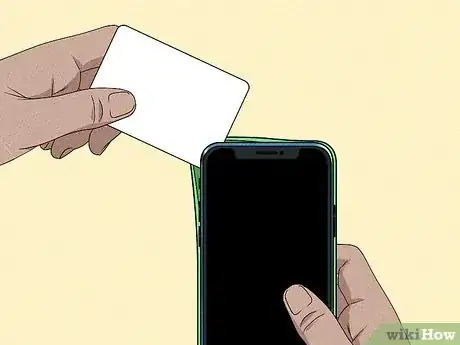
2Use a hard plastic card if necessary. Wedge the card under an edge of the flexible case. Lever it back and forth to pry the case away from the device enough to grasp it with your finger.[11]
- You can try this if using your hands doesn’t work.
-
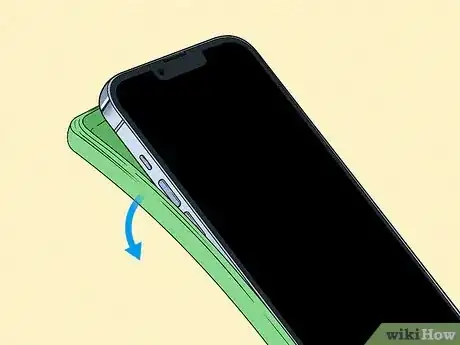
3Work your way around the case. Once you have a corner off, you can work your way around the edge of the case to remove it. Be careful with the port covers so that they don't get torn.[12]
Otterbox Defender for iPad
-
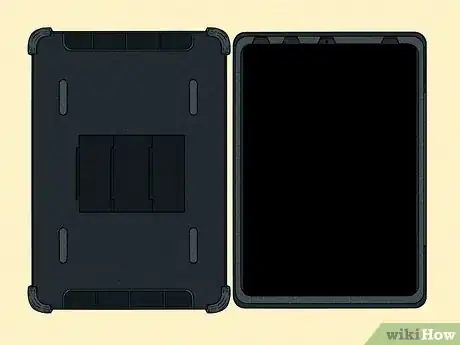
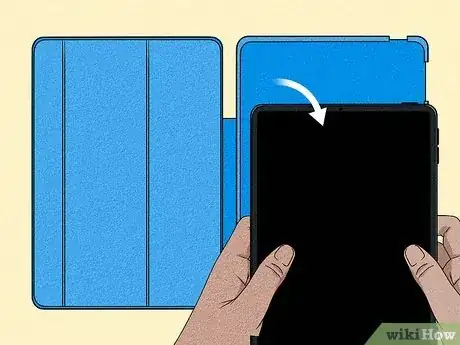
1Open up the iPad case. Do this by flipping open the cover. Spread the case out flat.[13]
- Similar to putting the Defender case on, you'll need to separate the silicone casing first.
-
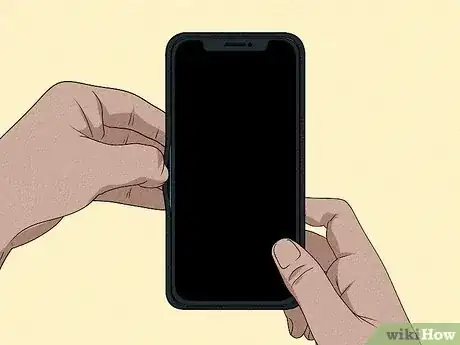
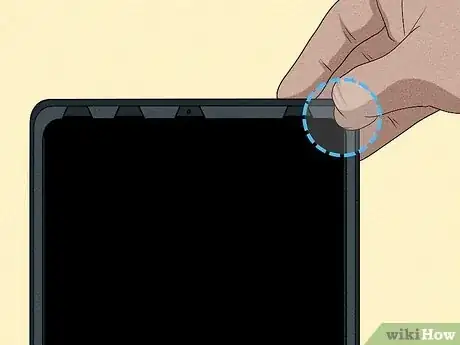
2Press down on the top-right corner. When looking at the iPad, the camera should be at the top. Push down at the silicone segment on the top-right corner.
- The silicone should unclip from the hard plastic.
-
3Press down on the right side. You'll see another long segment along the right side of the case. Push down on the silicone segment until it pops free from the hard plastic.
-
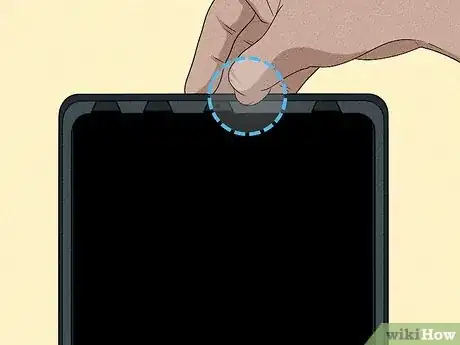
4Press down on the top. The last segment will be above the camera. Push down at the silicone segment at the top until it pops free from the hard plastic.
-
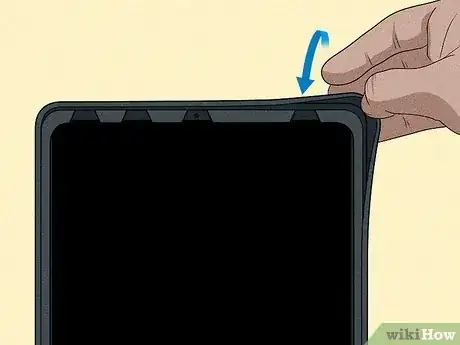
5Peel the silicone away from the hard plastic. Now that the top and right sides are peeled away from the plastic, you should be able to easily detach the silicone from the rest of the case.
- After you remove the silicone, you'll be left with the hard plastic around your iPad.
-
6Detach the plastic backing. This is the back-half of the case that lays against the back of your iPad. Press down on the plastic spine located on the right of the case, then peel the top frame away.
-
7Pull your iPad up and out of the case. Once the frame has been removed, you should be able to easily move your iPad from the case.
Otterbox Symmetry for iPad
-
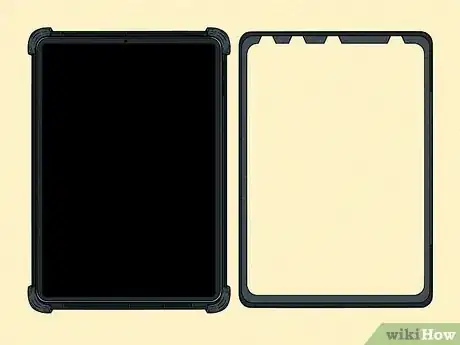
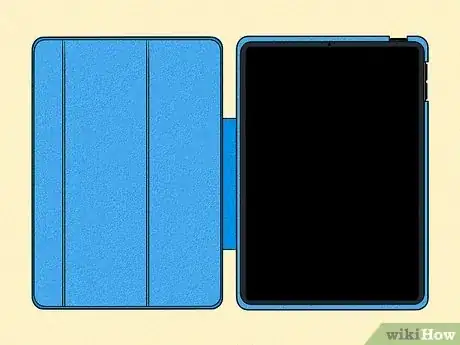
1Open up the iPad case. You can do this by flipping it open like you would to use your iPad. Spread the case out flat so that it’s easier to work with.[14]
- If you have a keyboard connected to your iPad, pop that off first before you start.
-
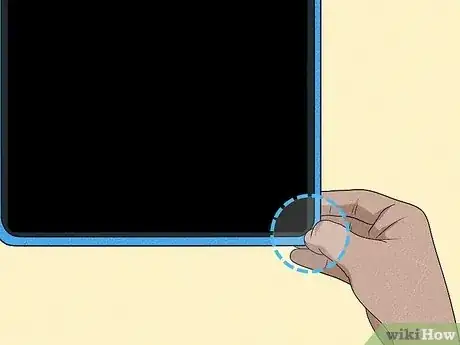
2Press down on one bottom corner. This will start to remove the case from the edges of your iPad. As you press down, try to pull your iPad up by the corner at the same time.[15]
- If you’re having trouble, try sticking a coin in between the case and the iPad.
-
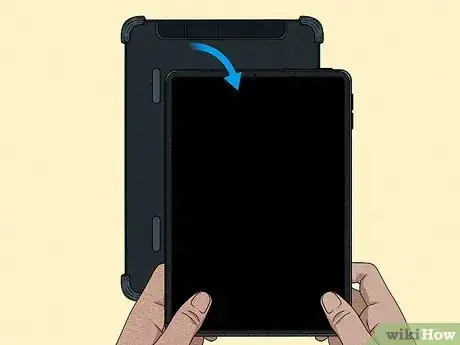
3Pull your iPad up and out of the case. Once you have one corner free, pull your iPad up and away from the case. If any of the corners get stuck, carefully wiggle them out before you keep lifting.[16]
Community Q&A
-
QuestionDo you need to remove the plastic cover from the front of the otterbox case?
 Community AnswerSome models have a screen cover built into the case, while others have a plastic sheet that attaches directly to the screen before the case is installed. Either way, you do not need to remove the cover to open the otterbox case.
 -
QuestionHow do I remove an Otterbox from my iPhone 6?
 Community AnswerOn the side, there should be a clasp or something to detach the two part of the phone case. Next, you can use your nails or anything strong and thin (like a credit card) to take them apart.
 -
QuestionHow do I open the Otter Box for an HTC Desire Eye?
 Community AnswerThis is one of the Defender cases described above. It helps to have a hard plastic card to wedge under the flexible cover. If the snaps on the hard inner shell won't open, you can carefully pry them apart with a butter knife or flat head screwdriver.
References
- ↑ https://www.youtube.com/watch?v=a-8j1gIxAfM&feature=youtu.be&t=103
- ↑ https://www.youtube.com/watch?v=a-8j1gIxAfM&feature=youtu.be&t=115
- ↑ https://www.youtube.com/watch?v=a-8j1gIxAfM&feature=youtu.be&t=115
- ↑ https://www.youtube.com/watch?v=a-8j1gIxAfM&feature=youtu.be&t=132
- ↑ https://www.youtube.com/watch?v=a-8j1gIxAfM&feature=youtu.be&t=146
- ↑ https://www.youtube.com/watch?v=cy1VMRIBWFI&feature=youtu.be&t=46
- ↑ https://www.youtube.com/watch?v=cy1VMRIBWFI&feature=youtu.be&t=46
- ↑ https://www.youtube.com/watch?v=cy1VMRIBWFI&feature=youtu.be&t=50
- ↑ https://www.youtube.com/watch?v=cy1VMRIBWFI&feature=youtu.be&t=52
- ↑ https://www.otterbox.com/on/demandware.static/-/Sites-otterbox_us_v2-Library/default/dw714349a7/pdfs/symmetry-series-flex-case-instructions.pdf
- ↑ https://www.otterbox.com/on/demandware.static/-/Sites-otterbox_us_v2-Library/default/dw714349a7/pdfs/symmetry-series-flex-case-instructions.pdf
- ↑ https://www.otterbox.com/on/demandware.static/-/Sites-otterbox_us_v2-Library/default/dw714349a7/pdfs/symmetry-series-flex-case-instructions.pdf
- ↑ https://www.youtube.com/watch?v=TsOZXhr2iK8
- ↑ https://www.youtube.com/watch?v=TTaEhWj5AjA&feature=youtu.be&t=28
- ↑ https://www.youtube.com/watch?v=TTaEhWj5AjA&feature=youtu.be&t=30
- ↑ https://www.youtube.com/watch?v=TTaEhWj5AjA&feature=youtu.be&t=30
About This Article
To open an Otterbox Case for the Defender Series, start by popping the snap-on holster off using the large tab on the side. Once the holster is off, find an opening in the silicone slipcover near the camera opening, charging port, or a corner of the screen. If you can’t fit your fingers into any of the openings, use an old credit card or other hard, flexible piece of plastic to slip under the cover. Wiggle your credit card under the plastic until you can fit a finger into the gap. After you wedge a corner open, start prying off the silicone. When the silicone is off, find the tension clips along the edge of the case, and pop them open with your fingers. Continue to release the tension clips until the 2 halves separate. To learn how to remove an Otterbox Case from an iPad, keep reading!







-Step-29.webp)

