X
This article was co-authored by Chiara Corsaro. Chiara Corsaro is the General Manager and Apple Certified Mac & iOS Technician for macVolks, Inc., an Apple Authorized Service Provider located in the San Francisco Bay Area. macVolks, Inc. was founded in 1990, is accredited by the Better Business Bureau (BBB) with an A+ rating, and is part of the Apple Consultants Network (ACN).
This article has been viewed 151,013 times.
Taking screenshots is a very useful feature for sharing with others or getting troubleshooting help. Mac OS X gives you a variety of tools for creating screenshots. These tools give you lots of control over how your screenshots are made.
Steps
Method 1
Method 1 of 4:
Taking a Full-Screen Screenshot
-
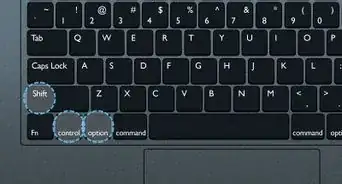
1Press .⌘ Command+⇧ Shift+3. If your speakers are on, you'll hear a shutter sound. This command will capture the entire image that your monitor displays.
-
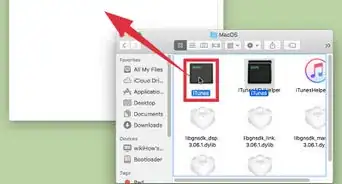
2Find the screenshot file. The screenshot will be saved as a PNG file on your desktop, labeled with the date and time that you took it.Advertisement
-
3Press .⌘ Command+Control+⇧ Shift+3 to copy the screenshot to your clipboard. This will copy the image instead of creating a file, allowing you to paste it into another program.[1]
- To paste your screenshot, open the program and press ⌘ Command+V.


Advertisement
Method 2
Method 2 of 4:
Taking a Partial Screenshot
-
1
-
2Click and drag to create a box. This box will determine what is captured for the screenshot.[3]
-
3Find your screenshot. After creating the box, the screenshot will be taken and the file will appear on your desktop. It will be in PNG format and labeled with the date and time it was taken.[4]
- If you'd rather copy the screenshot to your clipboard instead of creating the file, press ⌘ Command+Control+⇧ Shift+4.
-
4Take a screenshot of a specific window. If you want to capture an entire window, but not your whole screen, press ⌘ Command+⇧ Shift+4 and press Space. The crosshair will turn into a camera. Click thew window that you want to capture.
- Like the other methods, this will create a file on your desktop.


Advertisement
Method 3
Method 3 of 4:
Using Preview
-
1Open the Preview utility. If you don't like using keyboard shortcuts, or want to save your screenshots in a format other than PNG, you can use the Preview tool.
- You can find the Preview tool in the Utilities folder in your Applications folder.
-
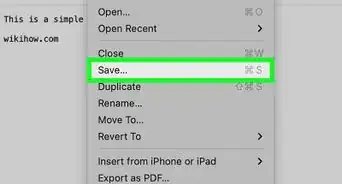
2Click the "File" menu and select "Take Screenshot". If you select "From Selection", your cursor will change into a crosshair and you can create a rectangle to make the screenshot. If you select "From Window", the cursor will change into a camera and you can click the window you want to capture. If you select "From Entire Screen", Preview will capture your entire screen.
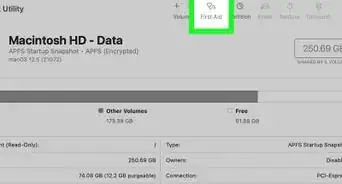
-
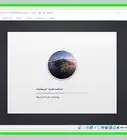
3Review the screenshot. Once you've captured your screenshot, it will appear in the Preview window. You can review it to ensure that the right parts have been captured and that it isn't showing anything you want to hide.
-
4Save the screenshot. Click the "File" menu and select "Export As". You can use the pop-out menu and select the format that you want to save it as, including JPG, PDF, and TIFF.


Advertisement
Method 4
Method 4 of 4:
Using the Terminal
-
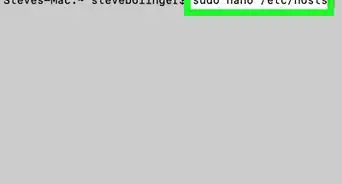
1Open the Terminal. You can find the Terminal in your Utilities folder, which is in the Applications folder.[5]
- Using the Terminal gives you some extra features, such as a timer or disabling the shutter sound. Use can also use SSH to capture remote screenshots of difficult screens, such as the login window.
-
2Take a basic screenshot. Type screencapture fileName.jpg and press ⏎ Return. This will save the screenshot to your home directory. You can add a path to the front of the file name to specify a different location for the screenshot file.
- You can change formats by typing screencapture -t png fileName.png. You can also use pdf, gif, or tiff.
-
3Copy your screenshot to the clipboard instead. If you'd rather copy the image instead of creating a file, type screencapture -c and press ⏎ Return.
-
4Add a timer to the screenshot command. Using the basic screenshot command, the screenshot will be taken immediately, which means your Terminal window will appear. You can use a timer to give yourself time to hide the window and open anything that you want displayed.
- Type screencapture -T 10 fileName.jpg and press ⏎ Return. This will give you 10 seconds until the screenshot is taken. You can change 10 to whatever delay you'd like.


Advertisement
Community Q&A
-
QuestionCan I paste a screen shot into an email on Mac (with the Mail app)? If so, in what format?
 Community AnswerYes, you can. Find the file of your screenshot and copy it. This file should be in a PNG format, which is very versatile. You should have no problem pasting that into an email.
Advertisement


References
- ↑ https://support.apple.com/en-us/HT201361
- ↑ Chiara Corsaro. Computer Specialist. Expert Interview. 18 October 2019.
- ↑ Chiara Corsaro. Computer Specialist. Expert Interview. 18 October 2019.
- ↑ Chiara Corsaro. Computer Specialist. Expert Interview. 18 October 2019.
- ↑ https://support.apple.com/en-gb/guide/terminal/apd5265185d-f365-44cb-8b09-71a064a42125/mac
About This Article

Chiara Corsaro
Phone & Computer Repair Technician
This article was co-authored by Chiara Corsaro. Chiara Corsaro is the General Manager and Apple Certified Mac & iOS Technician for macVolks, Inc., an Apple Authorized Service Provider located in the San Francisco Bay Area. macVolks, Inc. was founded in 1990, is accredited by the Better Business Bureau (BBB) with an A+ rating, and is part of the Apple Consultants Network (ACN). This article has been viewed 151,013 times.
How helpful is this?
Co-authors: 12
Updated: April 8, 2021
Views: 151,013
Categories: Mac
Article SummaryX
1. Press Command + Shift + 3.
2. Find the image file on your desktop.
Did this summary help you?
Advertisement