This article was co-authored by Natasha Dikareva, MFA. Natasha Dikareva is a San Francisco, California based sculptor, and installation artist. With over 25 years of ceramics, sculpting, and installation experience, Natasha also teaches a ceramic sculpture workshop titled "Adventures in Clay" covering concept development, hand-building techniques, texture, and glazing techniques. Her work has been featured in solo and group exhibitions at the Beatrice Wood Center for the Arts, Abrams Claghorn Gallery, Bloomington Center for the Arts, Maria Kravetz Gallery, and the American Museum of Ceramic Art. She has taught at the University of Minnesota and the American Indian OIC School. She has been awarded the Excellence Award at the 1st World Teapot Competition, Best in Show at the 4th Clay & Glass Biennial Competition, and a Grand Prize at the American Museum of Ceramic Art. Natasha holds an MFA from the University of Minnesota and a BFA from Kiev Fine Arts College.
wikiHow marks an article as reader-approved once it receives enough positive feedback. In this case, several readers have written to tell us that this article was helpful to them, earning it our reader-approved status.
This article has been viewed 312,502 times.
Whether you're bringing out your inner Michelangelo or want to make your own miniatures to really step up your D&D sessions, sculpting is a great hobby and very much a learned skill that does not require some kind of inherent artistic skill. Anyone can learn to sculpt! There are many materials you can use for sculpting, but the most common and easiest to teach and learn with is clay. The instructions in this tutorial are directed specifically towards clay sculpting but the basic principles apply to many different types of sculpting.
Warning: always test techniques on test clay before using them in a final sculpture. Curing procedure should also be carefully tested to prevent burning.
Steps
Building Your Base
-
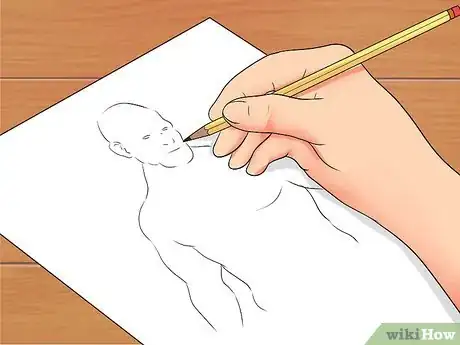
1Sketch your design. You should always draw out your design before you start. It doesn't have to be a good drawing, but it does need to give you a solid road-map for what you're going to do. Draw the sculpture from several different angles, so that you can understand how different areas meet up, the height at which different pieces need to be, actual scale, etc.[1]
- Sketching the sculpture to scale can be extremely useful. If it is very large, don't sweat it but if you can draw the sculpture to scale, do it.
-
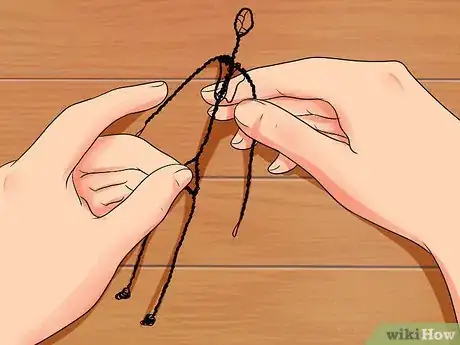
2Build your armature. Armature is a fancy word sculptors use for "support structure". Think of your armature as your sculpture's bones. The armature is important, as it will keep the piece from becoming too delicate and easily broken.[2]
- Usually the armature is made from wire, the gauge of which will depend on the size of your sculpture. You can use other materials though, if your sculpture is small or wire is unavailable. Toothpicks can work, as can sticks. For larger sculptures, PVC pipe or plumping pipes can be useful.
- Using your sketch, identify the main "pieces" of the sculpture. Look at the lines that define those pieces and how they connect to the other pieces. Again, imagine a skeleton. Form your armature to these lines.
Advertisement -
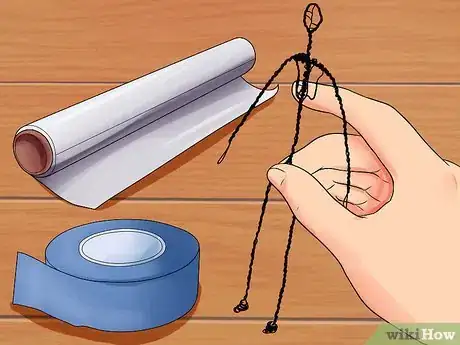
3Add your filler. The filler is a bit like the muscles of your sculpture. Generally it's made out of a cheap, light-weight, plentiful material. It's important because it will help you save on materials costs, as well as keep down the weight of your sculpture (making it less prone to breaking and easier to move).
- Common filler materials include masking or painter's tape, tin foil, newspaper, or cheaper clay (not encouraged).
Forming Your Sculpture
-
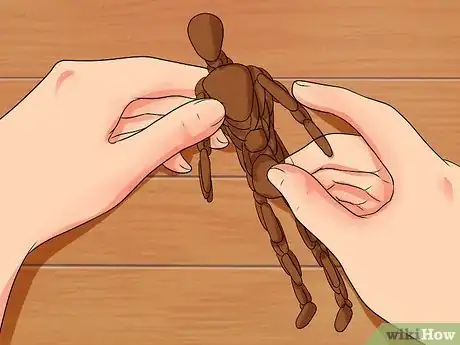
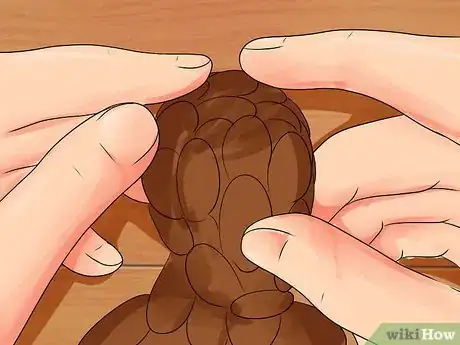
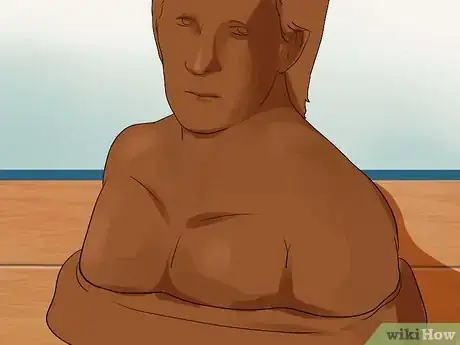
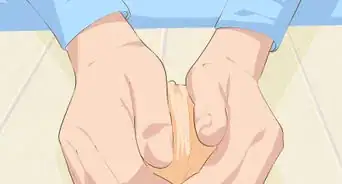
1Start with large sections. Once your armature and filler material are in place, you can start adding your sculpting material. For the purposes of this tutorial, we're using polymer clay (Super Sculpey or similar). Start with getting the broadest strokes in terms of the shape. You just want the foundation to work with. If you're sculpting an organic creature (such as a person or an animal), then it's best to make these chunks resemble the large muscle groups for that creature.[3]
-
2Add smaller sections. Begin to more carefully define the shape of your sculpture. You should still be adding clay or other sculpting material at this point. These additions should, like the larger chunks, define the general shape of the sculpture, but cover the smaller areas. In the example of the organic creature, these would be the small muscle groups, but also additional items like the basic forms of long hair(not things like fur).
-
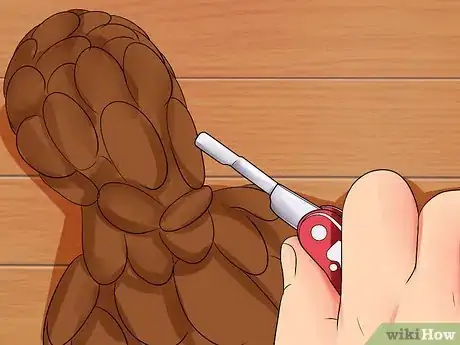
3Sculpt finer details. With the basic form in place, you can begin to take your material away or shift it into place. This is the sculpting stage, in the traditional sense. Move and smooth larger pieces into their final shape, and begin to carve out smaller details (the angle of a cheek bone, the knuckles of a hand, etc).
- For the previous two steps, you will largely be relying on your hands, unless your sculpture is very small. For this step, however, you may need to begin to use some tools. You can use sculpture tools or you can improvise tools. See the section below for a longer discussion of tools.
Texturing Your Sculpture
-
1Identify the necessary textures. Look over your sculpture and think about the different materials that would make up that object in real life (flesh, hair, fabric, stone, grass, fur, etc). On your original sketch or on an entirely new one, map out what textures go where.
- Do some research. Look at lots of pictures of those types of textures to figure out how they work. You'd be surprised how complex it can be. Fur, for example, grows in chunks and you'll have to pay attention to the length, organization, and direction of every chunk.
-
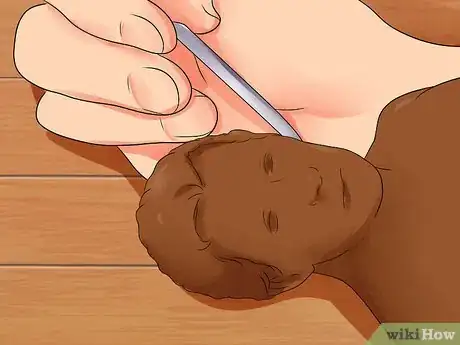
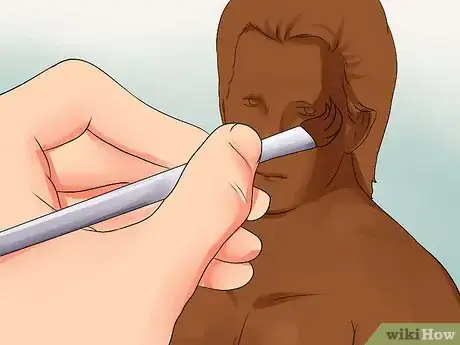
2Texture the areas. Begin to texture your sculpture, one section at a time, using traditional or improvised tools. Only a very limited number of sculpting tools are needed and most can be improvised from common household objects. You will have to experiment to find out what works best for you, as almost every sculptor uses their tools differently.[4]
- Generally with sculpting tools, large tips are used to create the broad details, while finer tips are used to create details. Scoop-like tools create rounded areas. Tools with a loop are used to scrape away the material. Anything with a sharp edge can be used to cut.
- Tools can be improvised from: balls of tin foil, black peppercorn, toothpicks, x-acto knives, a toothbrush, a steel ball chain necklace, a comb, knitting needles, crochet hooks, large and small sewing needles, cookie cutters, melon ballers, etc.
-
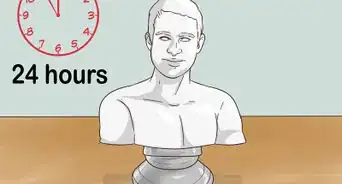
3Cure your sculpture. Once you're done with all of the major clay work, you'll need to cure your sculpture to make it hard (if you want it hard...if not, ignore). Different clays need to be cured in different ways (air dry, bake, etc), so follow the manufacturer's instructions for the clay you use.[5]
- It is generally better to under-bake (use a low temperature for longer periods of time, if you can), to avoid burning.
Adding Finishes
-
1Paint your sculpture. If you want your sculpture to have color and your sculpting material was not itself colored, you may want to paint your sculpture. What type of paints you use will depend on what type of material you used, but for most materials, you want to use some type of acrylic paint. Model enamel paints will be necessary (or at least recommended) if using polymer clays.[6]
- Prepare the sculpture for painting by washing it with soap and water or giving it a quick wipe down with some rubbing alcohol.
- If your paint goes down very streaky, a base coat or multiple coats may be necessary.
-
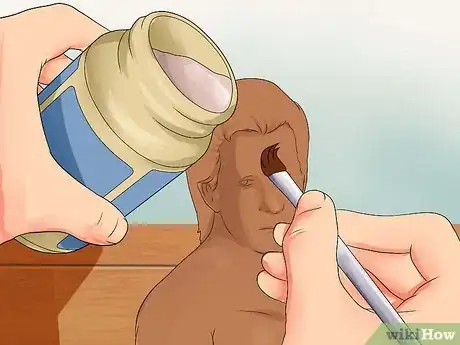
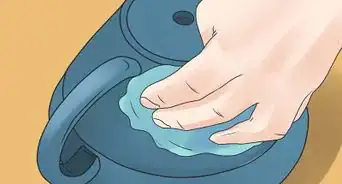
2Add gloss if desired. Glosses and glazes can be used to make areas that should look wet, like eyes or open mouths, more realistic. Use an appropriate gloss or glaze for whatever material you are working with. A good basic option is Modge Podge.
-
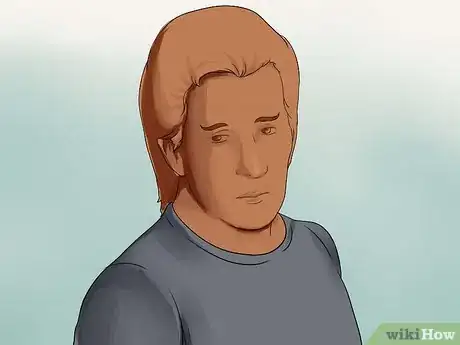
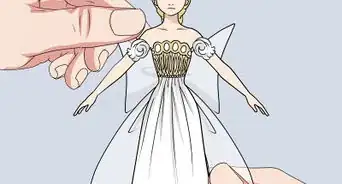
3Mix media as necessary. To create an even more realistic look, you can mix media as needed to get the look you want. This can mean using real hair for a sculpture of a person, real fabric for clothes, or actual dirt, rocks, or moss for your sculpture's base.
Expert Q&A
Did you know you can get expert answers for this article?
Unlock expert answers by supporting wikiHow
-
QuestionCan anyone learn to sculpt?
 Natasha Dikareva, MFANatasha Dikareva is a San Francisco, California based sculptor, and installation artist. With over 25 years of ceramics, sculpting, and installation experience, Natasha also teaches a ceramic sculpture workshop titled "Adventures in Clay" covering concept development, hand-building techniques, texture, and glazing techniques. Her work has been featured in solo and group exhibitions at the Beatrice Wood Center for the Arts, Abrams Claghorn Gallery, Bloomington Center for the Arts, Maria Kravetz Gallery, and the American Museum of Ceramic Art. She has taught at the University of Minnesota and the American Indian OIC School. She has been awarded the Excellence Award at the 1st World Teapot Competition, Best in Show at the 4th Clay & Glass Biennial Competition, and a Grand Prize at the American Museum of Ceramic Art. Natasha holds an MFA from the University of Minnesota and a BFA from Kiev Fine Arts College.
Ceramics & Sculpting Instructor
-
QuestionHow do I keep arms and legs from falling off my sculptures?
 Natasha Dikareva, MFANatasha Dikareva is a San Francisco, California based sculptor, and installation artist. With over 25 years of ceramics, sculpting, and installation experience, Natasha also teaches a ceramic sculpture workshop titled "Adventures in Clay" covering concept development, hand-building techniques, texture, and glazing techniques. Her work has been featured in solo and group exhibitions at the Beatrice Wood Center for the Arts, Abrams Claghorn Gallery, Bloomington Center for the Arts, Maria Kravetz Gallery, and the American Museum of Ceramic Art. She has taught at the University of Minnesota and the American Indian OIC School. She has been awarded the Excellence Award at the 1st World Teapot Competition, Best in Show at the 4th Clay & Glass Biennial Competition, and a Grand Prize at the American Museum of Ceramic Art. Natasha holds an MFA from the University of Minnesota and a BFA from Kiev Fine Arts College.
Ceramics & Sculpting Instructor
-
QuestionWhat's a good glaze for beginners?
 Natasha Dikareva, MFANatasha Dikareva is a San Francisco, California based sculptor, and installation artist. With over 25 years of ceramics, sculpting, and installation experience, Natasha also teaches a ceramic sculpture workshop titled "Adventures in Clay" covering concept development, hand-building techniques, texture, and glazing techniques. Her work has been featured in solo and group exhibitions at the Beatrice Wood Center for the Arts, Abrams Claghorn Gallery, Bloomington Center for the Arts, Maria Kravetz Gallery, and the American Museum of Ceramic Art. She has taught at the University of Minnesota and the American Indian OIC School. She has been awarded the Excellence Award at the 1st World Teapot Competition, Best in Show at the 4th Clay & Glass Biennial Competition, and a Grand Prize at the American Museum of Ceramic Art. Natasha holds an MFA from the University of Minnesota and a BFA from Kiev Fine Arts College.
Ceramics & Sculpting Instructor
Warnings
- Do not over-bake clay as it can burn easily.⧼thumbs_response⧽
References
- ↑ https://www.artistsandillustrators.co.uk/how-to/sculpture/252/beginners-guide-to-sculpting-in-clay
- ↑ https://cgcookie.com/articles/top-tips-for-beginner-clay-sculptors
- ↑ https://cgcookie.com/articles/top-tips-for-beginner-clay-sculptors
- ↑ https://www.youtube.com/watch?v=1IAc2hDCHlQ
- ↑ Natasha Dikareva, MFA. Ceramics & Sculpting Instructor. Expert Interview. 5 May 2020.
- ↑ https://www.createmixedmedia.com/make/5-tips-for-acrylic-painting-on-clay
- http://mangakasan.deviantart.com/art/Sculpting-tutorial-part-2-of-2-312027017
About This Article
To sculpt something, start by building the support structure for your form out of wire, like the shape of a creature's body. Next, add some newspaper or tin foil to the inside of the frame for your filler. After you've added the filler, use large chunks of clay to create the biggest features on your sculpture, such as a head or large muscle groups. Then, move on to smaller parts of your creation, including long hair or facial features. Finally, use sculpting tools to carve out the finer details from larger pieces, like the shape of a cheekbone. For more tips on how to texture and cure your sculpture, keep reading!
