This article was medically reviewed by Luba Lee, FNP-BC, MS. Luba Lee, FNP-BC is a Board-Certified Family Nurse Practitioner (FNP) and educator in Tennessee with over a decade of clinical experience. Luba has certifications in Pediatric Advanced Life Support (PALS), Emergency Medicine, Advanced Cardiac Life Support (ACLS), Team Building, and Critical Care Nursing. She received her Master of Science in Nursing (MSN) from the University of Tennessee in 2006.
There are 8 references cited in this article, which can be found at the bottom of the page.
wikiHow marks an article as reader-approved once it receives enough positive feedback. In this case, 96% of readers who voted found the article helpful, earning it our reader-approved status.
This article has been viewed 76,427 times.
Humira is a medicine that’s used to treat conditions including rheumatoid arthritis, ulcerative colitis, Crohn’s disease, and plaque psoriasis. It’s usually self-injected into the thigh or stomach, which can be a little intimidating at first. For pre-filled pens, the needle is tiny and you never see it, so that makes things a little less daunting. Relax, set up your kit on a clean, flat surface, and sanitize your injection site.
Steps
Setting up the Pre-Filled Pen
-
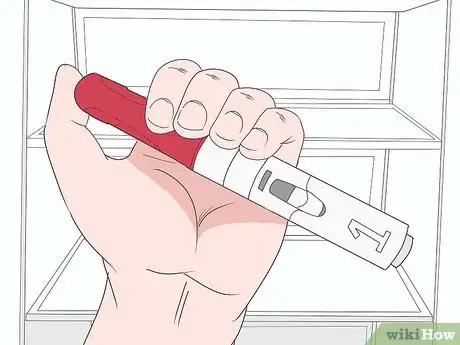
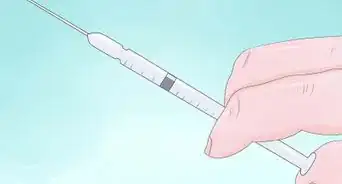
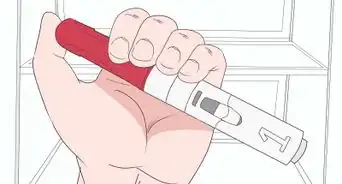
1Remove a pen from the refrigerator and inspect it. Take a dose tray out of the carton and open it. The dose tray contains a pre-filled pen and an alcohol swab, which you’ll use to sanitize the injection site.Check that the expiration dates listed on the carton, tray, and pen match, and make sure the product has not expired.[1]
- Look into the view window in the pen to inspect the liquid inside. Don’t use the pen if you see particles, flakes, discoloration, cloudiness, or signs that the pen is damaged. The liquid should look clear, but it’s normal if it has a few bubbles.
Storage guidelines: Store Humira in the refrigerator at 36 to 46 °F (2 to 8 °C). Do not freeze Humira or use a pen that was frozen, even if it’s thawed. To protect your medication from light, keep it in its original packaging until you’re ready to use it.
-
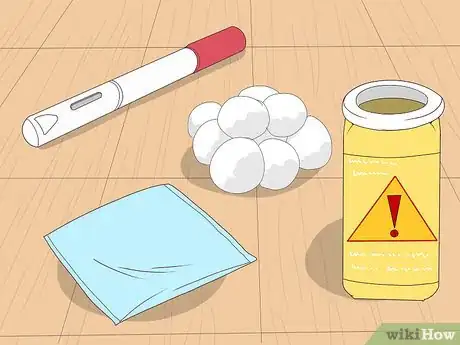
2Set the pen, the alcohol pad, and a cotton ball on a clean, flat surface. Sanitize a tabletop with surface cleaner or use a clean tray as your workstation. Store smaller pieces in plastic containers so they are organized. In addition to the pen and alcohol pad, you'll need a cotton ball later in the process, so grab one from your medicine cabinet.[2]
- The dose tray doesn't include a cotton ball, which you'll hold against the injection site after administering your medication. Gauze will also do the trick if you don't have cotton balls handy.
- You should also have a sharps container handy so you can dispose of the pen after using it.
- The pen is fragile and made of glass, so setting it on a clean, flat surface is important. Do not use a pen if you dropped it.
Advertisement -
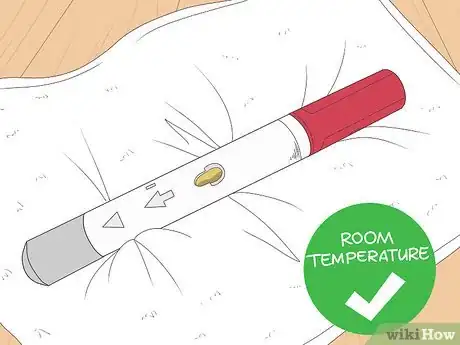
3Allow the pen to warm to room temperature for 15 to 30 minutes. For most people, injecting Humira after letting it warm for 15 to 30 minutes is more comfortable than injecting it cold. Warm your medication at room temperature only. Do not microwave it, set it in hot water, or warm it by any other means.[3]
- Leave the gray and plum-colored caps on either end of the pen while the dose reaches room temperature. Don’t remove the caps until immediately before you inject Humira.
- While your medication warms up, you can sanitize your injection site.
Cleaning the Injection Site
-
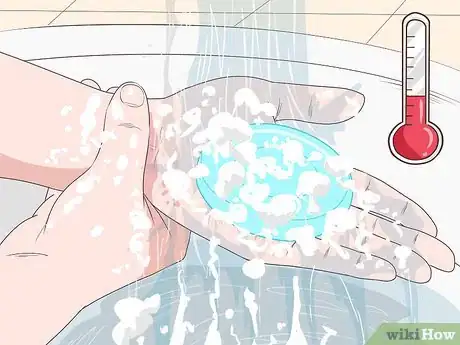
1Wash your hands with soap and hot water. Wash up thoroughly for at least 20 seconds before sanitizing your injection site.[4] After washing your hands, dry them well with a clean paper towel.[5]
- Humira can weaken your immune system and put you at a higher risk of infection. Because of this, washing your hands and sanitizing the injection site is essential.
-
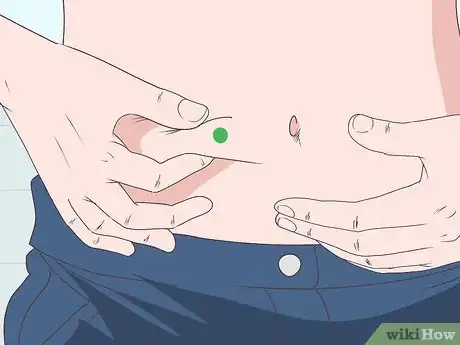
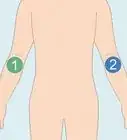
2Choose a blemish-free spot on your stomach or thigh. Inject Humira into the front or side of a thigh, or your stomach at least 2 in (5.1 cm) from your navel. Make sure the injection site is free of cuts, bruises, stretch marks, redness, soreness, or scarring. If you have psoriasis, avoid injecting Humira into plaques.[6]
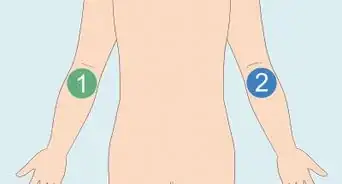
Tip: Choose a different spot at least 1 inch (2.5 cm) away from the previous injection each time you inject Humira to help prevent soreness and irritation. For instance, if you injected your left thigh at your last dose, inject your right thigh or stomach the next time you use your medication.
-
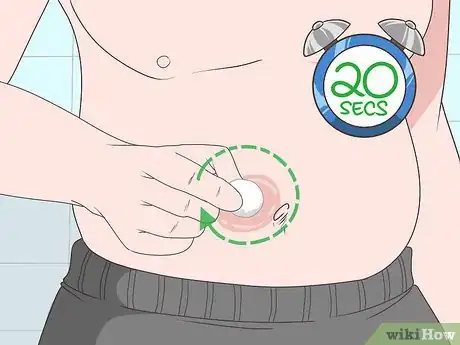
3Wipe the site with an alcohol pad using circular motions. Remove the alcohol pad included in the dose tray from its wrapping. Then wipe it over the skin around your chosen injected site for about 20 seconds, and let it dry for a few seconds after.[7]
- Don’t touch the injection site or cover it with clothing until you’re ready to administer the injection.
Administering Your Medication
-
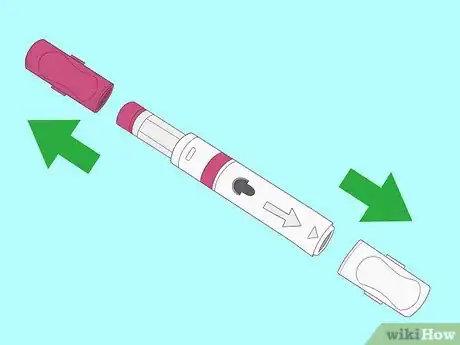
1Remove the gray and plum caps immediately before injecting yourself. Hold the pen with the gray side up and pull the gray cap straight off of the tip. Turn the pen over so the plum-colored side is up, then pull off the plum cap.[8]
- Be sure to pull the caps straight off of the pen instead of twisting them. Don’t try to recap the pen, which could damage the needle or discharge the medication.
-
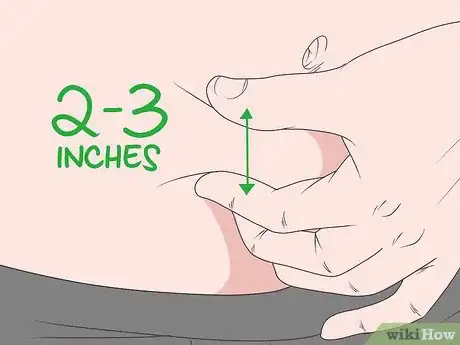
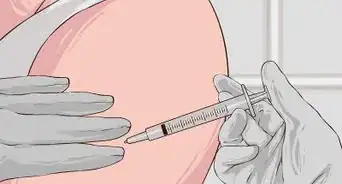
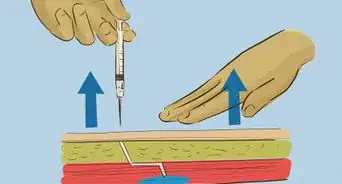
2Squeeze 2 to 3 in (5.1 to 7.6 cm) of skin around the injection site. Hold the pen in your dominant hand and, with the other, gently pinch the skin around the injection site. Don’t touch the exact spot where you’ll inject the pen. Just squeeze the area around it firmly enough to raise the skin.[9]
- Keep squeezing your skin gently while you inject the medication. Squeezing your skin helps make the injection less uncomfortable.
-
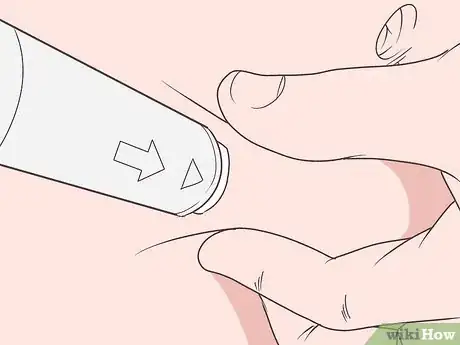
3Place the white end of the pen flat against the injection site. Hold the pen with the view window facing you and the white arrows pointing toward the injection site. Press the white end, which is the needle cover, against the area of skin you’ve raised.[10]
- Be sure to hold the pen flat against your skin so it forms a 90-degree angle with the injection site.
-
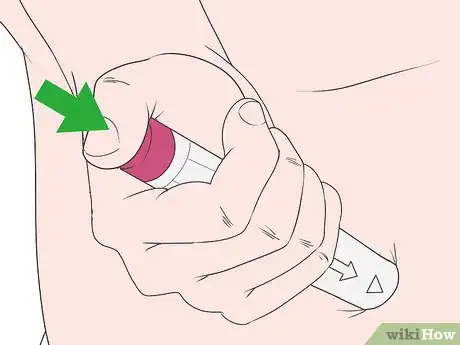
4Press the plum-colored button to begin the injection. Push the pen down firmly against the injection site before starting it. Press down on the plum activator and count to 15 seconds. The needle itself is tiny, and you may just feel a pinch or prick. Humira can cause pain or a burning sensation once it’s injected, so you may experience some discomfort.
- Warming Humira for about 30 minutes and pinching your skin while you inject Humira help minimize discomfort.
- Different people experience varying degrees of discomfort after the injection. Some people experience slight discomfort or pain at the injection site for 1 or 2 minutes. Others feel sore for several hours or up to a few days after the injection.
Tip: Listen for a loud click when you press the plum-colored button. This means the pen has started injecting the medication.
-
5Hold the button until the yellow indicator covers the window. Count slowly to 15 as you watch the yellow indicator move in the view window. After about 15 seconds, the indicator should stop moving, and the entire window should be yellow.[11]
Finishing the Injection
-
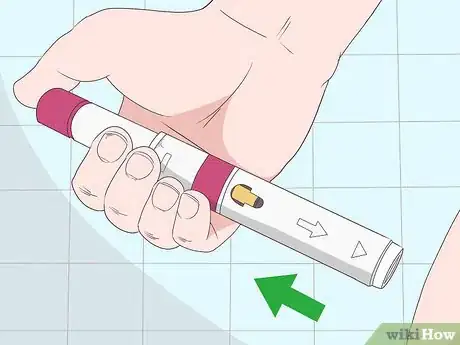
1Pull the pen away from the injection site slowly. Once the yellow indicator stops moving, slowly lift the pen straight away from your skin. Then gently release the area of skin you’ve been pinching.[12]
- The injection site may be sensitive after administering the injection, and it’s normal if you bleed a little after removing the pen.
- Once you remove the pen, the needle will retract into the white needle cover. Listen for it to click. Don’t try to touch the needle or play with the white cover.
-
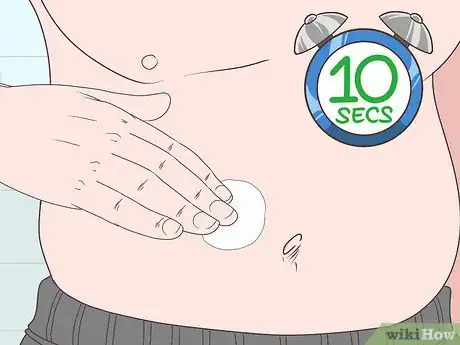
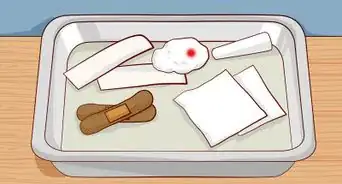
2Press a clean cotton ball lightly over the injection site. Right after removing the pen, hold the cotton ball to your injection site. Don’t press hard, as the area may be sensitive, and don't rub the injection site after administering your medication.[13]
- Hold the cotton ball in place for at least 10 seconds. For some people, sitting still for 5 to 10 minutes after the injection helps minimize discomfort.
Tip: While it’s not absolutely necessary, you can cover the injection site with a bandage if you find it still bleeds after pressing a cotton ball over it.[14]
-
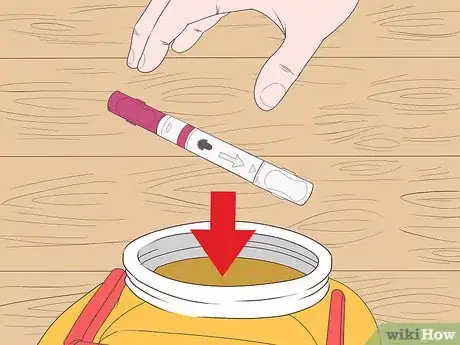
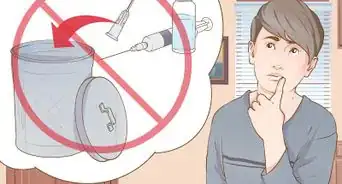
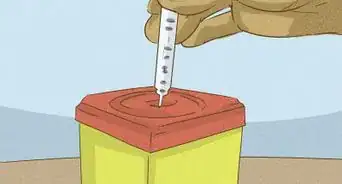
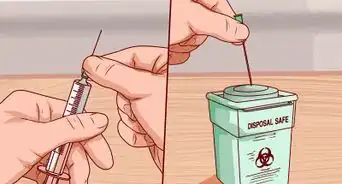
3Dispose of the used pen in a puncture-proof container. Discard the pen immediately in a properly labeled, puncture-proof, and leak-resistant sharps container. If you don’t have a sharps container, ask your doctor to provide you with one.[15]
- Don’t discard the sharps container in your regular trash. When it’s nearly full, dispose of it through your doctor’s office or according to your local guidelines. If you live in the U.S., learn about your state’s sharps disposal procedures at http://www.fda.gov/safesharpsdisposal.
- You may throw away the alcohol pad, cotton ball, dose tray, and other packaging in your regular garbage.
-
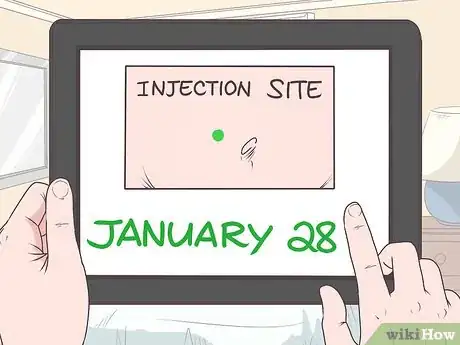
4Note the date and location of your injection. Write down the date and injection site on a calendar, in a notebook, or on an electronic device to keep track of your doses. That way, you’ll have a record that you took the last dose, and you’ll know which spot to avoid the next time you choose an injection site.[16]
- It’s wise to set reminders on your phone to avoid missing a dose. If you do miss a dose, take it as soon as you remember, unless it’s almost time for your next scheduled dose. If that’s the case, take your next dose as scheduled.[17]
Expert Q&A
-
QuestionHow do I return a container of used injection needles?
 Luba Lee, FNP-BC, MSLuba Lee, FNP-BC is a Board-Certified Family Nurse Practitioner (FNP) and educator in Tennessee with over a decade of clinical experience. Luba has certifications in Pediatric Advanced Life Support (PALS), Emergency Medicine, Advanced Cardiac Life Support (ACLS), Team Building, and Critical Care Nursing. She received her Master of Science in Nursing (MSN) from the University of Tennessee in 2006.
Board-Certified Family Nurse Practitioner According to the Humira info site, with HUMIRA Complete, they will deliver sharps containers and mail-back disposal kits right to your doorstep—at no additional cost to you.
Warnings
- Do not inject Humira before your doctor or nurse provides you with firsthand instructions.⧼thumbs_response⧽
- See your doctor promptly if you experience signs of an infection, such as a sore throat or wounds that won’t heal.[18]⧼thumbs_response⧽
- Side effects may include injection site pain, nausea, headache, and back pain. Tell your doctor if these persist or if you experience severe side effects, such as swelling, rash, numbness or tingling, difficulty breathing, dizziness, or new joint pain.[19]⧼thumbs_response⧽
References
- ↑ https://www.humira.com/humira-complete/injection
- ↑ https://www.medicines.org.uk/emc/files/pil.7986.pdf
- ↑ https://medsafe.govt.nz/consumers/cmi/h/humira.pdf
- ↑ https://www.cdc.gov/oralhealth/infectioncontrol/faqs/hand-hygiene.html
- ↑ https://www.accessdata.fda.gov/drugsatfda_docs/label/2009/125057s196lbl.pdf
- ↑ https://medlineplus.gov/druginfo/meds/a603010.html
- ↑ https://dailymed.nlm.nih.gov/dailymed/drugInfo.cfm?setid=608d4f0d-b19f-46d3-749a-7159aa5f933d
- ↑ https://dailymed.nlm.nih.gov/dailymed/drugInfo.cfm?setid=608d4f0d-b19f-46d3-749a-7159aa5f933d
- ↑ https://www.medicines.org.uk/emc/files/pil.7986.pdf
- ↑ https://www.accessdata.fda.gov/drugsatfda_docs/label/2009/125057s196lbl.pdf
- ↑ https://dailymed.nlm.nih.gov/dailymed/drugInfo.cfm?setid=608d4f0d-b19f-46d3-749a-7159aa5f933d
- ↑ https://www.medicines.org.uk/emc/files/pil.7986.pdf
- ↑ https://dailymed.nlm.nih.gov/dailymed/drugInfo.cfm?setid=608d4f0d-b19f-46d3-749a-7159aa5f933d
- ↑ https://www.nps.org.au/medical-info/medicine-finder/humira-vial
- ↑ https://www.accessdata.fda.gov/drugsatfda_docs/label/2009/125057s196lbl.pdf
- ↑ https://dailymed.nlm.nih.gov/dailymed/drugInfo.cfm?setid=608d4f0d-b19f-46d3-749a-7159aa5f933d
- ↑ https://medlineplus.gov/druginfo/meds/a603010.html
- ↑ https://medlineplus.gov/druginfo/meds/a603010.html
- ↑ https://medlineplus.gov/druginfo/meds/a603010.html








Medical Disclaimer
The content of this article is not intended to be a substitute for professional medical advice, examination, diagnosis, or treatment. You should always contact your doctor or other qualified healthcare professional before starting, changing, or stopping any kind of health treatment.
Read More...