X
This article was co-authored by wikiHow Staff. Our trained team of editors and researchers validate articles for accuracy and comprehensiveness. wikiHow's Content Management Team carefully monitors the work from our editorial staff to ensure that each article is backed by trusted research and meets our high quality standards.
There are 7 references cited in this article, which can be found at the bottom of the page.
This article has been viewed 33,328 times.
Learn more...
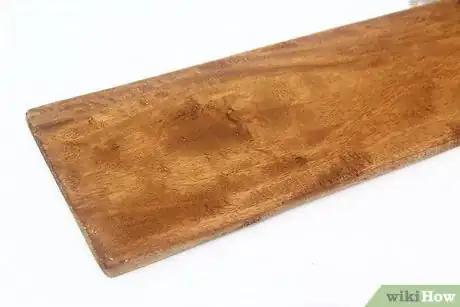
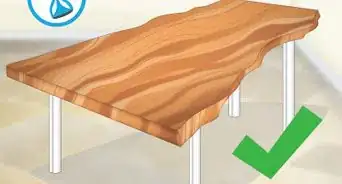
Poplar is inexpensive and sturdy, but unfortunately, it can be difficult to stain it evenly. Don't worry—we have some tricks you can use to get any project looking great!
Steps
Part 1
Part 1 of 4:
Preparing the Wood and Workspace
-
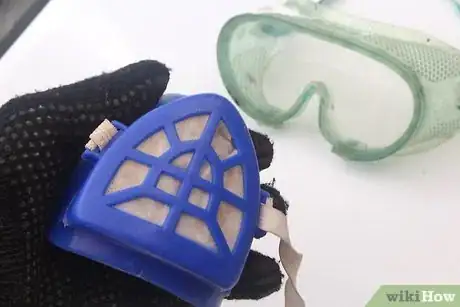
1Wear protective clothing and work in a well-ventilated area. All of the chemical products used to treat poplar can be hazardous, so you should always wear rubber gloves and a respirator. Also wear the respirator while sanding to avoid breathing in wood particles. Ventilate your workspace by keeping an air current flowing through it.
- To ventilate the area, open any nearby doors or windows. You can also make use of fans or work outside.
- You can purchase a respirator at most general stores and hardware stores.
-
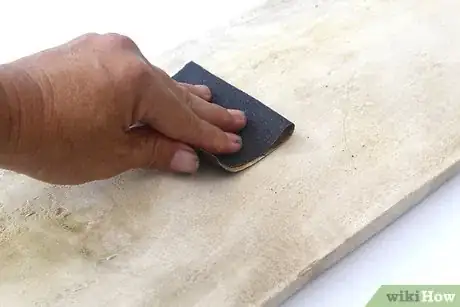
2Abrade the poplar with 80-grit sandpaper. Rub the coarse-grit sandpaper over all the areas you wish to stain. The sandpaper roughs up the wood, which allows the staining products to sink further into the grain.[1]
- Always wipe along the grain. Look closely at the wood to see which direction its particles are oriented towards. The grain looks like lines in the wood.
Advertisement -
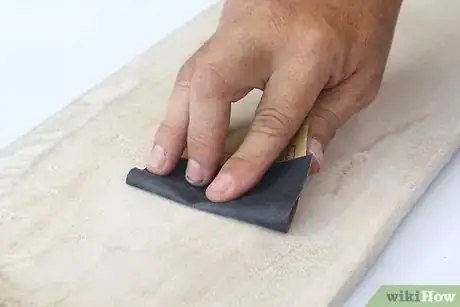
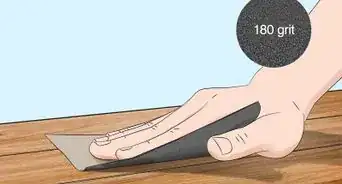
3Smooth out the wood with 180 to 220-grit sandpaper. After roughing up the wood, even it out with a finer grit sandpaper. Go back over all the areas you sanded earlier. Blow the wood shavings off the poplar when you’re finished.[2]
- Make sure the wood looks and feels even before you attempt to stain it.
Advertisement
Part 2
Part 2 of 4:
Varnishing the Wood
-
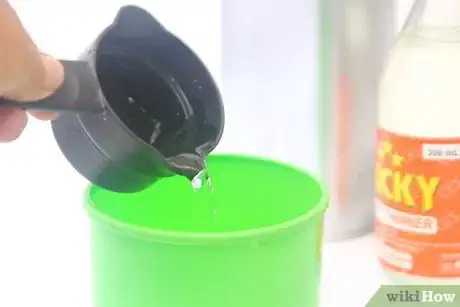
1Mix 1 part varnish with 3 parts paint thinner. Choose a clear gel varnish, since this will protect the wood from water damage and uneven staining. You might try mixing 1⁄4 cup (59 mL) of varnish with 3⁄4 cup (180 mL) water to start. Mix more later if necessary.[3]
- To make mixing easier, get a plastic mixing cup from a hardware store or auto parts store.
- You can also use a clear sealer or dewaxed shellac.
-
2Wipe the mixture onto the wood with a rag. Soak the rag in the diluted varnish, then use it to go over all sides of the wood. Rub down the wood in steady, controlled motions to coat the poplar's surface. You want it to have a thin, even coating of varnish.[4]
- When applying varnish, coatings, or staining products, always work 1 side at a time.
- If you see the varnish clumping into beads, that means you’re using too much. You can scrape the beads off with a putty knife.
-
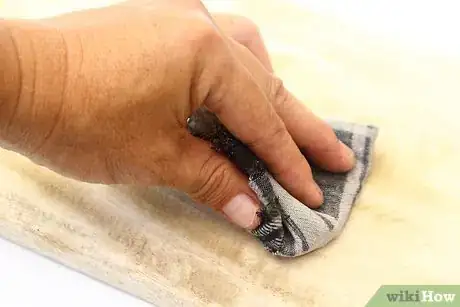
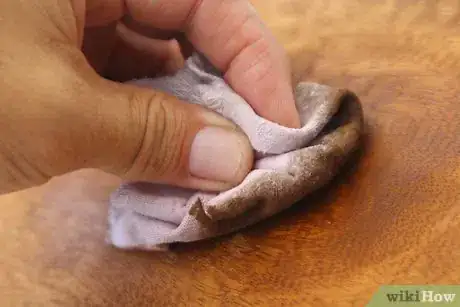
3Dry the wood with a rag after 5 to 10 minutes. Most of the diluted varnish should have soaked into the poplar at this point. Go back over the wood with a clean rag. Use it to absorb any varnish still left on the poplar.[5]
- Any leftover varnish can show up through the stain, so make sure you remove it all now.
-
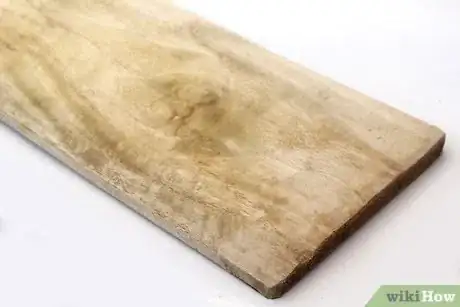
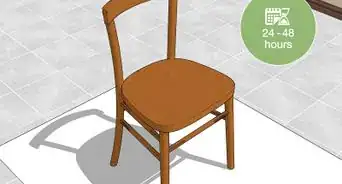
4Let the poplar dry overnight. Place the wood in a safe location, such as on a table or workbench. Having good air circulation in the room can help the wood dry. In the morning, the varnish should be completely soaked into the poplar.[6]
-
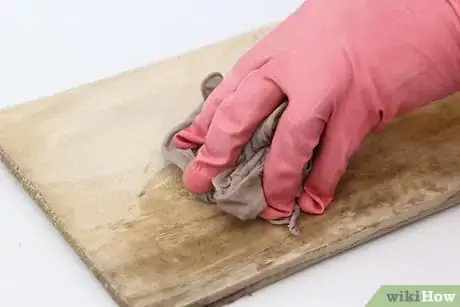
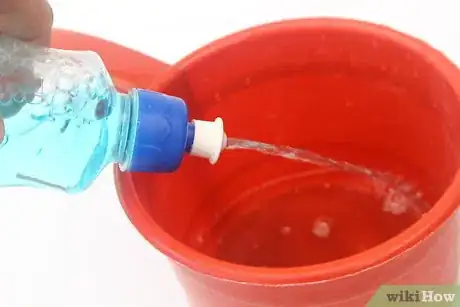
5Wash the poplar with liquid dish soap and water. You can most likely use whatever liquid soap you have in your kitchen. Mix about 1 teaspoon (4.9 mL) of the soap into a small bowl of warm water. Then, dip a clean rag into the soapy water and use it to wipe down the poplar.[7]
- Avoid harsh dish soaps, such as any designed to treat grease.
-
6Apply an additional coat of varnish to dark areas. Washing the wood may cause dark streaks and spots to appear. This is normal, but it has to be treated before staining the wood. Using another rag, spread more of the diluted varnish mixture onto these spots. Wipe up any excess and let the wood dry again.
- These spots are porous, so they absorb more water. They have to be treated with extra varnish so they stain evenly.
Advertisement
Part 3
Part 3 of 4:
Dying the Wood
-
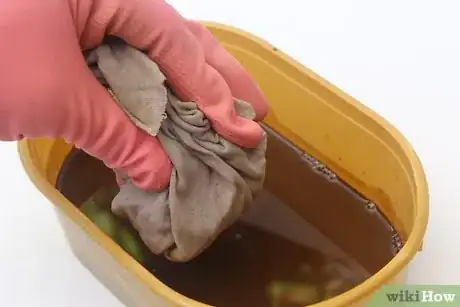
1Mix a water-based wood dye in water. You can purchase these dyes online, at woodcrafting supply stores, and at some general stores. They are small bottles of powders that come in a variety of colors. Choose a color you want the wood to be, then mix the powder according to the instructions on the label.[8]
- For example, you might purchase a deep red dye if you want the poplar to look like cherry wood.
-
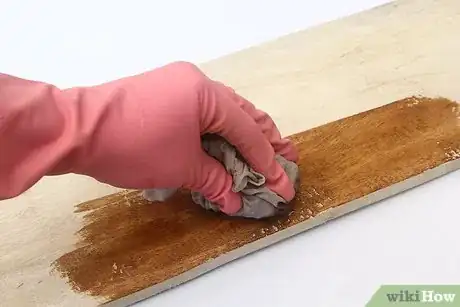
2Apply the dye to the poplar with a rag. Using a clean rag, transfer plenty of dye onto the wood. You can’t really use too much. Spread the dye along the wood until it is covered by an even coating.[9]
- You will need to add a large amount of dye to coat an entire piece of wood, so don’t hold back.
-
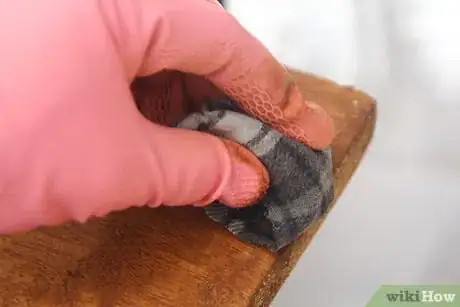
3Dry off excess dye after 10 minutes. Wait a little while for the dye to soak into the wood. After the dye has settled into the grain, wipe up the remaining dye with a few clean rags. Make sure the wood has a consistent dye coloring on all sides.[10]
-
4Wait 2 hours for the dye to dry. Set the wood aside at your workstation. Make sure air is circulating in the room so that the wood can dry properly. When the poplar is ready, it should feel dry to the touch.
- If the wood isn’t dry, the dye may not settle into the grain, leading to discolored wood.
-
5Apply clear gel varnish to any remaining dark spots. Check the wood again for any dark streaks in the dye. You can use the same store-bought varnish from before or a wood filler to prevent the dark spots from absorbing more color. Apply it with a clean rag.[11]
- Dark streaks are a common problem with poplar. Take care of them before you apply the final coat of gel stain.
-
6Let the wood dry for another 2 hours. Read the product’s label for the recommended drying time. Quick-drying products may dry out after 45 minutes, but you want to make sure the wood is completely dry. Waiting 2 hours ensures the wood is ready for staining.
- The wood must be dry to the touch before you can stain it. Wet dye or gel coating can lead to discolorations.
-
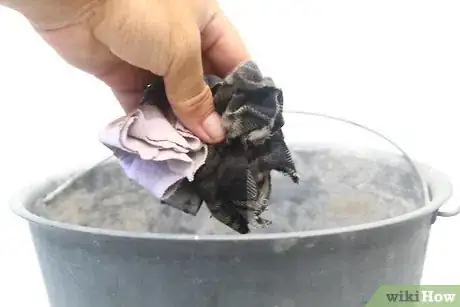
7Dry and dispose of your staining equipment safely. Gel stains are considered flammable, so any brushes, rags, or clothing you used can combust if you aren’t careful. Spread these items out across a non-flammable surface such as concrete. Wait for them to dry, then throw them into the trash.[12]
- Avoid leaving your work material out in sunlight.
- You can also put used rags in a metal bucket filled with cold water. Seal the bucket, then take it to a hazardous waste disposal facility near you.
Advertisement
Part 4
Part 4 of 4:
Applying a Gel Stain
-
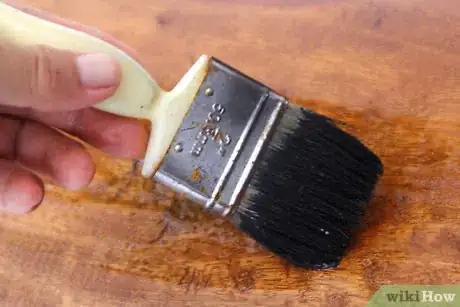
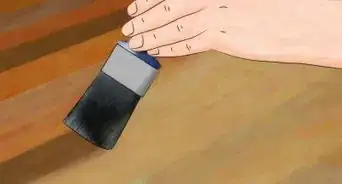
1Brush a coat of gel stain onto the wood. Poplar reacts better to gel stainers than liquid stainers due to the thicker consistency. Most home improvement stores sell a variety of colors. Choose the color you want the wood to be, open the can, then use a foam brush or rag to coat the wood in a thick, even layer.[13]
- For example, you can use a dark red color if you want your poplar to resemble cherry wood.
-
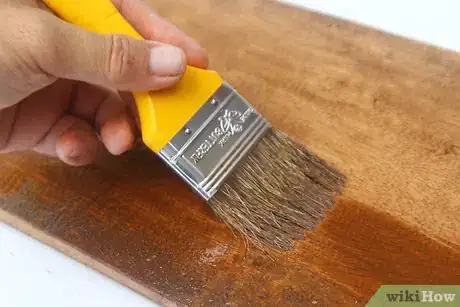
2Wipe off the excess gel with a rag. Go back over the wood, smoothing out the gel coating. Your rag will pick up a lot of excess gel right away. The more gel you remove, the more you will thin out the stain, leading to a lighter coloring in your wood.[14]
- As long as the entire wood surface is covered by the gel, it doesn’t matter if the gel appears uneven.
-
3Leave the wood to dry for a day. Give the gel stain plenty of time to set into the wood. Staining products can be slow-drying. They usually begin drying after about 8 hours but require a full day to completely settle. The wood should feel dry to the touch before you work on it again.[15]
-
4Apply a second coating of gel stainer as needed. Check the wood, gauging the color of the stain while noticing any inconsistencies. If the color appears light or uneven, you can fix it by applying a second coating. You will need to wipe up the excess stainer and let the wood dry again afterwards.
- If you didn’t successfully repair the dark streaks earlier, they may show up again. Stainer can also get stuck in nooks and cracks. These can’t be fixed at this point.
- You can lighten a stained area with mineral spirits if the stainer hasn’t dried yet.
-
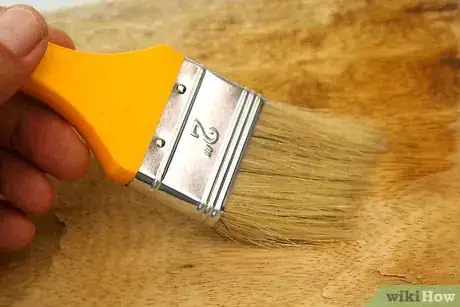
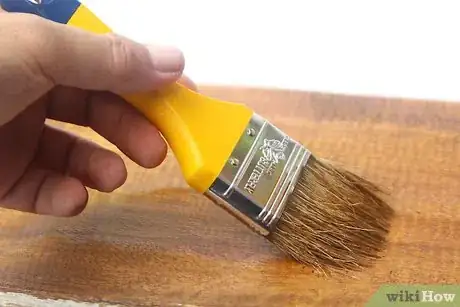
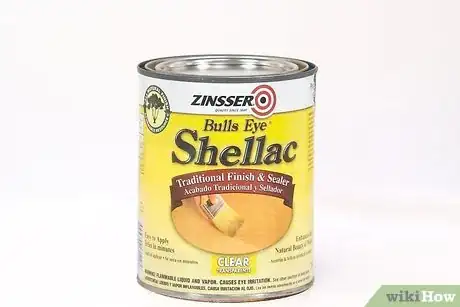
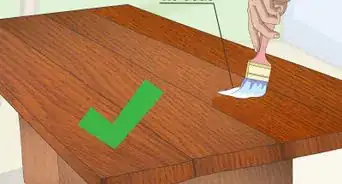
5Cover the wood with a coating of shellac or another finisher. You have a few options when protecting the poplar’s integrity. Shellac, polyurethane, and other products all seal in the stain. Choose 1, then use a paint brush or rag to coat the wood in a smooth, even layer of the chemical.[16]
- Shellac, for instance, can brighten the wood’s coloring. You might use amber shellac to give the wood a more vibrant brown color.
- Polyurethane is good for making the wood waterproof.
- You can apply a finisher like shellac first, then waterproof the poplar with polyurethane.
-
6Allow the finish to dry for at least 30 minutes. The drying time depends on the finisher you chose, so check the manufacturer’s instructions. Shellac may dry within 45 minutes, but polyurethane can take 2 hours or more. Make sure the finish has dried so it won’t come off later.[17]
-
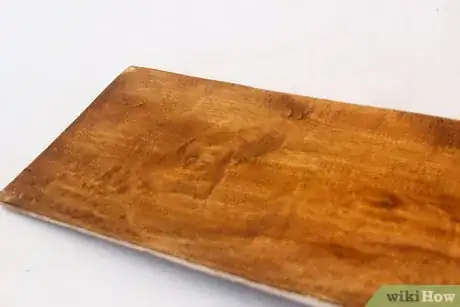
7Apply a second coating of finisher as needed. Recoating the wood is usually a good idea, since it ensures total coverage. Use a rag or paint brush to go back over the poplar, applying another smooth layer of the finishing material. Wait for it to dry, then admire your work.
- If the coating looks uneven, you can smooth it out with 180-grit sandpaper.
Advertisement
Warnings
- All chemicals used can be dangerous, so always wear safety gear such as gloves and a respirator.⧼thumbs_response⧽
- Work in a well-ventilated area when using chemicals.⧼thumbs_response⧽
- Dispose of gel stain applicators safely to avoid fire hazards.⧼thumbs_response⧽
Advertisement
Things You’ll Need
- 80-grit sandpaper
- 180-grit sandpaper
- Clean rags
- Paint brush
- Clear gel varnish
- Paint thinner
- Plastic mixing bowl
- Wood mixing stick
- Water-based wood dye
- Water
- Gel stain
- Shellac or polyurethane top coat
References
- ↑ https://www.thesprucecrafts.com/tips-for-working-with-poplar-wood-3536902
- ↑ https://www.popularwoodworking.com/american-woodworker-blog/make-poplar-look-pretty
- ↑ https://www.popularwoodworking.com/american-woodworker-blog/make-poplar-look-pretty
- ↑ https://www.familyhandyman.com/woodworking/staining-wood/how-to-stain-wood-evenly-without-getting-blotches-and-dark-spots/view-all/
- ↑ https://www.popularwoodworking.com/american-woodworker-blog/make-poplar-look-pretty
- ↑ https://www.popularwoodworking.com/american-woodworker-blog/make-poplar-look-pretty
- ↑ https://www.popularwoodworking.com/american-woodworker-blog/make-poplar-look-pretty
- ↑ http://www.woodweb.com/knowledge_base/Staining_and_Blending_Difficult_Woods.html
- ↑ https://www.woodmagazine.com/materials-guide/finishes/show-off-figure-with-dye
- ↑ https://www.woodmagazine.com/materials-guide/finishes/show-off-figure-with-dye
- ↑ https://www.popularwoodworking.com/american-woodworker-blog/make-poplar-look-pretty
- ↑ https://www.consumerreports.org/wood-stains/oily-paint-rags-can-spontaneously-combust/
- ↑ https://www.woodmagazine.com/materials-guide/finishes/gel-stains
- ↑ https://www.familyhandyman.com/woodworking/staining-wood/how-to-stain-wood-evenly-without-getting-blotches-and-dark-spots/view-all/
- ↑ https://www.popularwoodworking.com/american-woodworker-blog/make-poplar-look-pretty
- ↑ https://www.familyhandyman.com/woodworking/staining-wood/how-to-stain-wood-evenly-without-getting-blotches-and-dark-spots/view-all/
- ↑ https://www.familyhandyman.com/woodworking/staining-wood/how-to-stain-wood-evenly-without-getting-blotches-and-dark-spots/view-all/
About This Article
Advertisement
