This article was co-authored by wikiHow staff writer, Rain Kengly. Rain Kengly is a wikiHow Technology Writer. As a storytelling enthusiast with a penchant for technology, they hope to create long-lasting connections with readers from all around the globe. Rain graduated from San Francisco State University with a BA in Cinema.
This article has been viewed 6,675 times.
Learn more...
Do you want to know what happens when you're in Facebook jail? This is another term for your account being disabled or banned. You'll know you're in Facebook jail if you can't access your account or if you have limited posting power. Luckily, there are plenty of ways to get out of Facebook jail (and evade it). This wikiHow will show you how to check if you're in Facebook jail, how to avoid it, and how to appeal to Facebook to free your account.
Things You Should Know
- To be in Facebook jail means your account is suspended, blocked, or restricted.
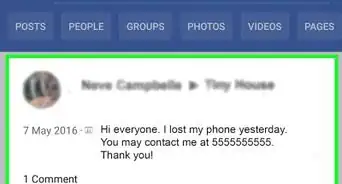
- If you can't log into your account or post to your timeline, your account is blocked.
- Use the form to send an appeal. Input your email or phone number, full name, and ID.
Steps


Sending an Appeal
-
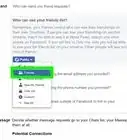
1Open the Appeal form in a browser. You can use a mobile or desktop browser.
- You must use the email address or phone number associated with your Facebook account.
- Only use this method if your account was disabled for violating Facebook's Community Standards. If you can't access your account for other reasons, consider resetting your password.
- You must send an appeal within 30 days of your account being disabled. After 30 days, you will be unable to request a review and your account may be permanently disabled.
-
2Enter your email address or phone number. Input it in the field underneath Login email address or mobile phone number.
- Be sure to use the one linked to the Facebook account you want to appeal.
-
3Enter your full name. Input it in the field underneath Your full name.
- Use the name as it appears on your Facebook account.
-
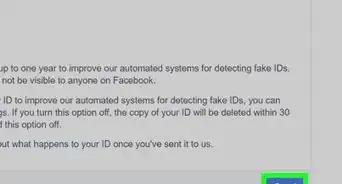
4Attach your ID. Use a photo saved as a JPEG file, if possible. If you don't have a photo saved to your device, you can scan your ID using a scanner or your mobile device.
- Click Choose Files below the Your ID(s) field to open a new file window. Select your ID file, then click Open to attach it to the form.
-
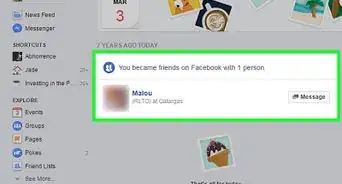
5Click Send. Once you've filled the forms and attached your ID, click the Send button at the bottom-right corner.
- Your appeal will be sent to Facebook and considered for a review. If Facebook finds that your account was wrongly disabled, they will restore access.


About This Article