This article was co-authored by wikiHow staff writer, Jack Lloyd. Jack Lloyd is a Technology Writer and Editor for wikiHow. He has over two years of experience writing and editing technology-related articles. He is technology enthusiast and an English teacher.
The wikiHow Tech Team also followed the article's instructions and verified that they work.
This article has been viewed 478,060 times.
Learn more...
While some senders may attempt to trick you with a fake name or address, you can verify a sender's information by copying the email's text into an email-tracking site, then viewing the information associated with their IP address. This wikiHow article will teach you how to trace an email to its true digital source.
Steps
Copying an Email's Text on Gmail
-
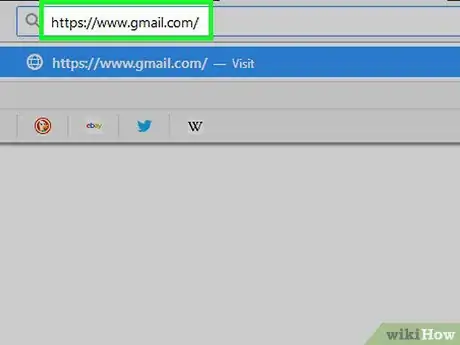
1Open Gmail. Go to https://www.gmail.com/ in your computer's web browser. This will open your Gmail inbox if you're logged in.
- If you aren't logged in, you'll need to enter your email address and password before you can proceed.
-
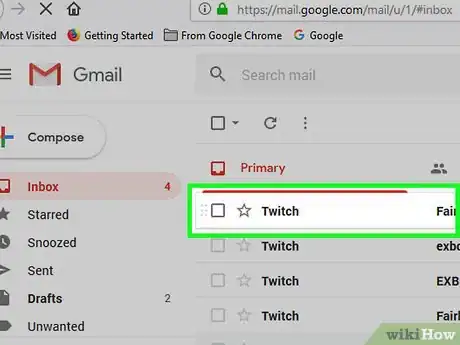
2Select an email. Click the email that you want to trace to open it.
- If the email contains multiple responses, click the tab that contains the email which you want to trace before proceeding.
Advertisement -
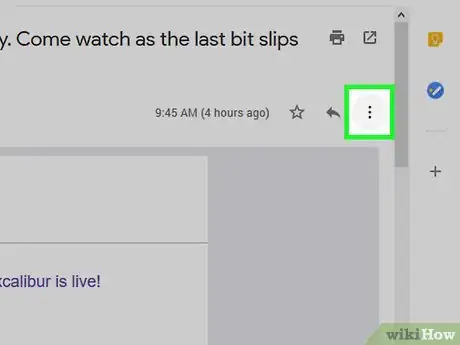
3Click ⋮. It's in the upper-right corner of the email's page. A drop-down menu will appear.
-
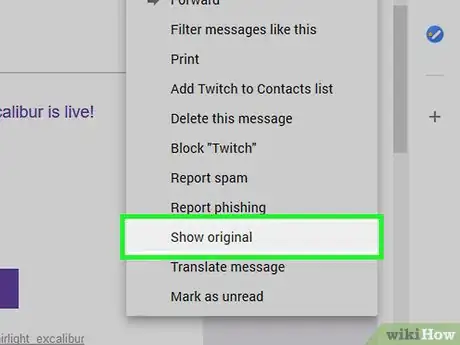
4Click Show original. You'll find this in the drop-down menu. This will open the email's raw text form, which includes the email header.
-
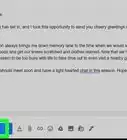
5Click Copy to clipboard. It's a blue button in the upper-right side of the page. Doing so copies the entire email to your clipboard; at this point, you can proceed with determining the email's sender.
Copying an Email's Text on Outlook
-
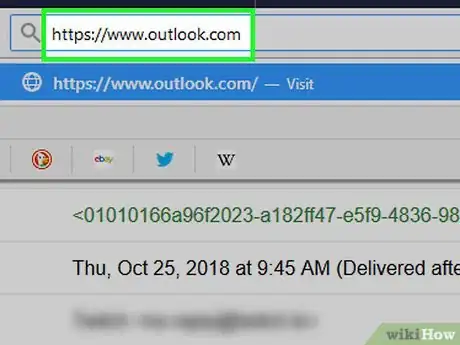
1Open Outlook. Go to https://www.outlook.com/ in your computer's web browser. This will open your Microsoft Outlook page if you're logged in.
- If you aren't logged in, enter your Outlook email address and password before proceeding.
-
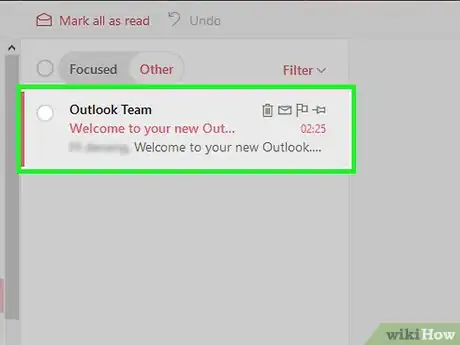
2Select an email. Click the email you want to trace. This will open the email.
-
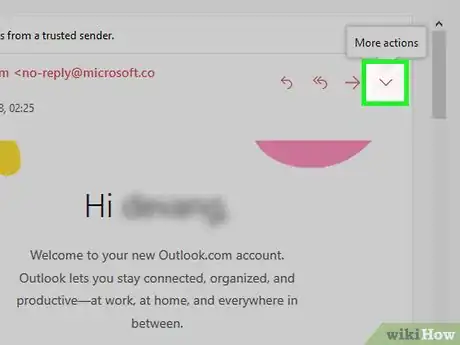
3
-
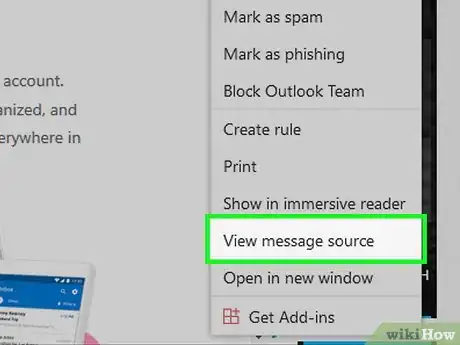
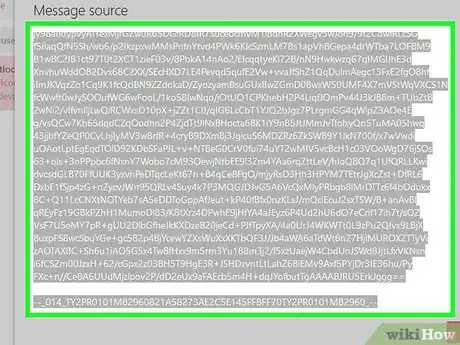
4Click View message source. It's near the bottom of the drop-down menu. This will open the email's raw text form, which includes the email header.
-
5Highlight the whole email. Click and drag from the left side of the "Received" line all the way down to the bottom line on the page.
-
6Copy the email. Press Ctrl+C (Windows) or ⌘ Command+C (Mac) to do so. At this point, you can proceed with determining the email's sender.
Copying an Email's Text on Yahoo
-
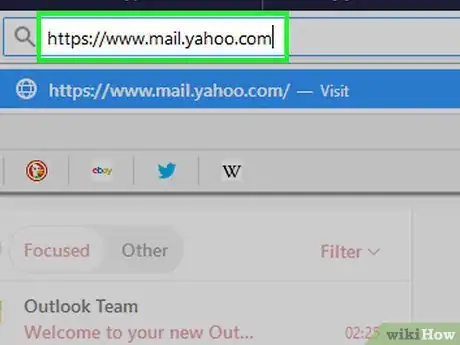
1Open Yahoo Mail. Go to https://www.mail.yahoo.com/ in your computer's web browser. This will open your Yahoo inbox if you're logged in.
- If you aren't logged in, enter your Yahoo email address and password before proceeding.
-
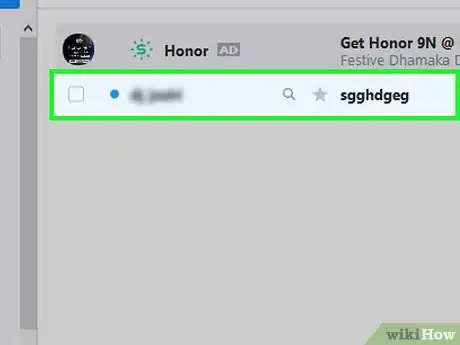
2Select an email. Click the email that you want to trace. This will open the email.
-
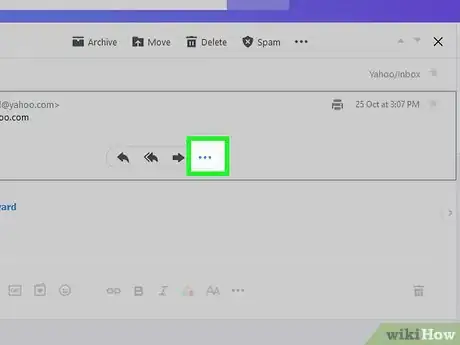
3Click ⋯. You'll find this at the top of the page. A drop-down menu will appear.
-
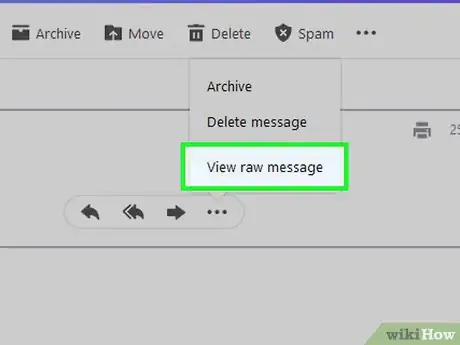
4Click View raw message. It's in the drop-down menu. This will open the email's raw text form, which includes the email header.
-
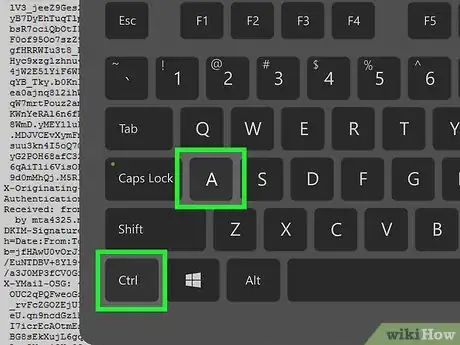
5Highlight the whole email. On the raw text page, press either Ctrl+A (Windows) or ⌘ Command+A (Mac) to highlight the entire email.
-
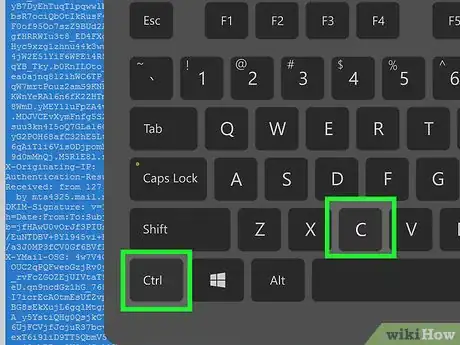
6Copy the email. Press Ctrl+C (Windows) or ⌘ Command+C (Mac) to do so. At this point, you can proceed with determining the email's sender.
Determining the Sender
-
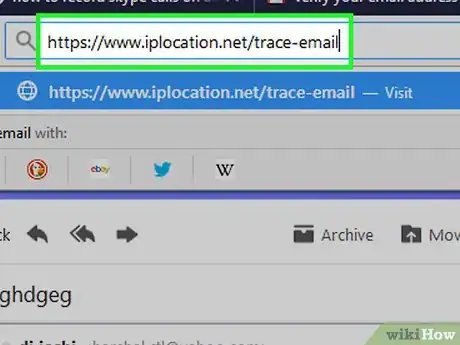
1Open the IP Location website. Go to https://www.iplocation.net/trace-email in your computer's web browser.
-
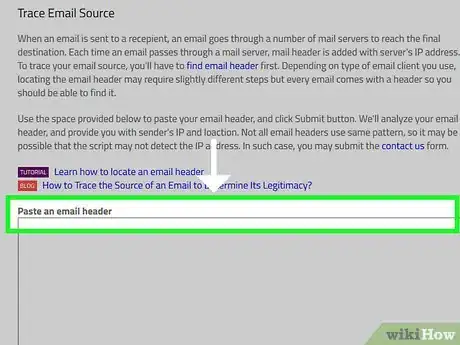
2Scroll down to the "Paste an email header" text box. It's near the bottom of the page. This is the free version of the IP Location site's email tracker.
-
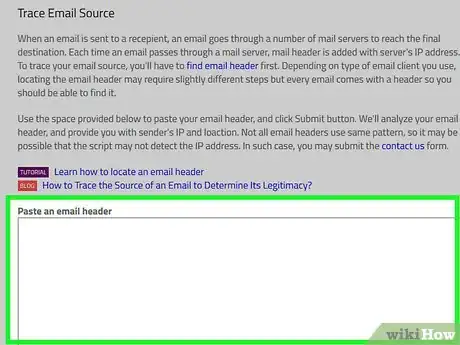
3Click the "Paste an email header" box. Doing so places your cursor in the box.
-
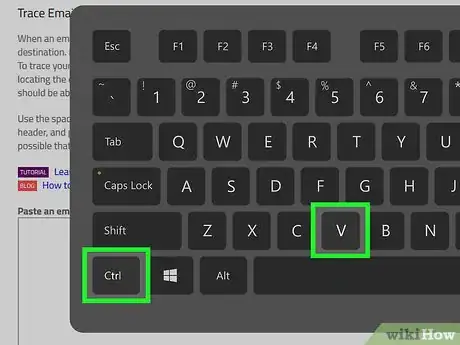
4Paste in your copied email header. Press Ctrl+V (Windows) or ⌘ Command+V (Mac) to do so.
-
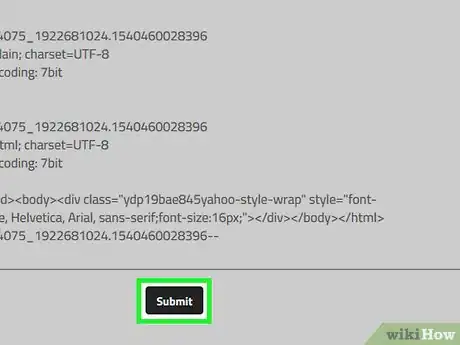
5Click Submit. It's a black button at the bottom of the screen.
-
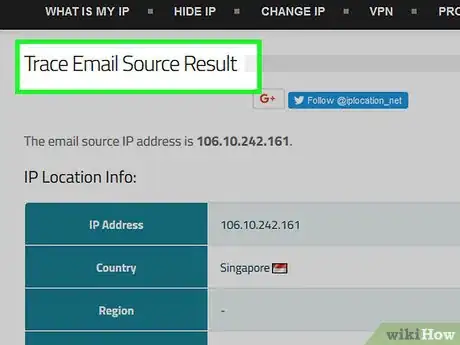
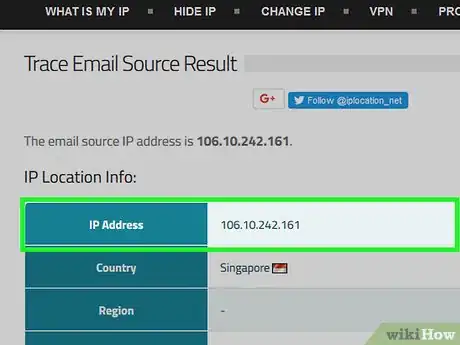
6Review the results. You should see the sender's IP address, country, region, city, and/or business listed on the results page.
- In some cases, you may only see the IP address. If so, proceed to the next step.
-
7Double-check the IP address if necessary. If you want to look up additional information about the IP address or confirm the information from IP Location, do the following:
- Make sure you know the IP address.
- Go to https://whatsmyip.com/ip-trace/ in your computer's web browser.
- Type the IP address into the text box to the left of the Trace IP button.
- Click Trace IP next to the text box.
- Review the IP address' information in the upper-right side of the page.
Community Q&A
-
QuestionHow do I log in with a different ip address?
 Community AnswerUse the internet somewhere else, don't use the same router/computer.
 -
QuestionHow do I block unwanted email?
 Community AnswerAfter signing into your email client, go to Settings and then click on Filters and Blocked Addresses. Click on Create New Filter, type in the email address that you want to block into the From field, and then click OK/Save. Repeat as needed. Depending on the email client you use, the procedure might be slightly different.
 -
QuestionHow do I determine the sender's person's IP address?
 Community AnswerWhatever mail server you are using, there should be a drop down option next to the reply button. In that drop down there should be an option to "view header" of the email. In this header it will show the IP address of the sender in an area that says something like (received from:).
