This article was co-authored by wikiHow staff writer, Travis Boylls. Travis Boylls is a Technology Writer and Editor for wikiHow. Travis has experience writing technology-related articles, providing software customer service, and in graphic design. He specializes in Windows, macOS, Android, iOS, and Linux platforms. He studied graphic design at Pikes Peak Community College.
The wikiHow Tech Team also followed the article's instructions and verified that they work.
This article has been viewed 13,606 times.
Learn more...
Do you have files on your Android phone that you want to transfer to your computer? Do you wish there was an easy way to do it without having to connect your phone to your computer using a USB cable? There are several ways you can transfer files from your Android phone to your computer wirelessly. You can use cloud storage, Bluetooth, or file transfer apps. This wikiHow article teaches you how to transfer files from your Android to your PC wirelessly.
Steps
Using Cloud Storage
-
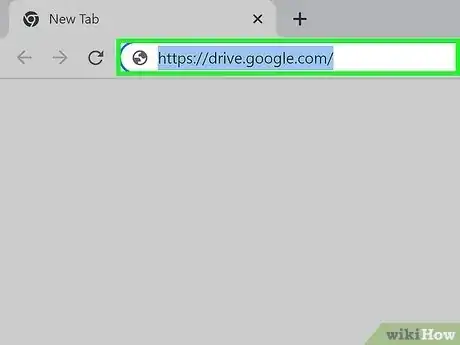
1Go to a cloud storage website. There are a variety of cloud storage services to select from. Most offer a free option with a limited amount of storage space you can access and use to transfer files between devices. If you need more space, you can purchase more for an inexpensive subscription fee. Some cloud storage service websites include the following:[1]
- Google Drive: https://drive.google.com/
- Microsoft OneDrive: https://onedrive.live.com/
- Dropbox: https://www.dropbox.com/
-
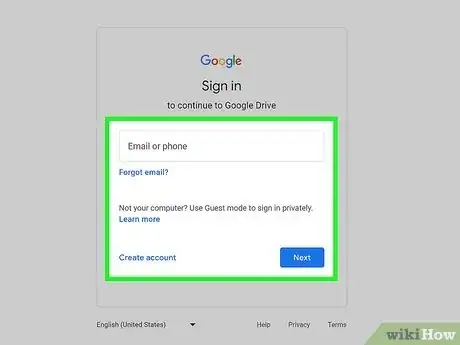
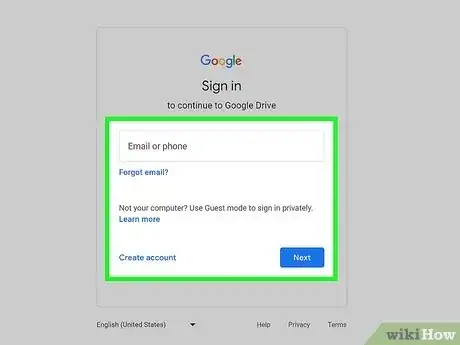
2Sign in or create an account. Many cloud storage services allow you to sign in with an existing account (i.e. your Google, or Microsoft account). If you do not have an existing account associated with the cloud storage, select the option to create a new account. Then fill out the form to create a new account.
- To access Google Drive on your PC, go to https://www.google.com/ in a web browser. If you are not signed in, click Sign In in the upper-right corner. Click the icon that resembles nine squares in the upper-right corner. Then click the Google Drive icon. It has an icon that resembles a colorful triangle.
Advertisement -
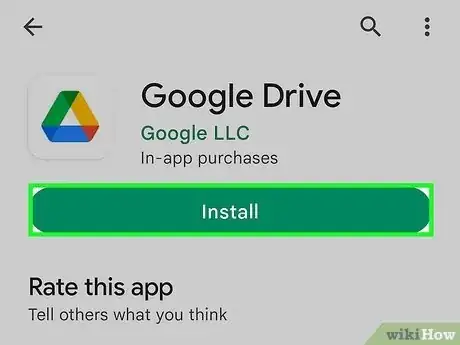
3Download the mobile app on your Android device. You can download the mobile app for your cloud storage service from the Google Play Store. Open the Google Play Store and search "Google Drive, OneDrive, or Dropbox." Tap the app and then tap Install to install the app on your Android device.
- Some Android devices come with Google Drive already installed.
-
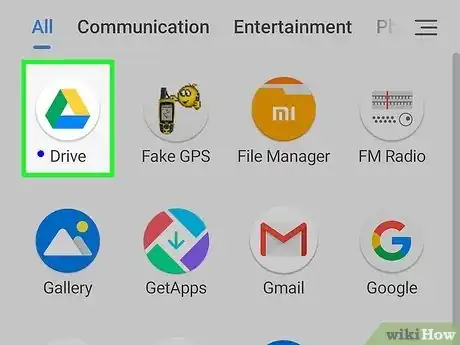
4Open the app and sign in. Tap the icon for your cloud service app on your Home screen or Apps menu to open the app. Then sign in using the email address and password associated with your account.
-
5
-
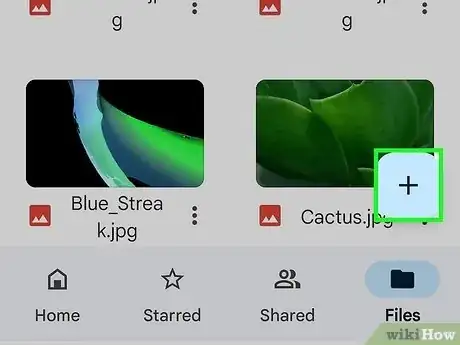
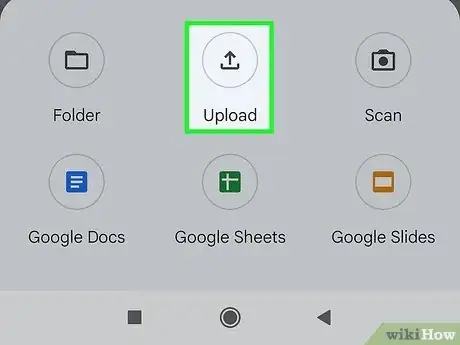
6Tap the option to upload a file. It's in the menu that appears when you tap the icon in the lower-right corner.
-
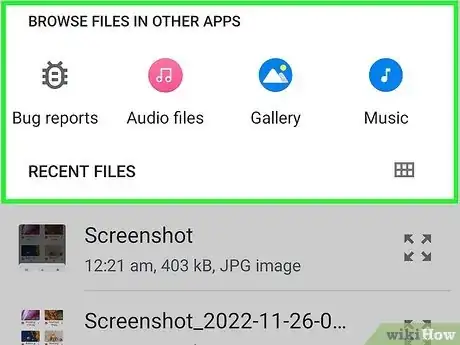
7Tap the file(s) you want to upload. Use the file browser menu to select the file you want to upload. They may be listed under "Recent" or categorized by images, audio, video, or documents. Tap the file(s) you want to upload and wait for them to finish uploading.
-
8Log into the cloud service website on your computer. Go to the website for your cloud service site. If you are not already logged in, click the option to log in. Then enter the email address and password associated with your account to log in.
-
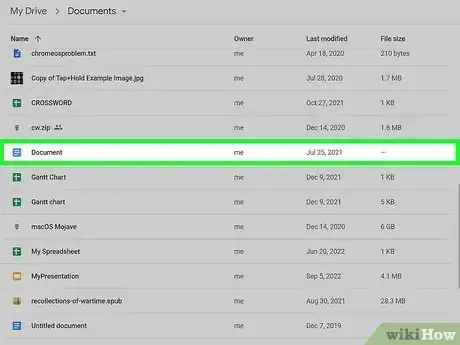
9Click the file you want to down. This highlights and selects the file you want to download.
-
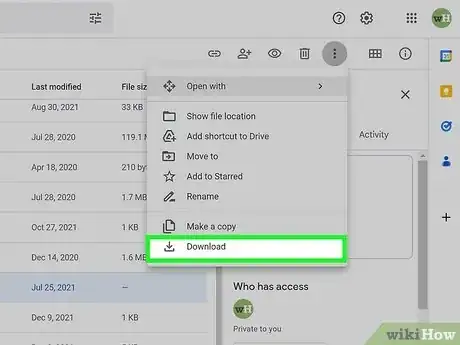
10Click the option to download the file. The option to download the file will appear at the top of the screen, or it can be found under the menu icon which resembles 3 vertical dots. It may be at the top of the screen or next to the file. This downloads the file to your computer.
- You can access files you have uploaded to OneDrive using File Explorer on Windows 10 and 11. Open File Explorer and click OneDrive in the menu panel to the left.
Using Bluetooth on Windows
-
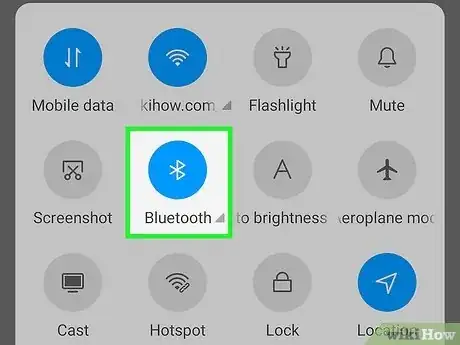
1Ensure Bluetooth on your Android device is turned on. In order to send devices from your Android device over Bluetooth, your Android device must be paired with your computer. Use the following steps to ensure Bluetooth is turned on:[2]
- Swipe down from the top of the screen to display the Quick Access menu.
- Tap the Bluetooth icon if it is turned off.
-
2Pair your phone with your computer. Make sure your phone is unlocked while pairing it with your computer. Use the following steps to pair your phone with your computer.
- Click the Windows Start menu on your Windows PC.
- Click Settings.
- Click Devices.
- Click Bluetooth & other devices in the menu panel to the left.
- Ensure the toggle switch below "Bluetooth" is turned on.
- Click Add Bluetooth or other device.
- Click Bluetooth
- Click your phone.
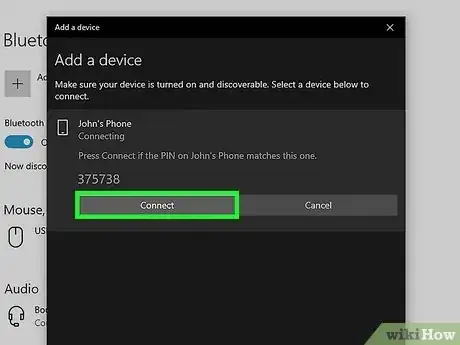
- Click Connect on your computer.
- Tap Ok on the pop-up alert on your phone.
-
3
-
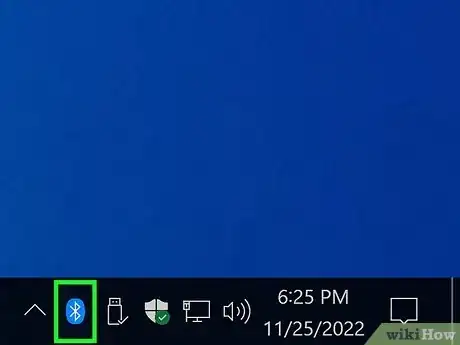
4Click Receive a File. This puts your computer on standby to receive a file through Bluetooth.
-
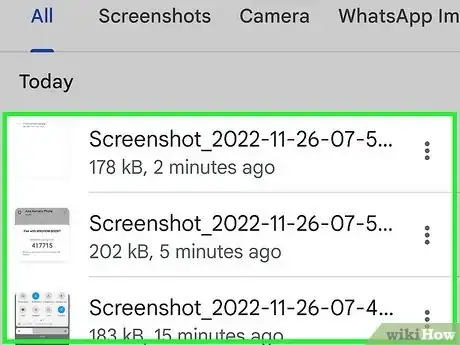
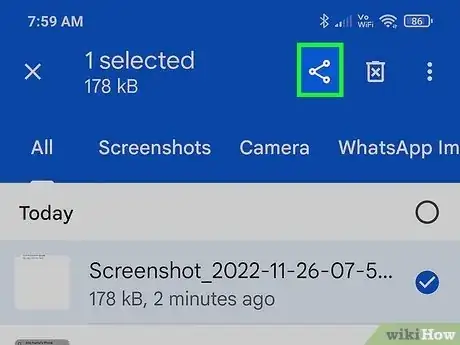
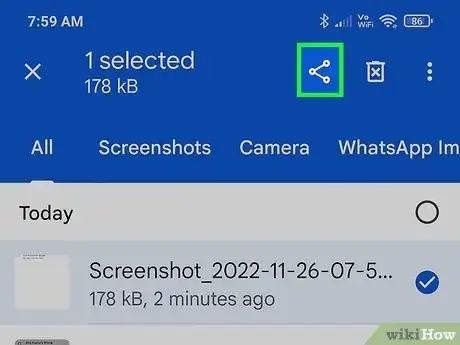
5Tap and hold a file on your Android device. You can send images or videos from the Gallery, or send other files and documents from within the Files or My Files app. This highlights and selects the file.
- If you are using Bluetooth 3.0 or above, the transfer rate should be about 20 megabytes per second or higher. If you are using Bluetooth 2.0 or below, the transfer rate may slow when transferring large files.
-
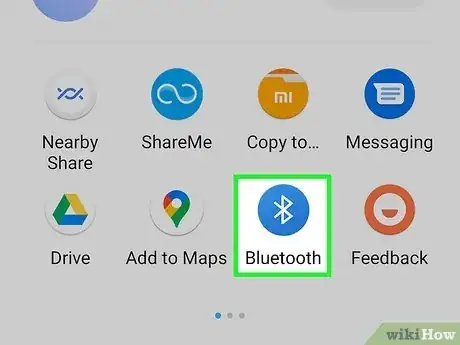
6
-
7
-
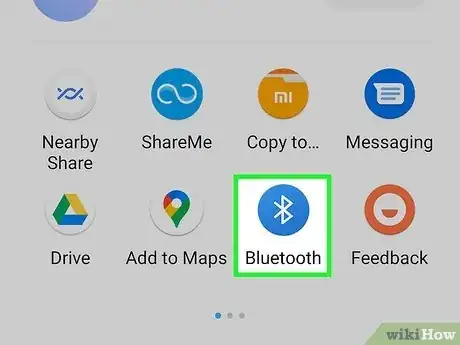
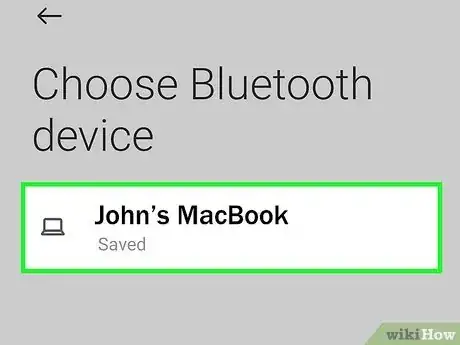
8Tap your computer. This sends the file to your computer over Bluetooth. You should be able to see the file transfer progress in the Bluetooth window on your computer.
Using Bluetooth on Mac
-
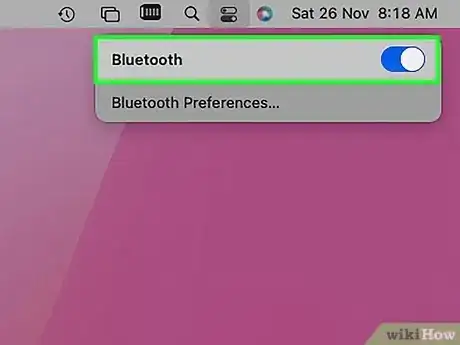
1Turn on Bluetooth on your Mac . When you turn on Bluetooth, the Bluetooth window should display a message that says "Now discoverable as" followed by the name of your Mac. Use the following steps to turn on Bluetooth:
- Click the Apple icon in the upper-left corner of the menu bar at the top.
- Click System Preferences...
- Click Bluetooth.
- Click Turn Bluetooth On (if it is not already on.)
-
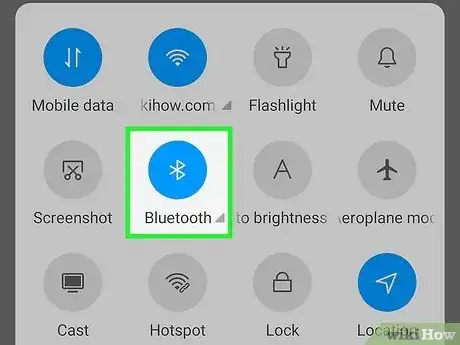
2Turn on Bluetooth on your Android device . The option has an icon that resembles a jagged "B." Use the following steps to turn on Bluetooth on your Android device. Use the following steps to ensure Bluetooth is turned on on your Android device.
- Swipe down from the top of the screen to display the Quick Access menu.
- Tap the Bluetooth icon to turn it on.
-
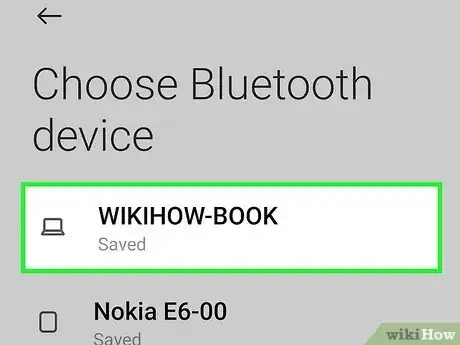
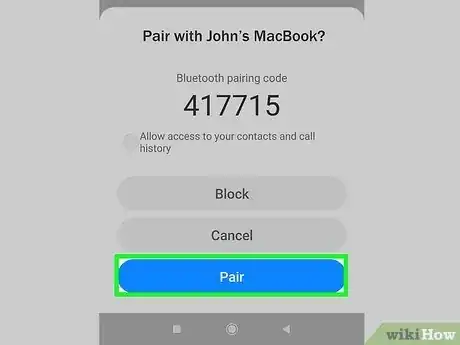
3Pair your Android device with your Mac. You can do this from your Android device or from your Mac. Use one of the following steps to pair your Android device with your Mac:
- From your Mac: With the Bluetooth menu still open, click Connect next to your Android device listed below "Devices". Verify the confirmation code display on both your Mac and Android matches and tap Ok on your Android device.
- From your Android device: Tap and hold the Bluetooth icon in the Quick Access menu. Scroll down and tap your Mac below "Available devices." Verify the confirmation code displayed on both your Mac and Android device matches, and tap Ok.
-
4Open the Bluetooth Sharing menu on your Mac. Use the following steps to open the Bluetooth Sharing menu on your Mac:[3]
- Click the Apple icon in the upper-left corner of the menu bar at the top.
- Click System Preferences...
- Click Sharing.
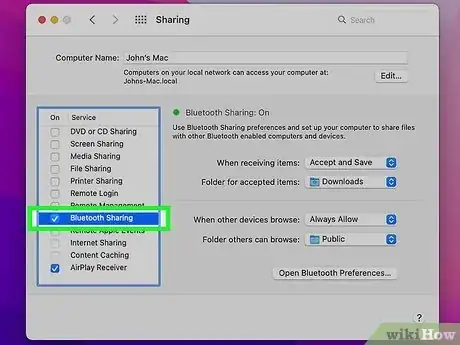
- Click the checkbox next to "Bluetooth Sharing" in the menu to the left to enable Bluetooth sharing.
- Click Bluetooth Sharing to open the Bluetooth Sharing menu.
-
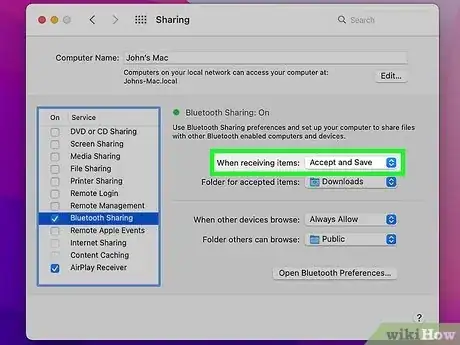
5Select what to do when your Mac receives a file. Use the drop-down menu next to "When receiving items:" to select what your Mac does when it receives a file sent via Bluetooth: Your options are as follows:
- Accept and Save: This will automatically accept any items sent via Bluetooth and save the file.
- Accept and Open: This will automatically accept any items sent via Bluetooth and automatically open the file.
- Ask What to Do: This displays a prompt asking what you want to do when a file is sent via Bluetooth.
- Never allow: The prohibits any files from being sent via Bluetooth.
-
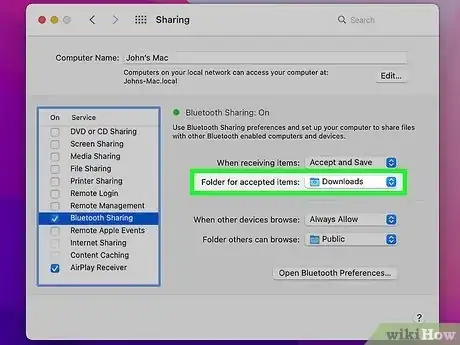
6Select where files are downloaded to. Use the drop-down menu next to "Folder for accepted items:" to select where files sent via Bluetooth are downloaded to. By default, items will be saved to the Downloads folder.
-
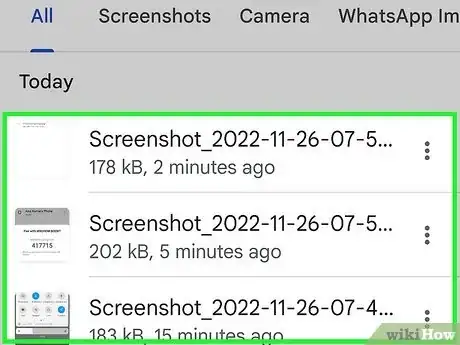
7Tap and hold a file on your Android device. You can send images or videos from the Gallery, or send other files and documents from within the Files or My Files app.
- If you are using Bluetooth 3.0 or above, the transfer rate should be about 20 megabytes per second or higher. If you are using Bluetooth 2.0 or below, the transfer rate may slow when transferring large files.
-
8
-
9
-
10Tap your Mac. This sends the file you select to your Mac via Bluetooth. Depending on your settings, the file may transfer automatically, or you may need to accept the file on your Mac.
Using AirDroid
-
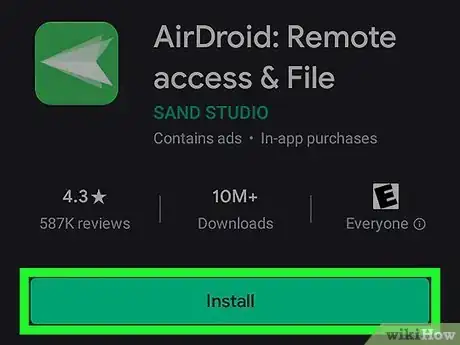
1Download and install AirDroid on your Android device. AirDroid is a popular app that allows you to transfer files from your Android to your PC, among other things. It is free to download. Some features require a paid subscription, but you can use the file transfer feature for free. Use the following steps to download and install AirDroid on your Android device:
- Open the Google Play Store.
- Type "AirDroid" in the search bar at the top.
- Tap AirDroid in the search results.
- Tap Install.
-
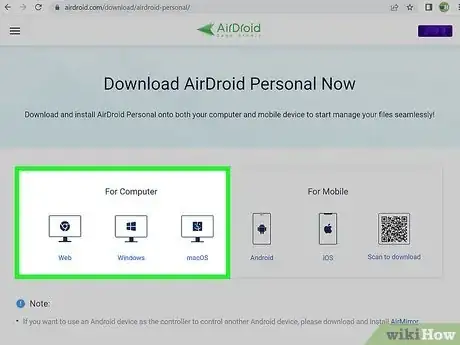
2Download and install the AirDroid Companion app on your PC. The AirDroid Companion app is available for both Windows PC and Mac. Use the following steps to download and install the AirDroid Companion app.
- Go to https://www.airdroid.com/en/download/airdroid-personal/ in a web browser.
- Click Windows or Mac OS X below "For Computers."
- Open the Installation file in your web browser or Downloads folder.
- Follow the instructions to complete the installation.
-
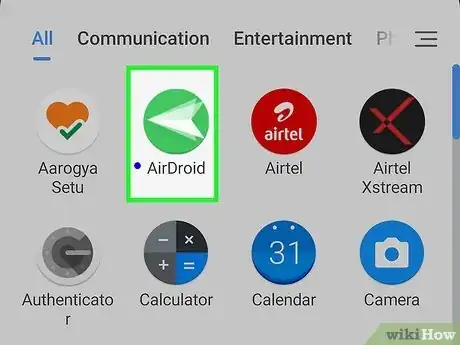
3Open AirDroid on your Android device. AirDroid has a green icon with an image that resembles a white paper airplane. Tap the icon on your Home screen or Apps menu to open AirDroid.
- Alternatively, you can tap Open in the Google Play Store once it finishes downloading and installing.
-
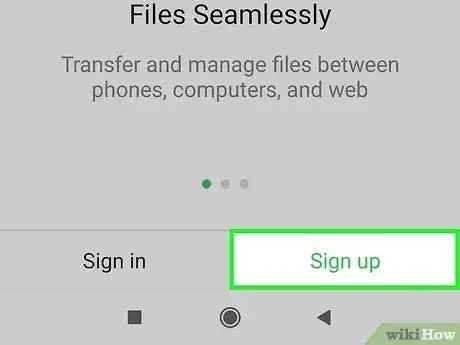
4Sign up for a new account or sign in. If you already have an AirDroid account, tap Sign In at the bottom of the screen and enter the email address and password associated with your account. If you do not have an account, tap Sign Up at the bottom. Enter an email address, password, and a nickname. Then tap Sign Up at the bottom. You will then need to retrieve the verification code from your email, enter it and click Verify.
- When you first open AirDroid, you are asked to allow it access to your Android storage. Tap Continue and then tap Allow to allow it access to your phone storage.
-
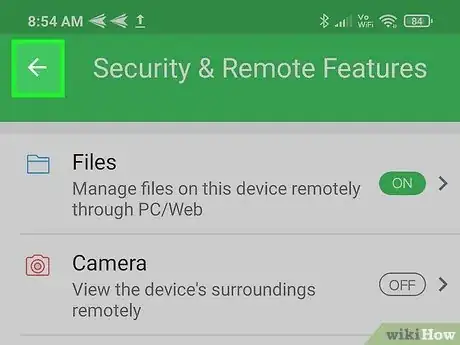
5Turn on features you want to use and then tap . If you want to use any other features on the Security & Remote Features menu, you an do so now. You only need to turn on Files to send files. To turn on other features, tap the feature you want to use and tap Grant Permission. Then tap Allow to grant the app Permission to use these features. Then tap the Back arrow in the upper-left corner to return to the main menu.
-
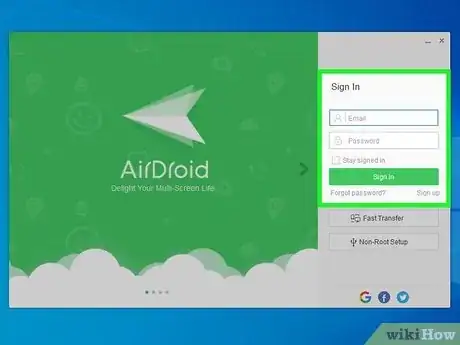
6Sign in to the AirDroid Companion app on your PC. The Companion app has the same green icon with a white paper airplane. Open the AirDroid Companion app on your PC. Then enter the email address and password associated with your account and click Sign In to the right.
-
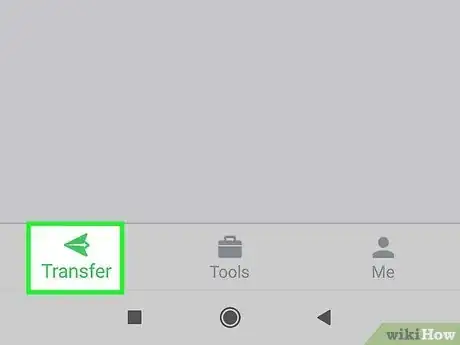
7Tap Transfer. It's the first option at the bottom of the screen in the AirDroid app on your Android device. Tap this icon to display a list of devices you can connect to.
-
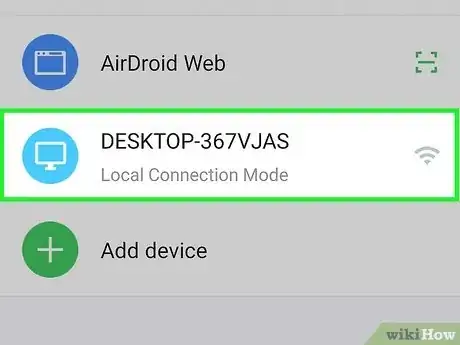
8Tap your computer. If your computer is available, it should say "Remote Connection Mode." Tap your computer to connect to it. This opens a chat window for your PC.
-
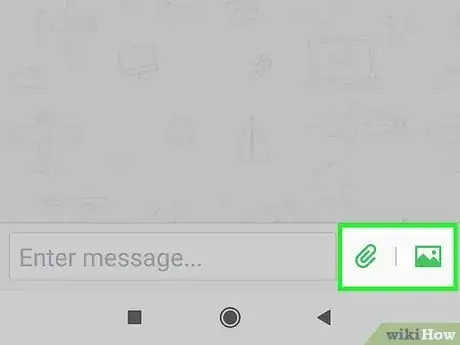
9Tap the paperclip or image icon. It's next to the text box at the bottom of the screen. Tap the paperclip icon if you want to send a file. Tap the image icon if you want to send a picture.
-
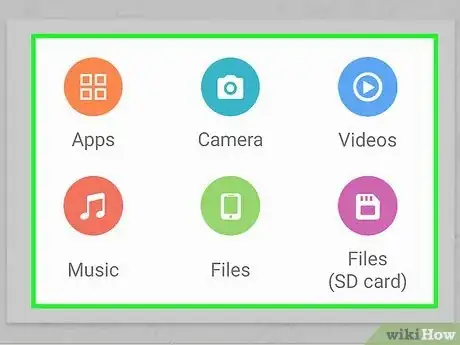
10Select the file(s) type you want to send (if sending a file). Use the options in the pop-up to select what type of file you want to send. Your options are as follows:
- Apps: This allows you to send an app to your computer.
- Camera: This allows you to take a picture with your camera and send it to your PC.
- Videos: This allows you to send video files to your PC.
- Music: This allows you to send audio files to your PC.
- Files: This allows you to send any file type that is stored on your Android's internal storage to your PC.
- Files (SD Card): This allows you to send any file type that is stored on your SD card to your PC.
-
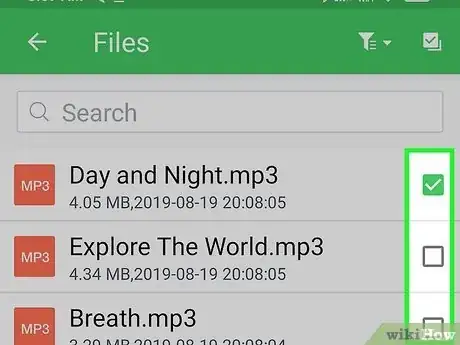
11Tap the checkbox next to the file(s) you want to send. The checkbox is either in the upper-right corner of the thumbnail preview for the image or video file, or to the right of the file name. You can select as many files as you want.
-
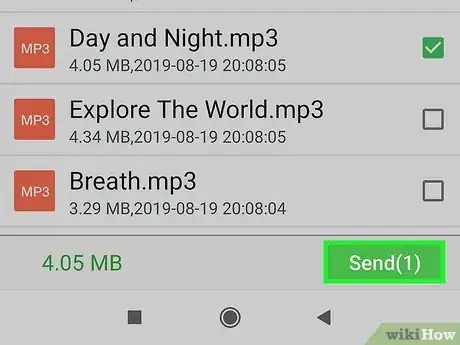
12Tap Send. It's in the lower-right corner. This sends the files to your PC.
-
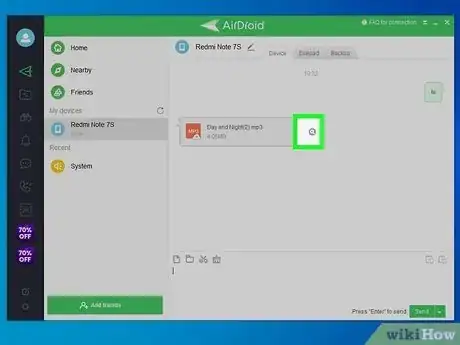
13Click the magnifying glass icon in the Companion app to retrieve the files. The Magnifying glass icon is either in the lower-right corner of the thumbnail preview image or to the right of the file name. This opens the folder the files are saved to.
- By default all files sent over AirDroid are saved to the "PublicStaging" folder inside the AirDroid folder in your Documents folder.
Using Feem
-
1Download and install Feem on your Android device. Feem is a free and lightweight app that can send files to any device with the Feem app installed over Wi-Fi. You don't need to sign up for an account. Use the following steps to download and install Feem on your Android device:
- Open the Google Play Store.
- Type "Feem" in the search bar at the top.
- Tap Feem in the search results.
- Tap Install.
-
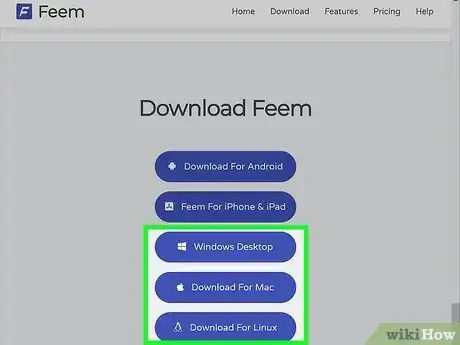
2Download and install Feem for your PC. Feem is available for Windows, macOS, and Linux. Use the following steps to download and install Feem on your PC:
- Go to https://feem.io/#download in a web browser.
- Click Windows Desktop, Download for Mac, or Download for Linux.
- Open the installation file in your web browser or Downloads folder.
- Follow the instructions to complete the installation.
-
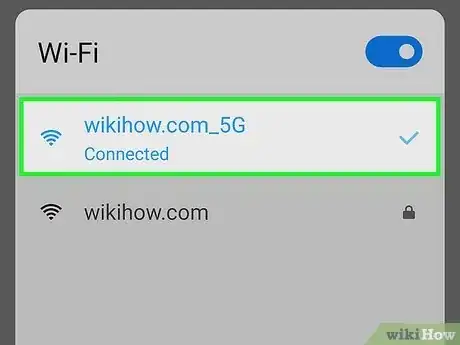
3Ensure your Android device and PC are connected to the Wi-Fi network. Feem can send files to any device connected to the same wireless network. Your Wi-Fi network doesn't even need to be connected to the internet. If they're not already connected, connect your PC and Android device to the same Wi-Fi network.
-
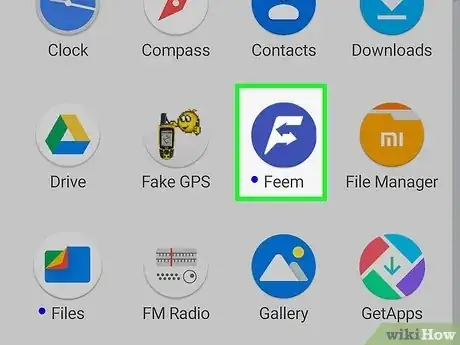
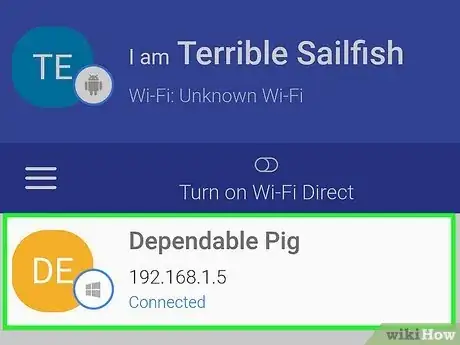
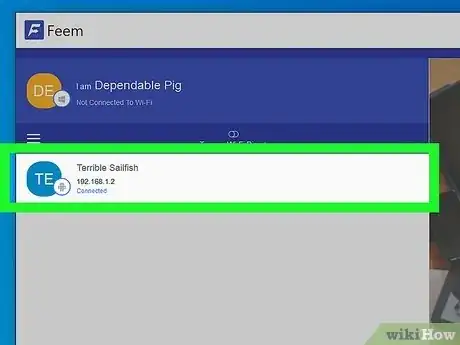
4Open Feem on your PC and Android device. Feem has a blue icon with a white "F." Click or tap the Feem icon to open Feem on both your Android device and PC. Once connected, Feem will assign your Android device and PC a random name, which is displayed at the top of the screen next to "I am."
- The first time you open Xender, you will be asked if you want to allow it to access your device storage. Tap Allow to allow it access.
-
5Tap your PC's name on your Android device. Using the Feem app for Android, tap the name that is assigned to your PC. This displays a chat window.
-
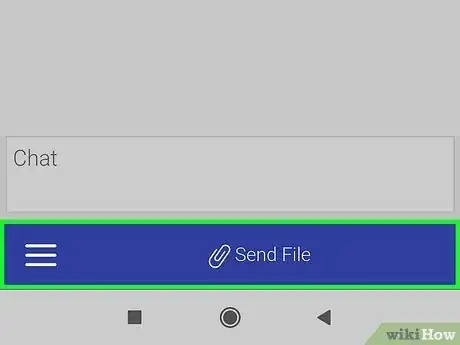
6Tap Send File. It's the blue bar at the bottom of the screen in the Feem app for Android.
-
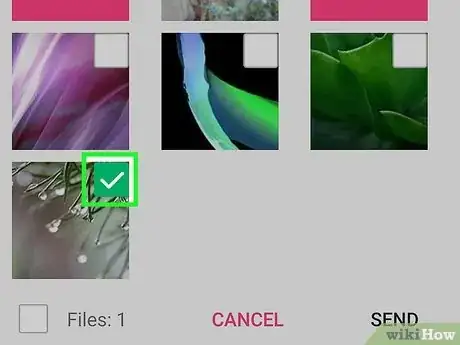
7Tap the checkbox next to the file(s) you want to send. The checkbox is either in the upper-right corner of the thumbnail preview image for videos or images, or to the right of the file name.
- You can browse file type using the tabs at the top of the screen. The tabs include Photos, Videos, Audio, Apps, and Files.
-
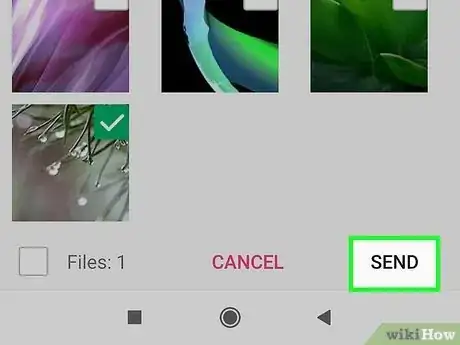
8Tap Send. It's in the lower-right corner of the app. This sends the files to the Feem app on your PC.
-
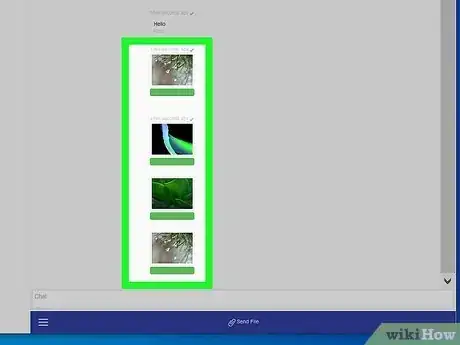
9Open the chat in the Feem app on your PC. Click the name assigned to your Android device on your PC to view the chat. This displays all files sent to your PC from that device.
-
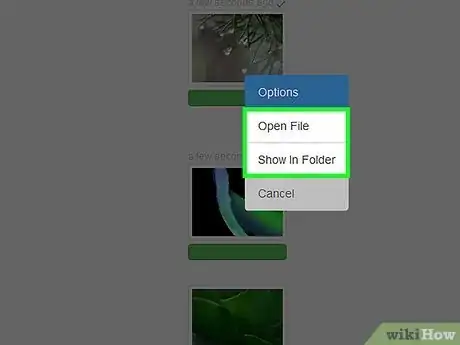
10Click one of the files. This displays a context menu.
-
11Click Open File or Show in Folder. Click Open File to open the file on your PC. Click Show in Folder to open the folder the file is saved to.
- By default, your files will be saved to either your "Pictures," "Videos," "Music," or "Documents." folder depending on what type of file it is.
Using Xender
-
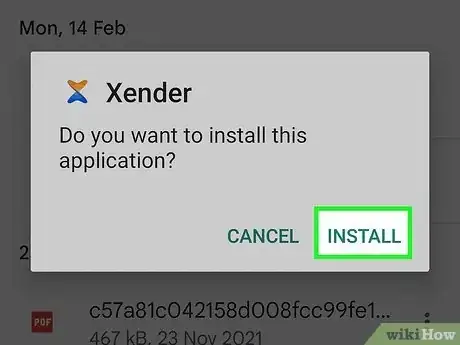
1Download and install Xender on your Android device. Xender is another app you can use to transfer files from your Android device to your PC. It is free to download and can send files over Wi-Fi or a mobile hotspot. You can retrieve your files from within your web browser without having to use a companion app. Use the following steps to download and install Xender:
- Open the Google Play Store.
- Enter "Xender" in the search bar at the top.
- Tap Xender in the search results.
- Tap Install.
-
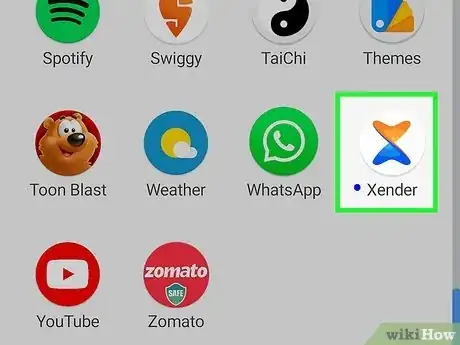
2Open Xender and agree to the terms of service. Xender has an icon that resembles an orange and blue "X." Tap the Xender icon to open Xender. Then tap the radio option next to "I acknowledge that I have read and understood the policy," and tap I agree.
- The first time you open Xender, you will be asked if you want to allow it to have access to your device storage and locations. Tap Allow only while using the app and then tap Allow to agree.
- The first time you open Xender, you are greeted with a slideshow. Swipe right on the three images and then tap Start in the lower-right corner to proceed to the main menu.
-
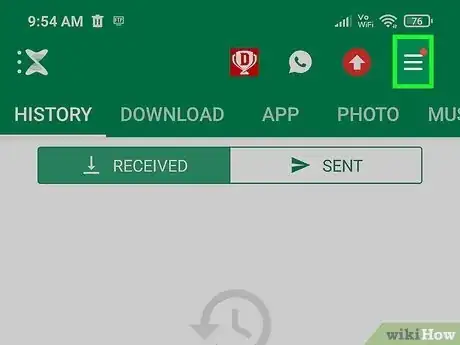
3Tap ☰. It's the icon with three horizontal lines in the upper-right corner. This displays the menu.
-
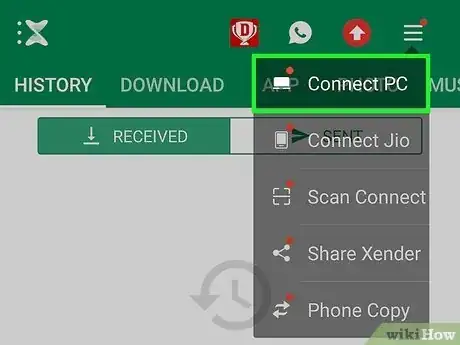
4Tap Connect to PC. This displays the menu that gives you two options for connecting to your PC.
-
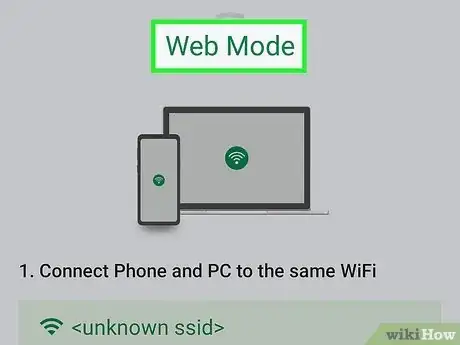
5Select a connection mode. Xender has two options for connecting to your PC. You can connect using a mobile hotspot, or you can connect using web mode:
- Hotspot Mode: Hotspot mode is selected by default. To connect to your PC using Hotspot Mode, you must first activate the mobile hotspot on your Android device. This creates a local wireless network using your phone's mobile data or Wi-Fi connection. You then need to connect your PC to your phone's mobile hotspot the same as you would connect to any other wireless network.
- Web Mode: Tap Web Mode at the bottom of the screen to switch to Web Mode. This allows you to send files over a Wi-Fi network. Both your Android device and PC must be connected to the same Wi-Fi network.
-
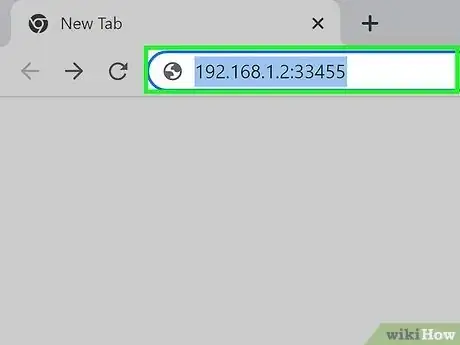
6Enter the IP address in your PC's web browser. The IP address is listed at the bottom of the screen in whichever connection mode you select. This will open the Xender interface on your PC through your web browser.
-
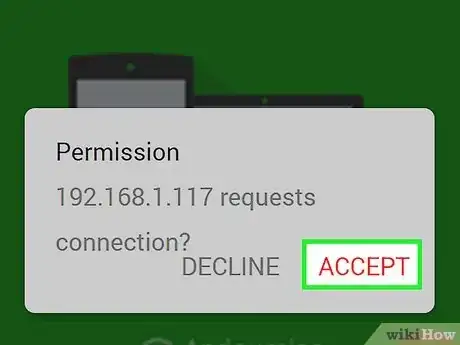
7Tap Accept to connect to your PC. It will be displayed on your Android. Tap Accept to connect to your PC.
-
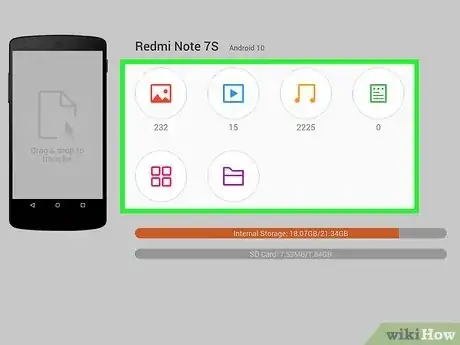
8Select the file type you want to download. Use the icons in the menu bar to the left in your web browser to select a file type. You can select Images, Videos, Music, Documents, Apps, or Files.
-
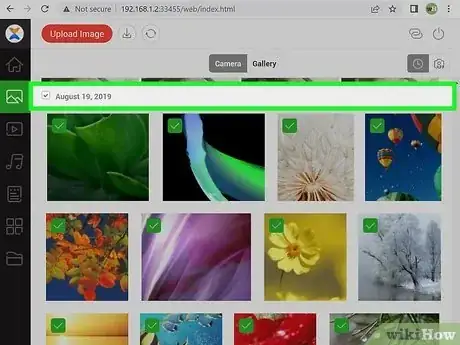
9Select an image album (if transferring images). If you are transferring images, you can see all your image albums listed to the left. Click the album with the image(s) you want to transfer.
-
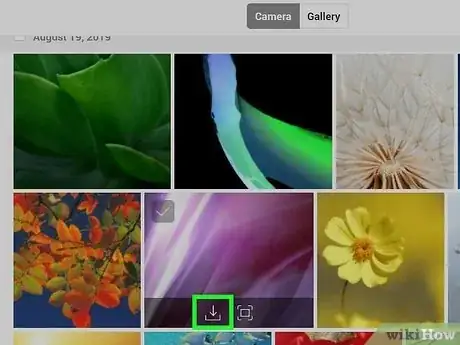
10Hover your mouse cursor over the file you want to transfer. This highlights the file and displays the option to download the image.
-
11Click the Download icon. It's the icon that resembles a tray with an arrow pointing down over it. It's either at the bottom of the thumbnail preview for images and video files, or it's to the right of the file name. This downloads the file to your computer.
- All downloaded files can be found in your Downloads folder.
