wikiHow is a “wiki,” similar to Wikipedia, which means that many of our articles are co-written by multiple authors. To create this article, 18 people, some anonymous, worked to edit and improve it over time.
wikiHow marks an article as reader-approved once it receives enough positive feedback. In this case, 91% of readers who voted found the article helpful, earning it our reader-approved status.
This article has been viewed 87,230 times.
Learn more...
Whether you use your bow for target practice, bow hunting or fishing, learning to tune a bow can be a worthwhile endeavor. Surprisingly, you can find out what adjustments to make to your bow by shooting an arrow through paper, a common practice to guide tuning. The steps below describe how to perform this test, and how to adjust your bow based on the results.
Steps
Basic Tuning
-
1Install all accessories first. Don't adjust your bow until you have installed any optional accessories you plan on using, including silencers, balancing weights, an arrow rest, and sights. Any accessory can potentially affect how the bow shoots.
- Install your peep sight through the string, if used.
- Install any silencers you will want to use.
- Choose an arrow rest. There are several types, common ones include biscuit rests, flipper rests, and others.
-
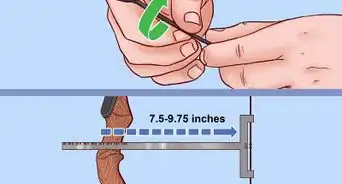
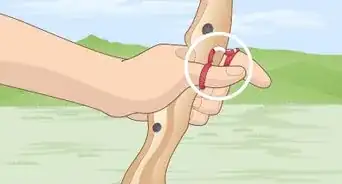
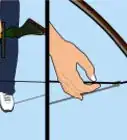
2Use a bow square or other tool to center your arrow rest with the nocking point on your bowstring. This point should be about one arrow diameter square from the string, above the bottom of the arrow rest.
-
3Make sure you are using the correct arrows for the way your bow is set up. Arrows with too much or too little spine, or that are too short or two long for your draw length will make accurately tuning your bow almost impossible.
-
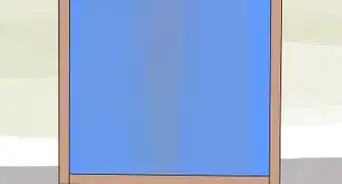
4Frame a piece of paper a few feet in front of an arrow backstop. You may use any type of paper, but try to find a large sheet at least 24 inches (61 cm) on each side that is thin enough to tear with the force of a fletching going through it. Place this in a large picture frame with no back, or cut out your own frame from cardboard. Place the framed paper about 5 feet (1.5 m) in front of a safe target for your arrows, with the center of the paper at about shoulder height.
- Be prepared to use several sheets of paper in case your bow needs major adjustment.
-
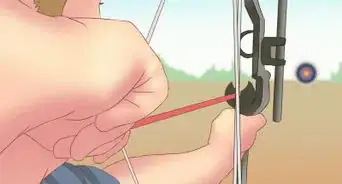
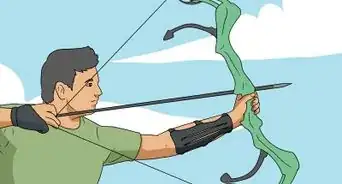
5Shoot a fletched arrow at the target, through the paper. Shoot the arrow while standing approximately 5–10 ft (1.5–3 m) from the paper. You may wish to shoot two or three arrows, but only if you have the space to make a distinct hole in the paper for each one, near the paper's center.
-
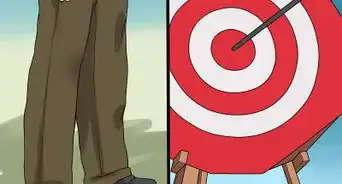
6Examine the hole your arrow made in the paper. If the hole is a neat tear with three vane marks centered evenly, your bow is likely in decent shape already. If one of the vane marks is much thicker and sloppier than the others, make adjustments as described below.
-
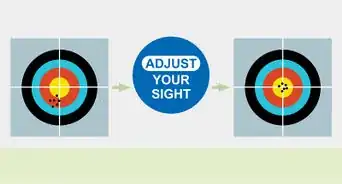
7Adjust the nocking point based on the vertical appearance of the hole. Always start by correcting vertical wobbling in the arrow, sometimes called porpoising. If the vertical tear on the paper is thick and long above the entry point, raise the nocking point slightly and shoot again. If the vertical tear is thick and long, but below the entry point, try lowering the nocking point instead. In most cases, finding the correct nocking height for your arrow will prevent it from wobbling vertically during flight. If you cannot solve the problem after several shots, consider the following adjustments:
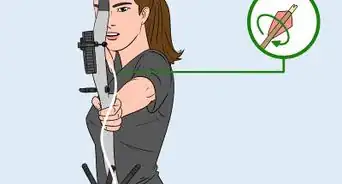
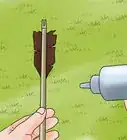
- The fletching on your arrow may be striking the arrow rest as it leaves the bow. Mark the vanes of an arrow with athlete's foot powder or lipstick, as well as the arrow rest and any portion of your bow near the arrow. Shoot the arrow, then see where the material is rubbed off or marked. Adjust the arrow rest until the material is not smudged after shooting.[1]
- On a compound bow, the wheel timing of your cams may be off. See the timing section.
-
8Eliminate side-to-side wobbling. If the "tail" of the tear in the paper is much larger on the left or right, your arrow may be wobbling horizontally as it flies. This is typically caused by using an arrow that is too light or too stiff for your bow. Check the minimum arrow weight of your bow, or use an arrow selection chart to look up the correct "arrow spine," or stiffness, for your bow. If you are using the correct arrows, try adjusting the arrow rest left or right, or altering the spring tension of your bow.[2]
-
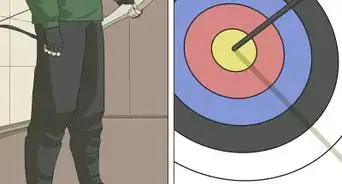
9Test again from further away. Once you can shoot holes in your paper that are small and round, surrounded by small, even lines torn by the fletching, move back to about 40 ft (12 m) and try again. Because the arrows have a farther distance to fly, small problems will alter the arrow's flight more drastically. If the holes in the paper have any of the problems described above, make the same adjustments on a smaller scale to fine tune your bow. Once you are consistently getting well-shaped tears in the paper from this distance, your bow is well tuned.


Adjusting the Timing of a Compound Bow
-
1Consult your owner's manual for timing marks. The cam is the wheel-shaped object where string and cables attach to the bow limbs. It manipulates the draw weight for more efficient energy storage, which is why compound bows can be so powerful.[3] Some bows have two cams, one at each limb tip, while others have one cam and one idler wheel. Each cam should have a small hole or other mark along the edge to assist in finding the right timing, but the exact placement varies with manufacturer.
-
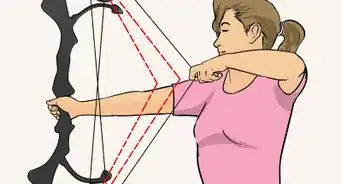
2Test whether timing is an issue. Draw the bow fully back. Have a friend watch the cams as you do so. If your bow has two cams, did each one hit the "draw stop" at the same time, or are they not in sync with each other? In a single-cam bow, wheel timing is not as critical, but if the timing mark is not close to where the manual says it should be, make adjustments below.[4]
- Never shoot your bow without an arrow, as the bow is only designed to release its energy through the arrow.
-
3Place the bow in a bow press. If your bow's timing is off, you'll need a bow press in order to adjust the cables. Because using a bow press incorrectly can cause serious harm to yourself or the bow, it is recommended that you bring your bow to a professional for adjustment. Only use a bow press without expert supervision if you know it is suitable for your bow, and you are experienced with its use.
-
4Adjust the control cable a half twist at the time. The control cable is the cable the stops on the cam touch when the bow is fully drawn. Once the bow is safely in the bow press and the tension is relaxed, remove one end of this cable and give it a half twist (180º) before reattaching. Remove the bow from the press, then test the cam timing again. If the timing is still off, return the bow to the press and repeat this step until the timing is correct. Reverse the direction of the twist if the cam timing is worse than before.
- The cam timing can change significantly with a small twist, so it's best to go one half twist at a time.


Things You'll Need
- Piece of paper
- Frame
- Target
- Arrow