X
wikiHow is a “wiki,” similar to Wikipedia, which means that many of our articles are co-written by multiple authors. To create this article, 15 people, some anonymous, worked to edit and improve it over time.
This article has been viewed 32,901 times.
Learn more...
With a few simple steps and less than a hundred dollars you can upgrade your PS3's internal hard drive to any desired capacity. Within minutes you can turn your 20, 40, or 60GB PS3 into a 120, 250, or even a 500GB+ machine for all your multimedia needs.
Steps
-
1Purchase a 2.5" mobile hard drive of desired capacity.
-
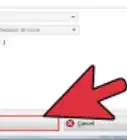
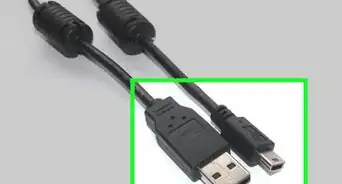
2Back up any data already stored on the PS3.
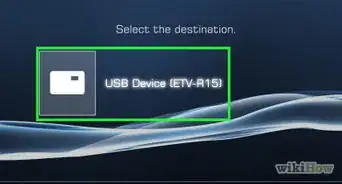
- Plug the external USB hard drive into one of the PS3's USB ports.
- In the Xross Media Bar go to Settings > System Settings > Backup Utility.
- Follow the on screen directions and select "Back Up" to back up all game saves, downloads, media and game installs to the USB drive.
- Disconnect the USB drive when backup is complete.
Advertisement -
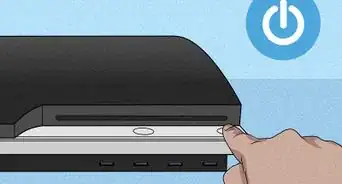
3Turn off the PS3 and unplug the power cable.
-
4Detach the plastic cover on left side of unit by inserting a small flathead screwdriver into indentation and gently pry outward.
-
5Remove the screw toward the middle bottom with a Phillips head screwdriver. Mine is a bit larger than the other visible screws and colored blue.
-
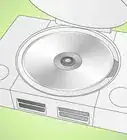
6Use the retractable thin metal handle to slide drive to the right then remove the drive from the system.
-
7Remove the small Phillips head screws from the sides of the drive harness then extract factory installed drive.
-
8Replace it with the new hard drive and fasten it into the harness with the small screws. Then insert it into the PS3 and slide to the left with the little handle until it pops into place. You can then fasten it with the first screw you removed and replace the plastic cover.
-
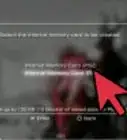
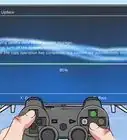
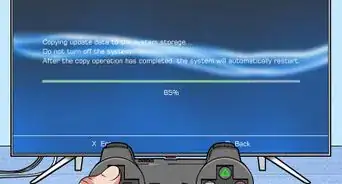
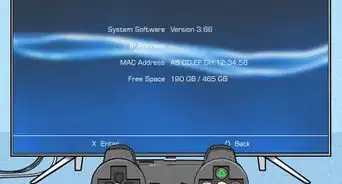
9Insert the power cable and turn the power on. You will be prompted to format the new hard drive. It will ask you if you are sure and just click yes until it begins the formatting process. Wait patiently during the formatting process. It may take several minutes. At this point, on occasion, the console may refuse to run due to the appropriate firmware not being present, simply download the firmware from the official Sony Playstation site, save it to a USB stick in a file called UPDATE, itself in a file called PS3, and then plug the USB stick into a USB socket on the console
- Once formatted, you have completed the process and you can utilize the greater storage capacity.
-
10Restore your PS3 data (saves, media, downloads etc.)
- Reconnect the USB drive to a USB port on the PS3.
- Go to Settings > System Settings > Backup Utility in the Xross Media bar. Select Restore from the onscreen menu.
- All backed up material should now be restored from the external USB drive to the new hard drive you just installed.


Advertisement
Warnings
- Small screws may be prone to stripping, where the screwdriver tears the metal head of the screw, making it impossible to tighten or loosen. Support the drive firmly and use the proper size screwdriver to help avoid this problem.⧼thumbs_response⧽
- Warranty issues may arise if they discover that you replaced your hard drive. Retain the original drive so that you can reinstall it in case of a warranty claim.⧼thumbs_response⧽
Advertisement
Things You'll Need
- USB External hard drive to back up the contents of the PS3
- 2.5" SATA drive (5400 RPM if possible)
- small Phillips-head screwdriver
- small flathead screwdriver or even a butter knife

About This Article
Advertisement