This article was co-authored by Luigi Oppido and by wikiHow staff writer, Jack Lloyd. Luigi Oppido is the Owner and Operator of Pleasure Point Computers in Santa Cruz, California. Luigi has over 25 years of experience in general computer repair, data recovery, virus removal, and upgrades. He is also the host of the Computer Man Show! broadcasted on KSQD covering central California for over two years.
This article has been viewed 3,339,495 times.
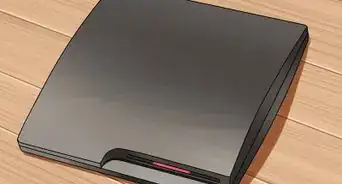
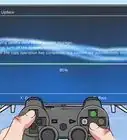
This wikiHow teaches you how to format an external USB hard drive to the FAT32 file system using either a Windows or Mac computer, and then how to attach and add the external hard drive to your PlayStation 3. Due to the PS3's internal hardware, you cannot play games directly off of the external hard drive.
Steps
Formatting the Hard Drive on Windows
-
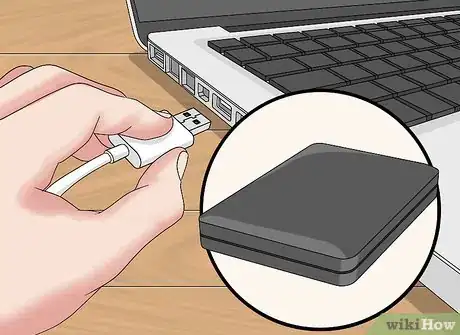
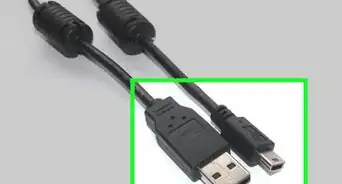
1Plug the hard drive into your computer. You'll do this using the USB cable that came with your external hard drive.
- USB ports resemble thin, rectangular slots on your computer's casing.
-
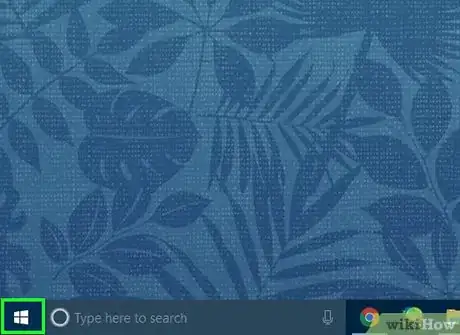
2Open the Start menu. Do so either by clicking the Windows logo in the bottom-left corner of the screen, or by pressing the ⊞ Win key.Advertisement
-
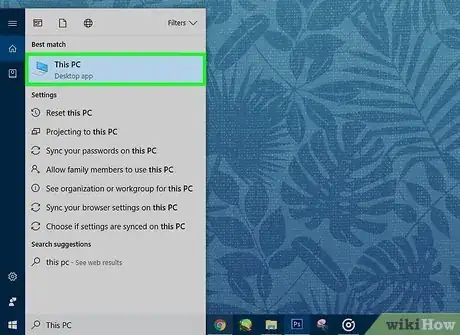
3Type "this pc" into Start. You should see a computer monitor-shaped icon appear at the top of the window.
-
4Click This PC. It's a monitor-shaped icon at the top of the Start window. Doing so opens the This PC app.
-
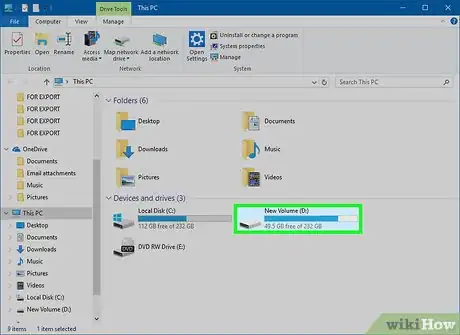
5Right-click the hard drive's icon. You'll typically see this in the middle of the page.
- On a laptop with a trackpad, use two fingers to tap the trackpad rather than right-clicking.
-
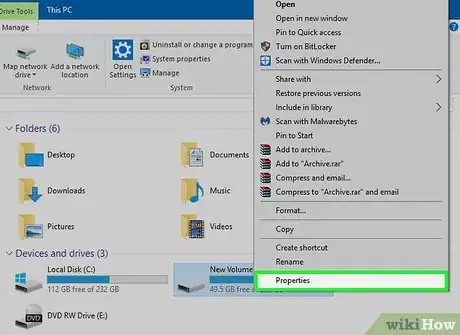
6Click Properties. It's at the bottom of the right-click drop-down menu.
-
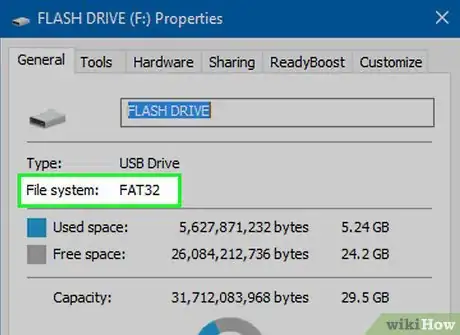
7Look at the "File System" value. This option is near the top of the General tab of Properties. If the "File System" value says anything other than "FAT32", you'll need to reformat your drive.[1]
- If the "File System" value does say "FAT32", skip forward to connecting your hard drive.
-
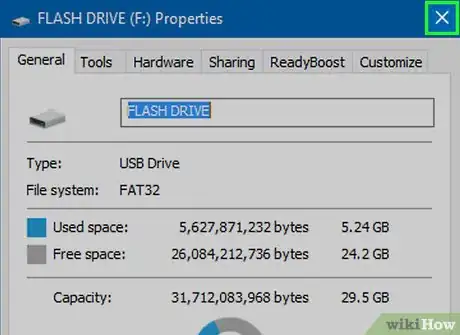
8Close the Properties window. Click the X in the top-right corner of the window to do so.
-
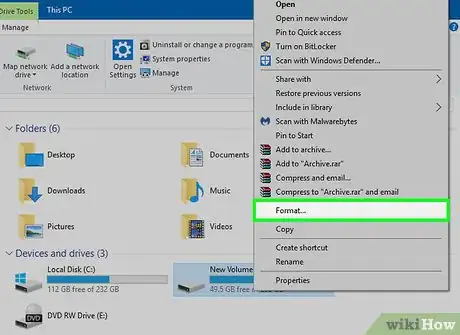
9Right-click the external hard drive again, then click Format. It's near the middle of the drop-down menu.
- Formatting your hard drive will erase any files on it.
-
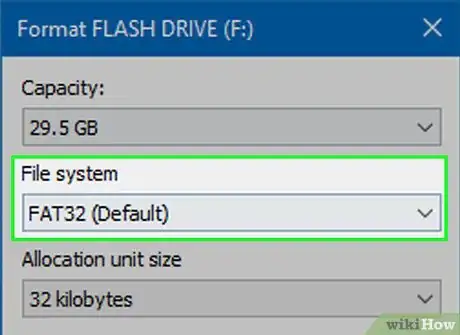
10Click the "File System" box. It's directly below the "File System" heading. Doing so invokes a drop-down menu.
-
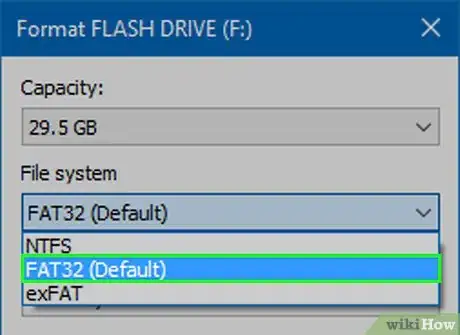
11Click FAT32. This is the file format you'll need in order to use your hard drive with your PS3.
-
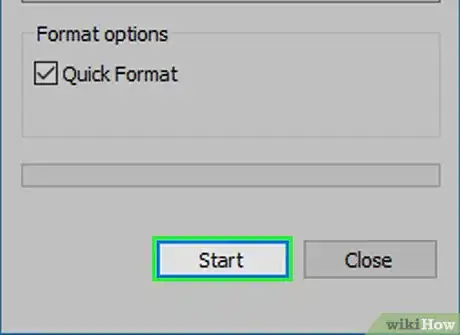
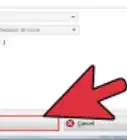
12Click Start, then click OK. Doing so begins the formatting procedure.
- This process' length will vary depending on your computer's age and the drive's size.
-
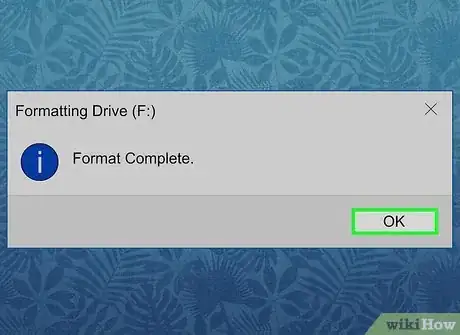
13Click OK when prompted. You'll do so on the pop-up window letting you know that your hard drive has been formatted.
-
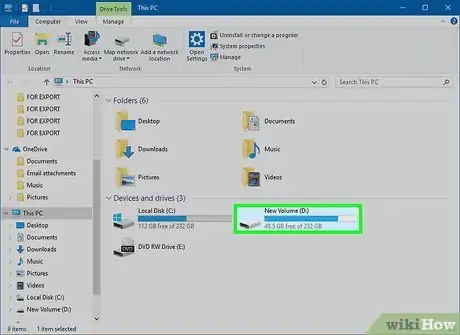
14Double-click your external hard drive. It should still be listed in the This PC window.
-
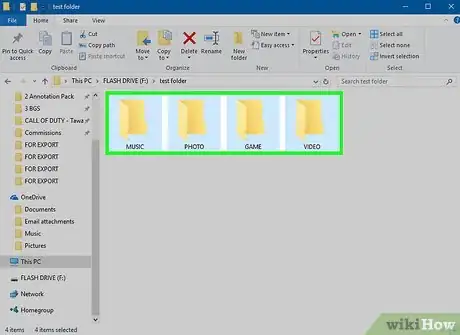
15Create four folders in your hard drive. To do so, either right-click the hard drive's window, select New, and click New Folder, or click Home at the top of the window and then click New Folder. The folders must be named exactly like so:[2]
- MUSIC
- PHOTO
- GAME
- VIDEO
-
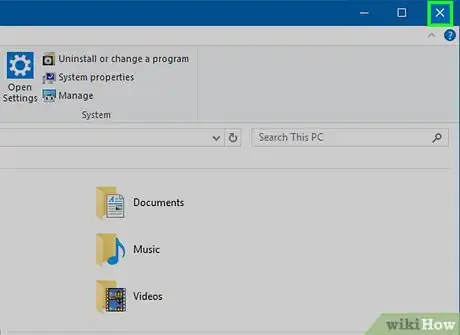
16Close This PC and remove your hard drive. You are now ready to attach your external hard drive to your PS3.
- If you want to add music, photos, or videos to your hard drive before attaching it to your PlayStation 3, place them in the appropriate folders (e.g., music goes in the MUSIC folder).
Formatting the Hard Drive on Mac
-
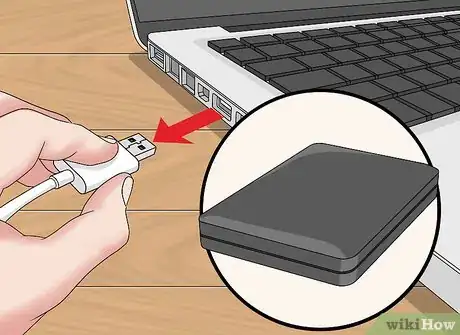
1Plug the hard drive into your computer. You'll do this using the USB cable that came with your external hard drive.
- USB ports resemble thin, rectangular slots on your computer's casing.
- Some Mac computers don't have USB ports, although you can buy an adapter.
-
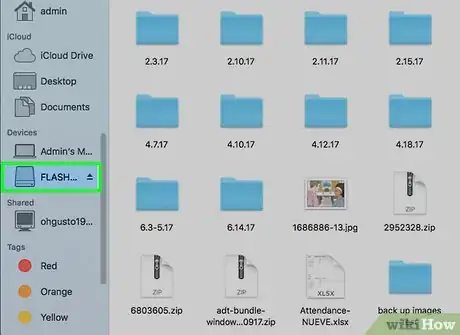
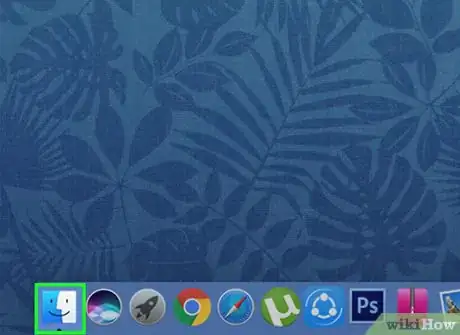
2Open the Finder. It's a blue, face-like app in your Mac's dock.
-
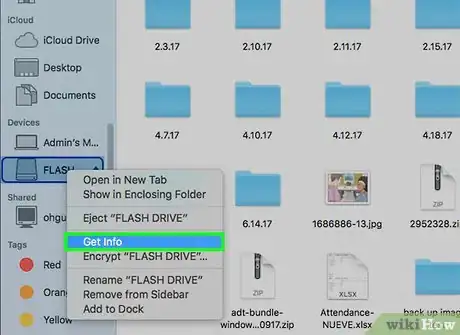
3Use two fingers to click the hard drive's name. It's on the left side of the Finder window. Doing so invokes a drop-down menu.
-
4Click Get Info. This option is in the middle of the drop-down menu.
-
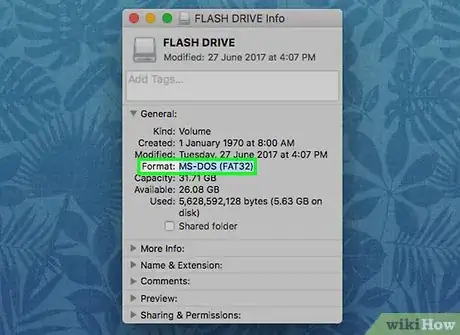
5Look at the "Format" value. You'll see the "Format" heading in the General group of information. If the format here doesn't have "FAT32" listed, you must format your hard drive for PS3 compatibility before continuing.
- If the hard drive does have "FAT32" listed next to "Format", you can proceed with attaching your hard drive to your PS3.
-
6Open Spotlight. Click the magnifying glass icon in the top-right corner of your Mac's screen to do so.
-
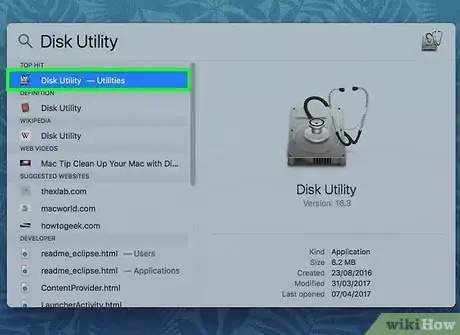
7Type disk utility into Spotlight. Doing so will bring up a list of matching programs on your Mac.
-
8Click Disk Utility. It should be the top option in the Spotlight search results.
-
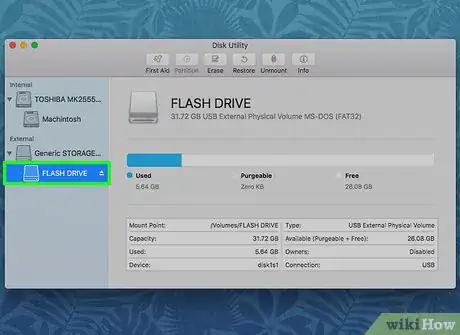
9Click your hard drive's name. It's in the left-hand sidebar.
-
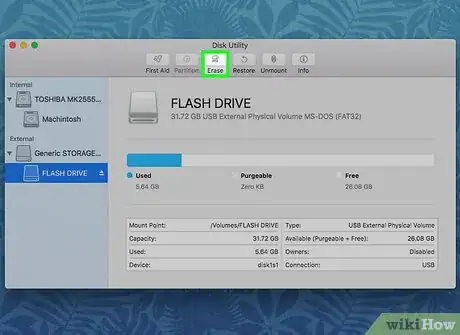
10Click the Erase tab. This option is at the top of the Disk Utility window.
-
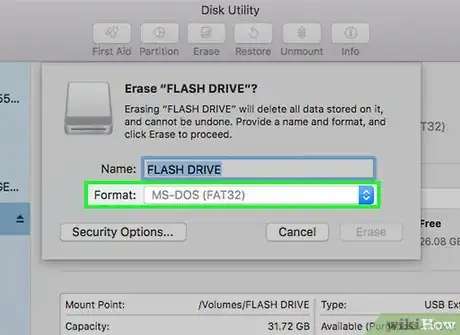
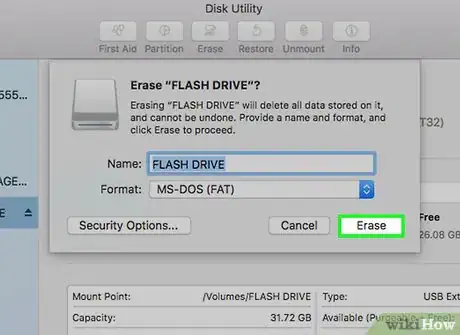
11Click the "Format" box. It's in the middle of the page.
-
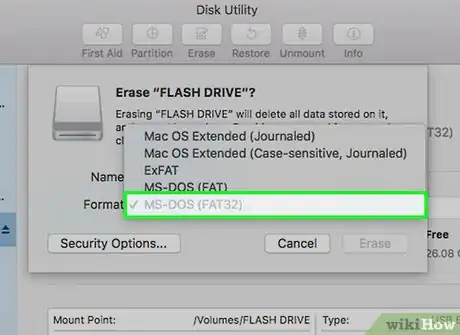
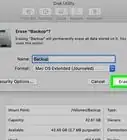
12Click FAT32. This option is in the drop-down menu. Doing so will set your hard drive's format preference as FAT32, which is compatible with PS3 architecture.
- You may also need to add a name to your hard drive in the field below this one.
-
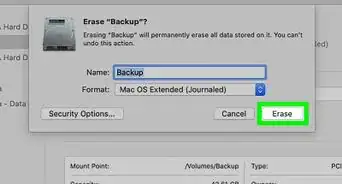
13Click Erase. It's at the bottom of the page. Doing so will erase and re-format your hard drive; when the process is done, you can exit the Disk Utility.
- Naturally, this will erase your hard drive. If you have any sensitive information on your hard drive, first copy it to your computer.
-
14Open the Finder, then select your hard drive. The hard drive's now-blank window will appear.
-
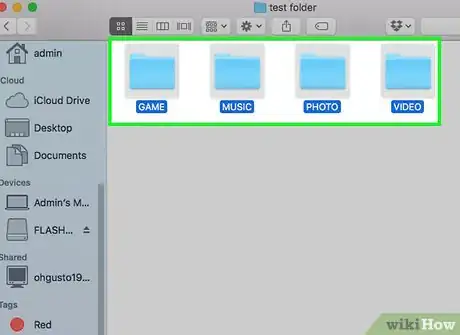
15Create four folders in your hard drive. To do so, either click File in the top-left side of the page and then click New Folder, or tap the trackpad with two fingers and then click New Folder. The folders must be named exactly like so:[3]
- MUSIC
- PHOTO
- GAME
- VIDEO
-
16Remove your hard drive. You're now ready to attach your hard drive to the PS3.
Adding the Hard Drive to the PS3
-
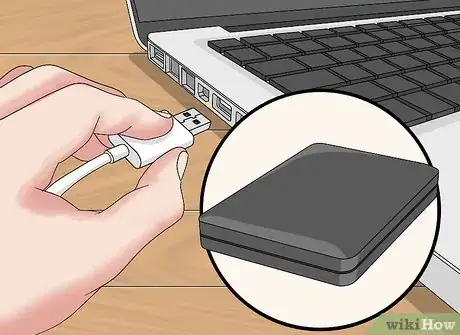
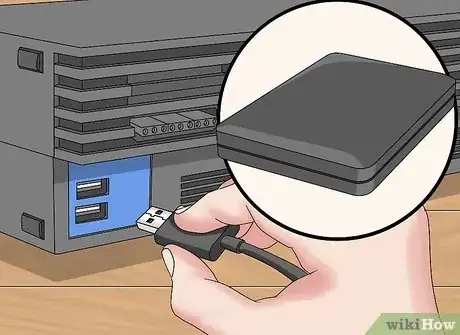
1Attach the hard drive to the PlayStation 3. To do so, connect the hard drive's USB cable to the PS3's USB port. The PS3's USB ports are on the front side of the console.
-
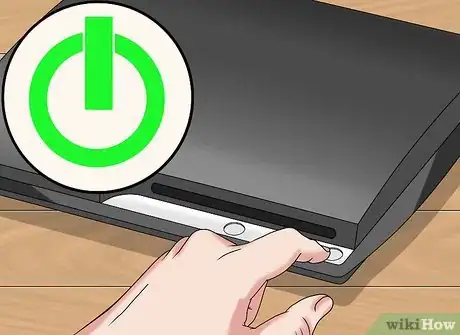
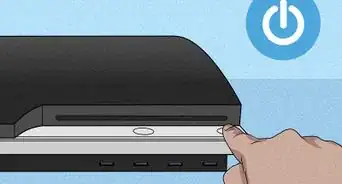
2Turn on the PS3 and an attached controller. The easiest way to do this is by pressing the PS button on the controller.
- You can also press the power button on the PS3 and the controller individually.
-
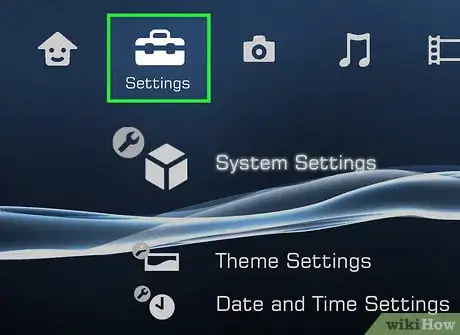
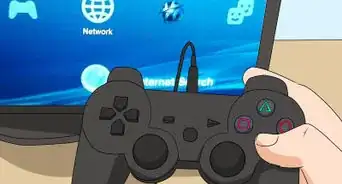
3Scroll left to select Settings. It's near the far-left side of the PlayStation 3 menu.
-
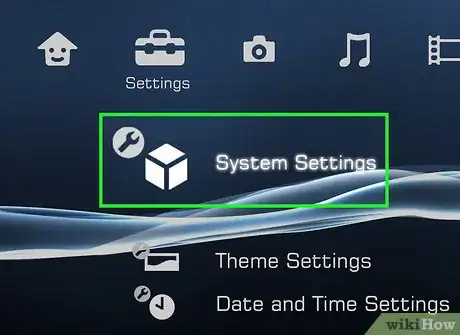
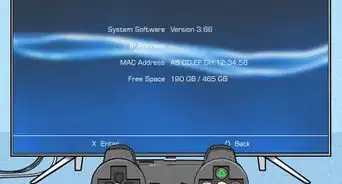
4Scroll down to select System Settings and press X. It's near the bottom of the Settings menu.
-
5Scroll down to select Backup Utility and press X. This option is near the middle of the System Settings menu.
-
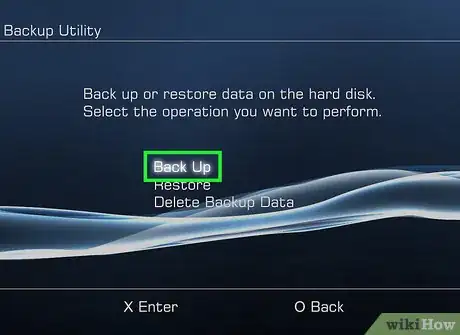
6Select Back Up and press X. It should be the first option on this page.
-
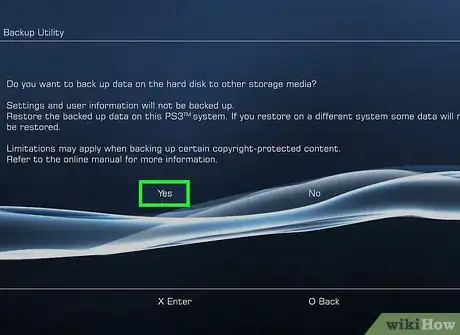
7Select Yes when prompted, then press X. This will take you to the hard drive selection page.
-
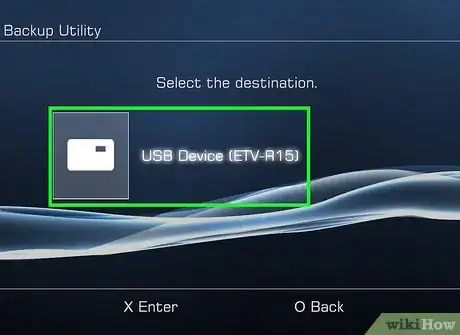
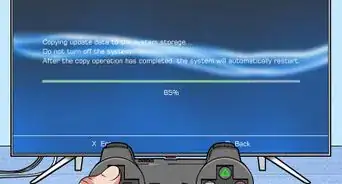
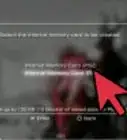
8Select your hard drive's name, then press X. Unless you have multiple USB drives connected, your hard drive should be the only option here. Doing so will back up your PS3's data to the hard drive.
- You can't run games off of the hard drive, but you can back up your existing game files to the hard drive and then delete the games from your PS3's internal drive to clear up space.
Expert Q&A
Did you know you can get expert answers for this article?
Unlock expert answers by supporting wikiHow
-
QuestionWhat should I be looking for when I choose an external hard drive?
 Luigi OppidoLuigi Oppido is the Owner and Operator of Pleasure Point Computers in Santa Cruz, California. Luigi has over 25 years of experience in general computer repair, data recovery, virus removal, and upgrades. He is also the host of the Computer Man Show! broadcasted on KSQD covering central California for over two years.
Computer & Tech Specialist
-
QuestionWill this allow to download, install, and play games directly to and from the external hard drive? Or does it only work for save states?
 Community AnswerIf you have a Jailbreaked PS3, you can install online games (piracy is illegal), but if it's an original PS3 then no.
 -
QuestionMy PS3 doesn't recognize my hard disc, what do I do now?
 Community AnswerMake sure your HDD is on fat32 format. PS3 does not recognize any other formats. I had the same issue, but after formatting my HDD to fat32, it worked perfectly.
Warnings
- If you lay your PlayStation 3 horizontally, do not place the external hard drive on the right side where the exhaust fans are aimed. The air coming out of the PlayStation is very hot and will cause your external hard drive to malfunction.⧼thumbs_response⧽
References
- ↑ https://esupport.sony.com/US/perl/support-info.pl?info_id=779
- ↑ http://gadgets.ndtv.com/games/features/how-to-add-an-external-hdd-to-your-game-console-646264
- ↑ http://gadgets.ndtv.com/games/features/how-to-add-an-external-hdd-to-your-game-console-646264
- ↑ Luigi Oppido. Computer & Tech Specialist. Expert Interview. 31 July 2019.
- ↑ Luigi Oppido. Computer & Tech Specialist. Expert Interview. 31 July 2019.
- ↑ Luigi Oppido. Computer & Tech Specialist. Expert Interview. 31 July 2019.
About This Article
1. Format your external hard drive for FAT32.
2. Plug the formatted hard drive into your PS3.
3. Open System Settings in the "Settings" menu.
4. Select Backup Utility, then select Back Up.
5. Select Yes, then select your hard drive's name.
