This article was co-authored by wikiHow staff writer, Nicole Levine, MFA. Nicole Levine is a Technology Writer and Editor for wikiHow. She has more than 20 years of experience creating technical documentation and leading support teams at major web hosting and software companies. Nicole also holds an MFA in Creative Writing from Portland State University and teaches composition, fiction-writing, and zine-making at various institutions.
This article has been viewed 90,828 times.
Learn more...
If you need to upload or download files using FTP (File Transfer Protocol), FileZilla is one of the easiest ways to get the job done. FileZilla makes it incredibly easy to upload your website, download software, and transfer any type of file to or from a remote server. To get started, all you'll need is some basic information about the server you're connecting to. This wikiHow article will show you how to quickly transfer files to and from a server using FileZilla.
Steps
What do I need to get started?
-
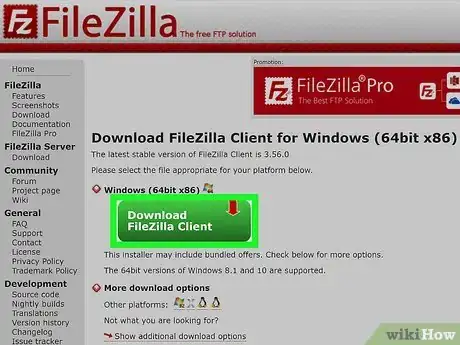
1The FileZilla application. If you haven't already downloaded FileZilla, you can get it from https://filezilla-project.org/download.php. FileZilla is available for Windows, macOS, and Linux.[1]
-
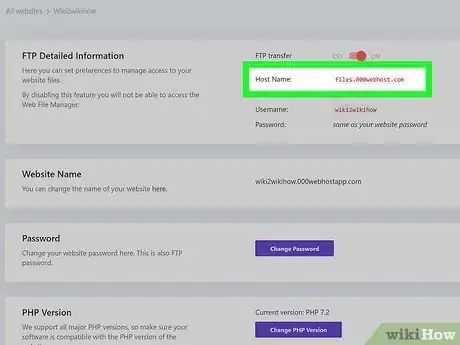
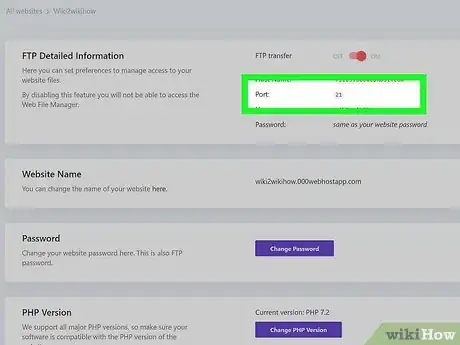
2The host name or address of the server. If you're uploading files to your own website, this will usually be your own domain name (e.g., wikiHow.com). The host name may also be an IP address, which is a series of numbers separated by dots that looks like this: 192.168.0.1Advertisement
-
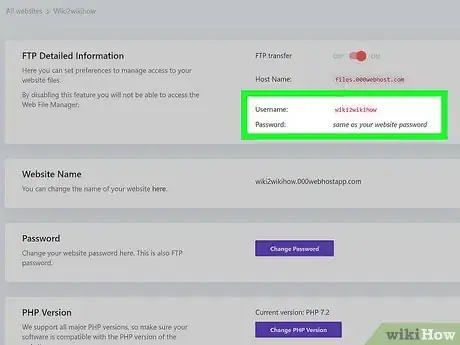
3The username and password you'll use to connect. If you're connecting to a private server (such as to manage a website or upload documents for a project), you'll need a username and password to sign in.
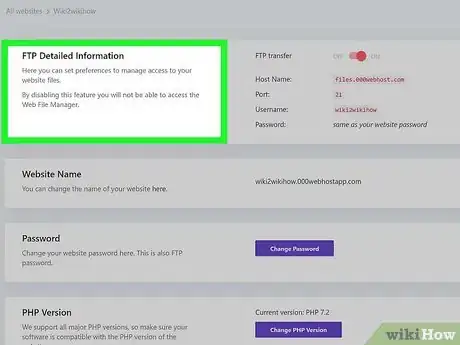
- If you're using FileZilla to manage a website, the FTP username and password might be different than what you use to log in to your web admin panel. Check your web admin panel for an "FTP Accounts" section (or similar) to find your FTP username and password.
-
4Whether the server uses FTP, SFTP, or FTPS. FTP stands for "File Transfer Protocol," and is the most common way to transfer files with FileZilla. But some servers require SFTP (Secure Shell File Transfer Protocol) or FTPS (FTP over SSL) to encrypt all file transfers.
- Unless your provider or server host has told you otherwise, this is usually just FTP.
-
5The port number. Most of the time you won't need to specify a special port, as most servers use the standard ports. Check with your host to make sure.
How do I connect?
-
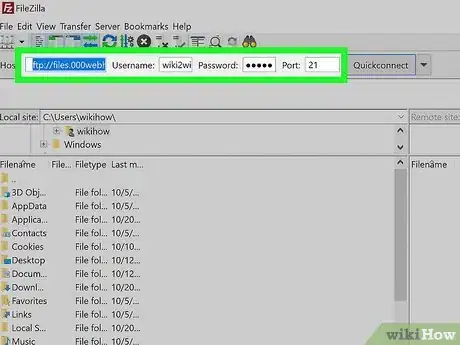
1Type the server information into the Quickconnect bar. This is the bar that runs along the top of FileZilla. This includes the host name, username, password, and port (if it's something other than the default).
- If your server requires SFTP or FTPS, use the format sftp://hostname or ftps://hostname in the Host field.[2]
-
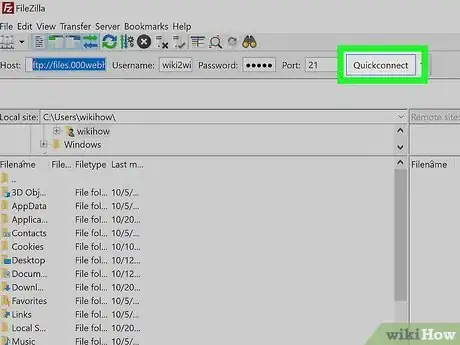
2Click the Quickconnect button. It's in the upper-right area of FileZilla. This starts the connection process, and you'll see some messages in the top panel that display the connection status.
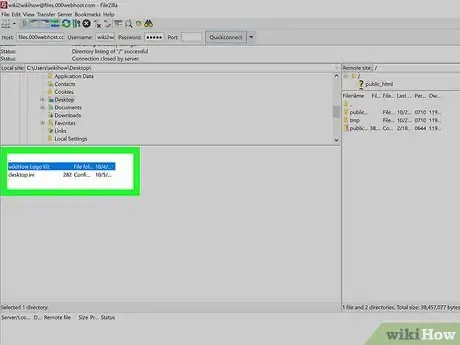
- Once you are successfully connected, you will see the file system of the remote server in the rightmost panel. The files on your computer are in the left panel.
How do I upload files?
-
1Browse for the file you want to upload. In the left panel, navigate to the folder that contains the file or files you want to upload to the server.
-
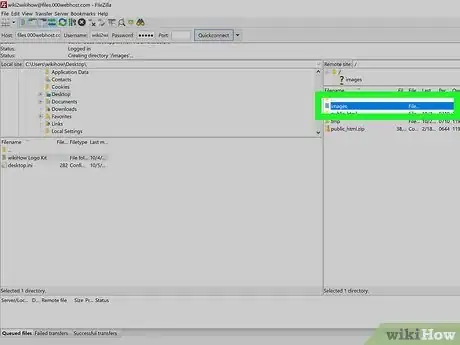
2Choose a destination. In the right panes, navigate to the folder in which you want to place the uploaded files.
- Depending on the permissions you have, you may be able to right-click an area of the remote server and select Create directory to create a new folder.
- You can click the folder labeled .. to go back one level.
-
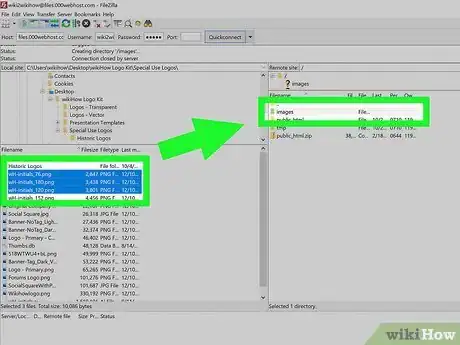
3Drag the file(s) you want to upload from the left panel to the right panel. If you want to upload more than one file at once, hold down the Control (PC) or Command (Mac) key as you click multiple file names to select them, and then drag the highlighted area over to the right panel.
- If you drop the file(s) onto a folder in the right panel, the file(s) will be placed inside that folder.
- Once the transfer is complete, you will see the files on the remote server. If they don't appear, click the icon of the green and blue curved arrows at the top of FileZilla to refresh the file list on the remote server.
How do I download files?
-
1Locate the file you want to download. In the right panel, open the folder containing the file you want to download. You can click the folder labeled .. to go up one level.
-
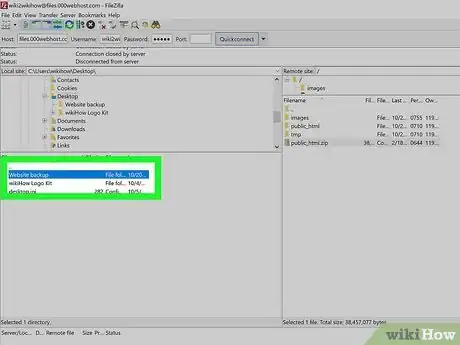
2Select a download location. In the left panel, open the folder on your computer in which you want to save the files you download from the server.
- To create a new folder on your computer, just right-click the desired location in the left panel, select Create directory and enter it, and then give the folder a name. This creates and opens the new folder.
-
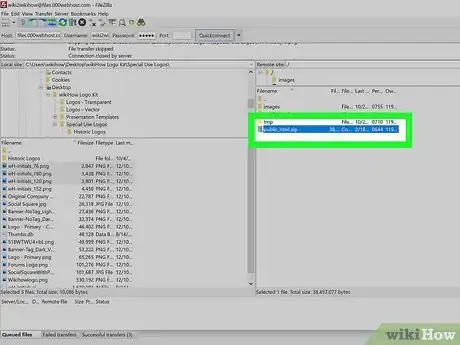
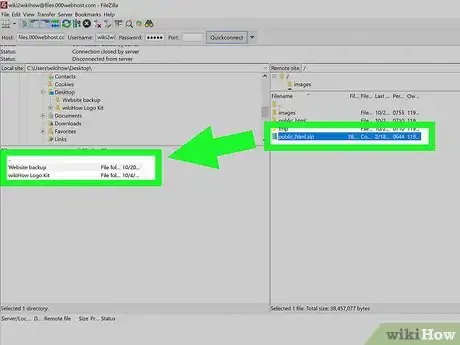
3Drag the file(s) you want to download from the right panel to the left. If you want to download more than one file at once, hold down the Control (PC) or Command (Mac) key as you click multiple file names to select them, and then drag the highlighted area over to the left panel.
- If you drop the file(s) onto a folder in the left panel, the file(s) will be placed inside that folder.
- You can also right-click the file(s) you want to download and select Download.
- Once the transfer is complete, the downloaded files will appear in the left panel as well as on the right panel.
How do I save a server I use frequently?
-
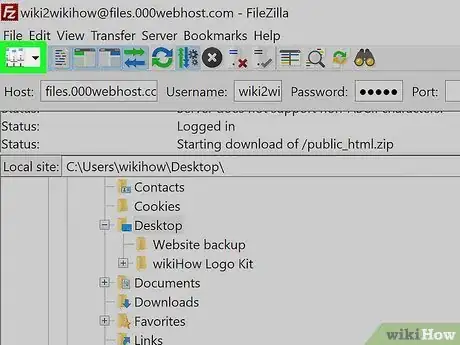
1Click Site Manager icon in FileZilla. Quickconnect settings are removed each time the program restarts, so to easily access the server again, you need to save it to the Site Manager. Click the first icon in the icon row at the top of FileZilla to open Site Manager.
- You can also click the File menu and select Site Manager, or press Ctrl + S to open it.
-
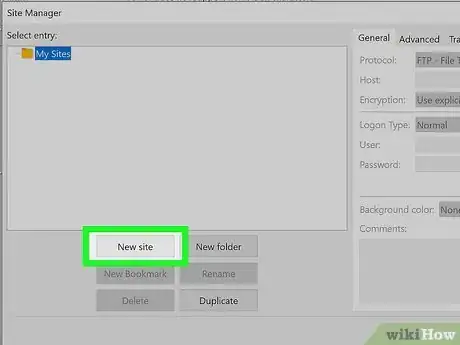
2Click New site. This button is below the site list on the left panel.
-
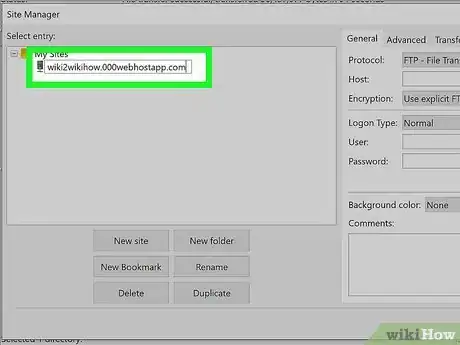
3Name the site and press ↵ Enter or ⏎ Return. The name you enter here is how the server will appear in your list.
- For example, if you're connecting to your own website, you can enter your website's name.
-
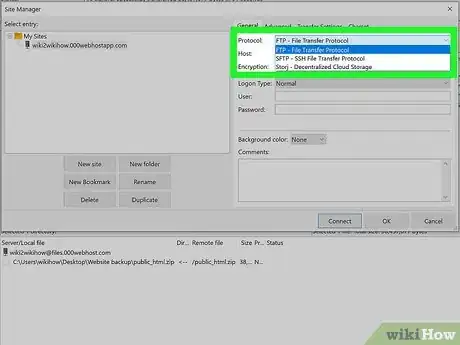
4Select a protocol. If you're using FTP to transfer files to or from a server without encryption, leave FTP – File Transfer Protocol selected. If you need to use SFTP, select SFTP – SSH File Transfer Protocol from the menu.
- You can leave the "Port" field blank if you haven't been instructed to specify an alternate port—FileZilla will use the standard port of 21 unless you enter something else here.
-
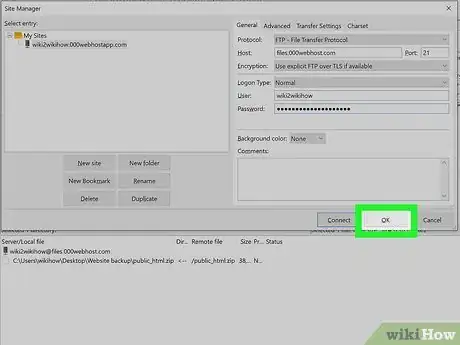
5Click OK to save the server. Now when you want to connect to this server, you can click the arrow next to the Site Manager icon and select it from your list.
What else can I do with FileZilla?
-
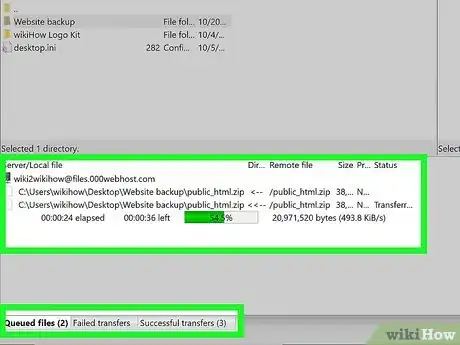
1Monitor your uploads and downloads. Use the tabs at the bottom of FileZilla to keep track of your uploads and downloads.
- The Queued files tab shows you all files that are still in the process of uploading or downloading.
- Completed transfers appear in the Successful transfers tab.
- Unsuccessful transfers appear in the Failed transfers tab. If a transfer did not go through, you'll see the reason in the "Reason" column.
-
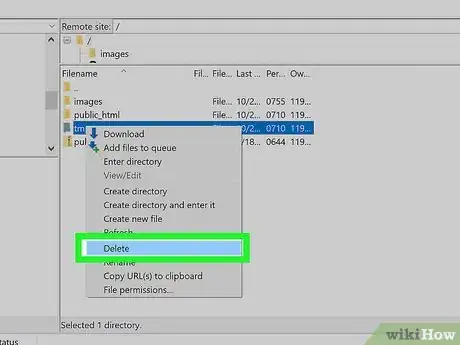
2Delete files and folders. To delete a file or folder on a remote server, just right-click the file or folder in the right panel and select Delete. You can also delete files and folders on your computer by doing the same in the left panel.
- If you don't have permission to delete files on the remote server, you'll see an error at the bottom of the screen.
-
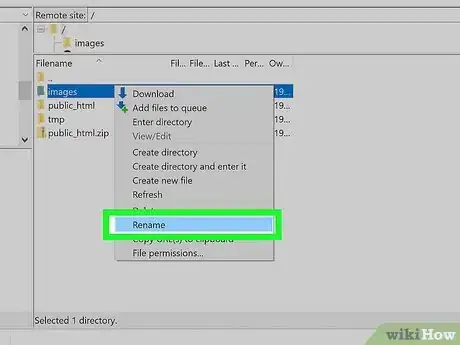
3Rename files or folders. Just right-click a file or folder and select Rename to change the name of any file or folder in FileZilla.
Community Q&A
-
QuestionIs it possible to submit the same file more than once?
 Community AnswerYes, but it might ask you if you want to overwrite if it's in the same folder.
References
About This Article
1. Gather the host name, username, and password you'll need to connect.
2. Open FileZilla and enter the host details into the top panel.
3. Click Quickconnect.
4. The left panel displays the files on your computer, while the right shows files on the remote server.
5. Drag files to the right panel to upload files.
6. Drag files to the left panel to download files.
