X
wikiHow is a “wiki,” similar to Wikipedia, which means that many of our articles are co-written by multiple authors. To create this article, 12 people, some anonymous, worked to edit and improve it over time.
There are 7 references cited in this article, which can be found at the bottom of the page.
This article has been viewed 80,236 times.
Learn more...
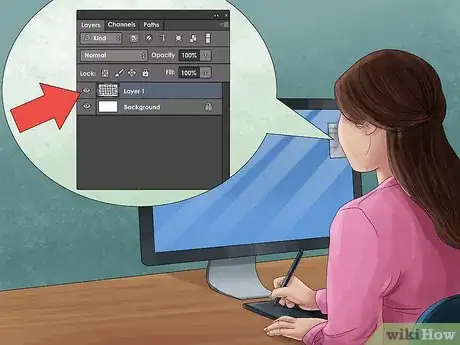
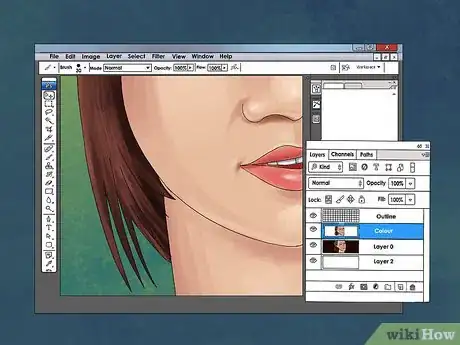
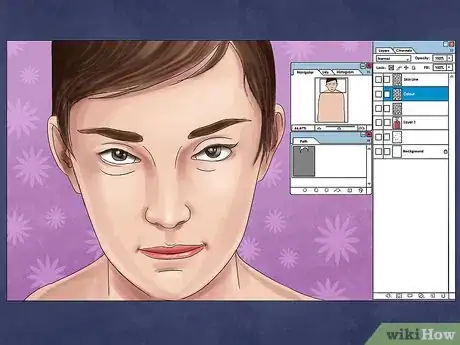
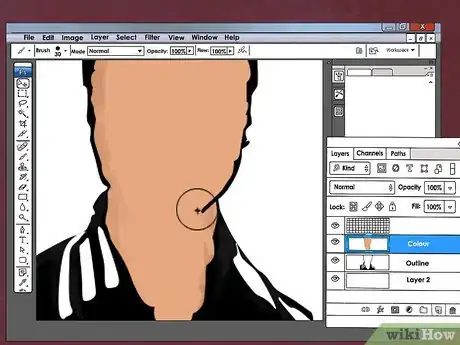
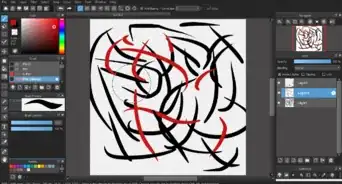
Learning to use layers can help add complexity, depth, and dimension to your visual art. Whether you're drawing cartoons, painting digital portraits or photo editing, layers are an invaluable tool offered by most art programs. See Step 1 for more information.
Steps
Community Q&A
-
QuestionHow do I color in the line art?
 WeekeeCommunity AnswerTo color line art, there's a small transparent checkerboard icon by the word "lock." This locks the transparent pixels so it'll only go over what's drawn on that layer. You also can use a clipping layer or a mask for a similar effect. To color inside line art, the most time-efficient method is to use magic wand to select the area outside of your line art (it won't work if there are gaps), then invert the selection and fill the selection with color on the layer below. Then you can just lock the transparency to put in flats or create a clipping folder for flats.
 -
QuestionWhat happens when layers are merged?
 CaeiiaTop AnswererAll layers will be on a single layer. It doesn't change the look, it's just an option because some file saving formats don't save multiple layers, only one layer.
 -
QuestionHow can I use a clipping mask for line art and coloring?
 NithinCommunity AnswerCreate a new layer on top of the lineart and hold the ALT button and slightly move your cursor in the line between your lineart layer and the layer you just created, An arrow should come by now. And click the left mouse button and release your hold from the ALT button. Now you can color freely over the lineart in the newly clipped layer above.
Advertisement
References
- ↑ https://digital-photography-school.com/beginners-introduction-using-layers/
- ↑ https://docs.gimp.org/2.8/en/gimp-concepts-main-windows.html
- ↑ https://helpx.adobe.com/photoshop/using/layer-basics.html
- ↑ https://www.youtube.com/watch?v=jrVnI3l9fgE
- ↑ https://www.gimp.org/tutorials/Layer_Masks/
- ↑ https://www.youtube.com/watch?v=v2ZE9oQH4YE
- ↑ https://lifehacker.com/digital-painting-101-lesson-4-layers-5780767
About This Article
Advertisement
