This article was co-authored by wikiHow staff writer, Nicole Levine, MFA. Nicole Levine is a Technology Writer and Editor for wikiHow. She has more than 20 years of experience creating technical documentation and leading support teams at major web hosting and software companies. Nicole also holds an MFA in Creative Writing from Portland State University and teaches composition, fiction-writing, and zine-making at various institutions.
This article has been viewed 312,424 times.
Learn more...
This wikiHow teaches you how to get started with RealVNC's VNC Connect, a screen sharing solution that lets you operate a remote computer anywhere on the internet. VNC Connect consists of two applications: VNC Server, which is installed on the computer you want to control, and VNC Viewer, which you can use on nearly any operating system to control the server remotely.
Steps
-
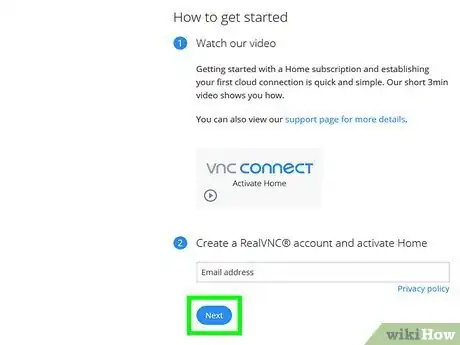
1Activate your VNC subscription. RealVNC's VNC Server, the software you have to install on the computer that will be controlled, requires a license for use. To get this license, you'll need to create an account. Here are your options:
- A Home license is available for personal use at no cost and provides basic remote control of one computer.[1] To get a free Home license, visit https://www.realvnc.com/en/connect/home, and follow the on-screen instructions to create your account.
- If you need to control between 2 and 10 computers, you'll need a Professional or Enterprise account. These licenses cost money, but 30-day trials are available. To get a free trial of RealVNC Professional or Enterprise, visit https://www.realvnc.com/en/connect/trial and follow the on-screen instructions to create your account.
-
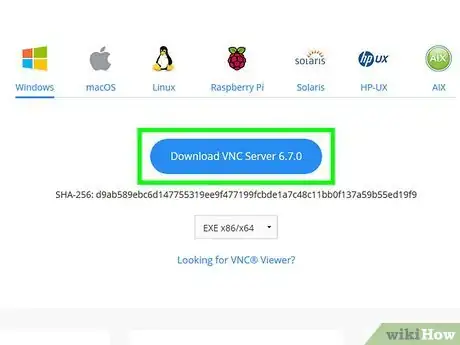
2Download VNC Server on the computer you want to control. The VNC Server software will need to be installed on any computer you want to operate remotely, while VNC Viewer will be installed on the computer, phone, or tablet you're using to access the server remotely.[2] To download VNC Server:
- Go to https://www.realvnc.com/en/connect/download/vnc on the computer you want to control.
- Click your operating system.
- Click the blue Download VNC Server [version] button.
- Save the installer to your computer.
Advertisement -
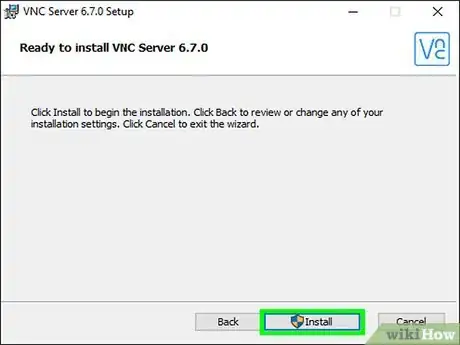
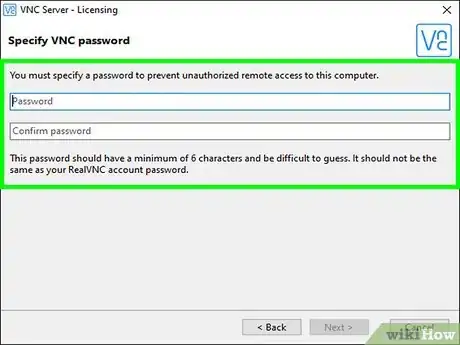
3Run the VNC Server installer on the computer you want to control. Double-click the installer file you downloaded, then follow the on-screen instructions to complete the setup process. During the setup, you'll be prompted to sign in with your RealVNC account—your Home, Professional, or Enterprise license is connected to this account.
- If you're installing the Enterprise version, enable cloud connectivity when prompted during setup.[3]
-
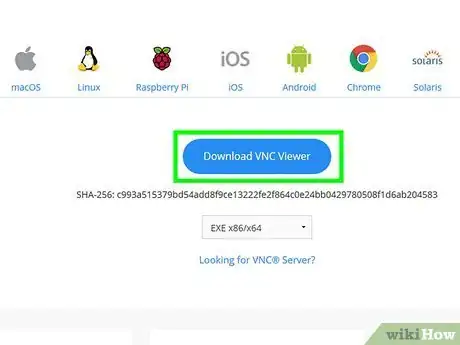
4Download VNC Viewer to your local computer, phone, or tablet. VNC Viewer can be installed on a variety of operating systems, including Windows, Android, iOS, and ChromeOS.
- On a computer: Go to https://www.realvnc.com/en/connect/download/viewer and select your operating system. Click the blue Download VNC Viewer link to download the installer to your computer.
- Android: Open the Play Store app in your app drawer and search for vnc viewer. Tap INSTALL when you find it and follow the on-screen instructions.
- iPhone/iPad: Open the App Store app, tap Search, and search for vnc viewer. Tap GET once you find it and follow the on-screen instructions.
-
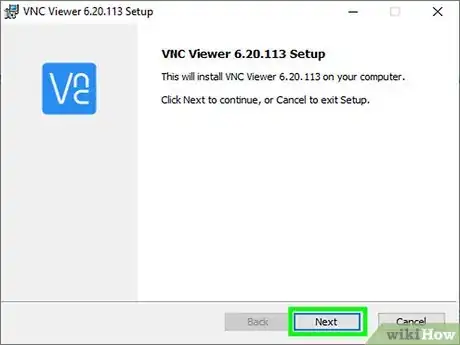
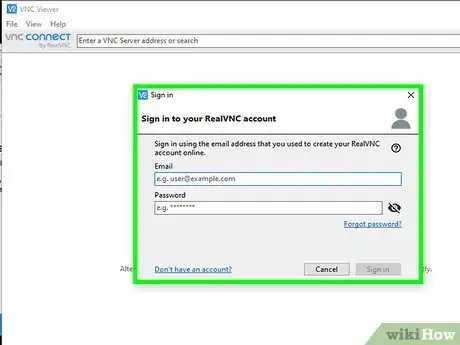
5Install VNC Viewer and log in. During the installation process, you'll need to sign in with the same account you used to sign in to the VNC Server on the computer you want to control. Once the process is complete, the VNC Viewer app will be ready to use.
- On a computer: Double-click the downloaded installer file and follow the on-screen instructions to install. When asked to sign in, use your RealVNC account information.
- On a phone or tablet: The app is already installed, so just tap the VNC Viewer icon on the home screen or in the app drawer, and then follow the on-screen instructions to log in with your RealVNC account.
-
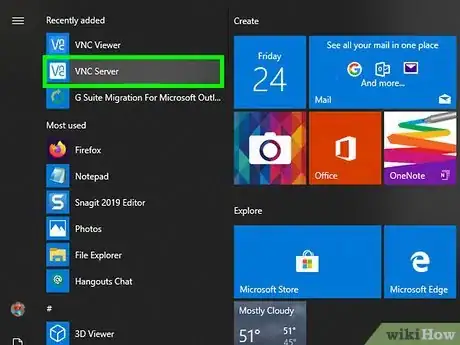
6Launch VNC Server on the computer you want to control. The VNC Server application must be running when you attempt to make a connection.
-
7Select the computer to be controlled in VNC Viewer. Once the VNC Server is running on the computer to be controlled, it'll appear as a selectable option in VNC Viewer. A login screen will appear.
-
8Log in to the remote computer. This time you won't be using your RealVNC account—instead, use the login information you normally use to log in to the remote computer, such as a local user or network account. Once your password is validated, you will see the desktop of the remote computer in VNC Viewer on your computer, phone or tablet.
References
About This Article
1. Sign up for an account and license.
2. Install VNC Server on the computer you want to control.
3. Install VNC Viewer on any computer, phone or tablet.
4. Sign into both using the same RealVNC account.
5. Select the server computer in VNC Viewer.
6. Log in to the computer remotely.
-Connection-Step-12-Version-5.webp)








-Connection-Step-12-Version-5.webp)

