X
wikiHow is a “wiki,” similar to Wikipedia, which means that many of our articles are co-written by multiple authors. To create this article, 12 people, some anonymous, worked to edit and improve it over time.
This article has been viewed 191,152 times.
Learn more...
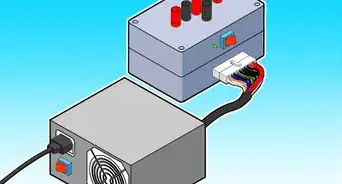
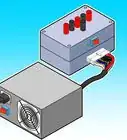
An interface box was created to connect to the standard ATX power supply connector to allow turning on the power supply and access to the various voltages provided by the power supply.
Steps
-
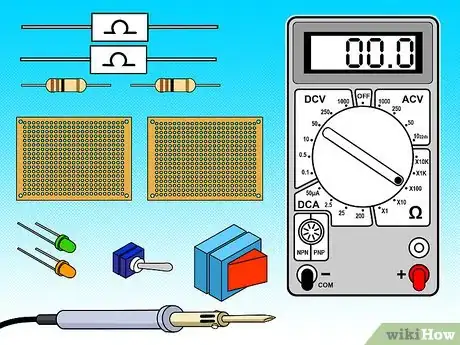
1Ready your materials (See "Things you'll need" below)
-
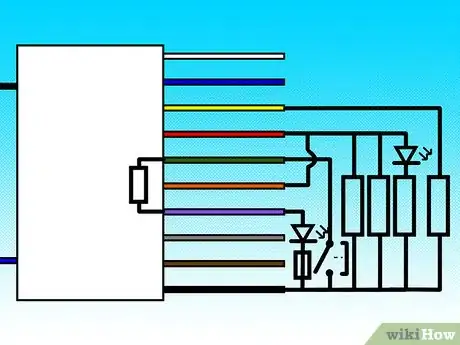
2Plan the design of your new PSU. Create a circuit map to follow so to avoid confusion.
- Remember that there will be a difference between older and newer ATX PSUs. Older PSUs will mainly utilize the 3.3V and 5V rails, with excess current being handled by the 12V rail. Newer versions will use the 12V rail as their main output.
Advertisement -
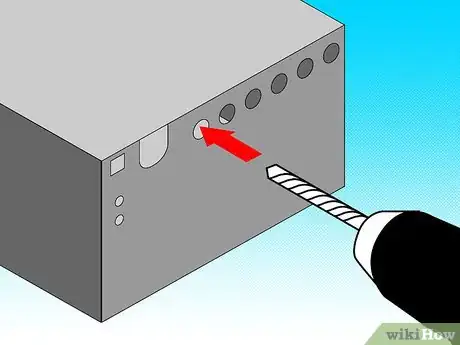
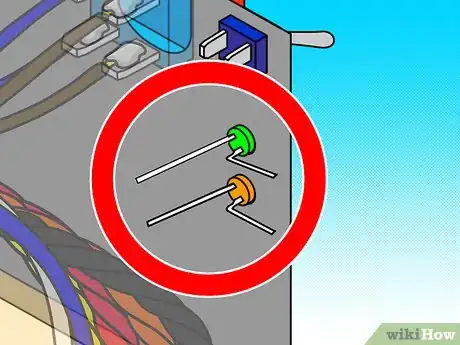
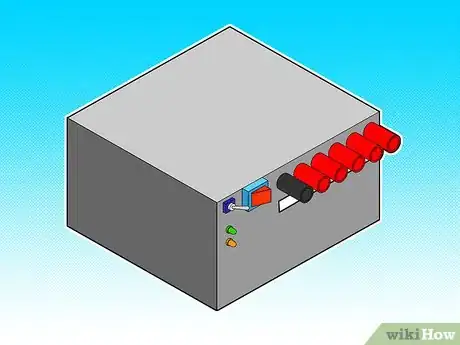
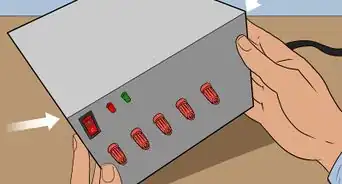
3Drill the holes you need to mount your binding posts, LEDs, and main switch.
-
4
-
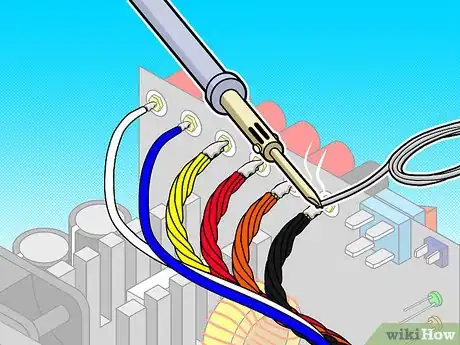
5Solder the wire bundles (Excluding the mains) to their respective binding posts. (Remember to label these so you which is which.
-
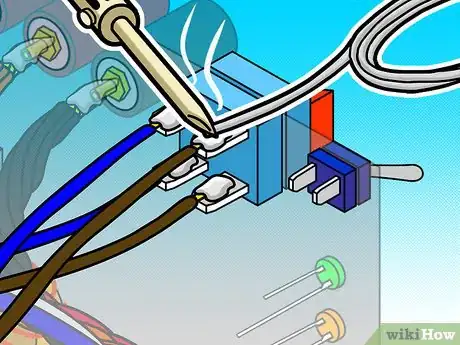
6Solder the main wires to the switch.
-
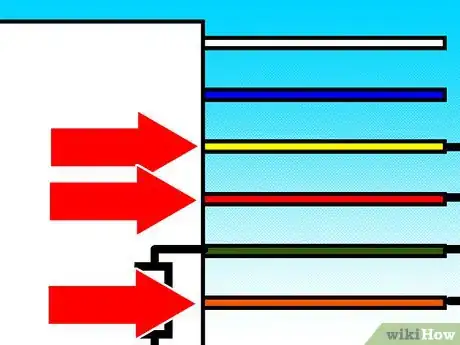
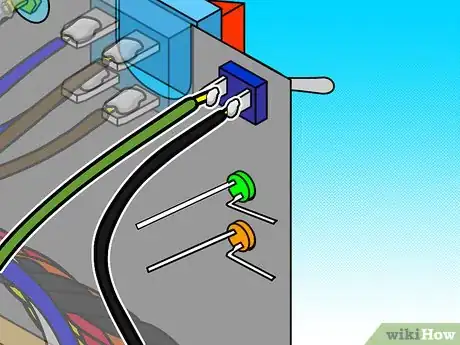
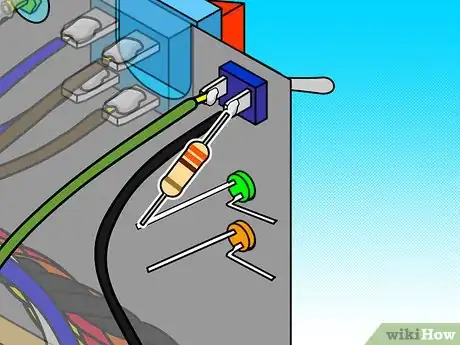
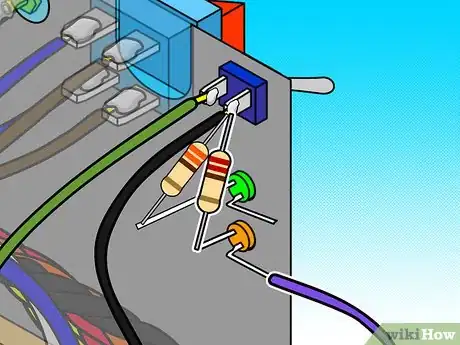
7Begin connecting LEDs to your load switch
- Connect the load switch between 'Ground' and 'Power On'.
- Use a current limiting resistor as you connect the green LED between 'Ground' and one of the positive outputs of the power supply (i.e. +12V for the newer models, +5V for older)
- Use a current limiting resistor as you connect the red LED between 'Ground' and '+5V Standby'
-
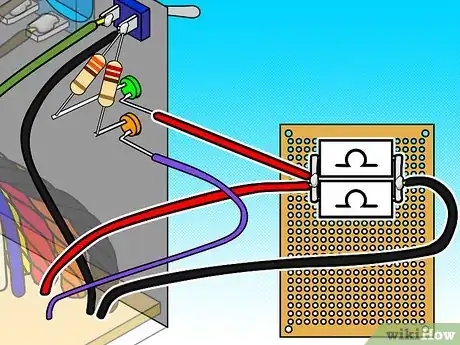
8Attach your 10-Ohm/10-Watt resistors to a piece of prototyping board and bend the leads to avoid movement. Isolate these resistors then connect them to your ground and positive output wires.
-
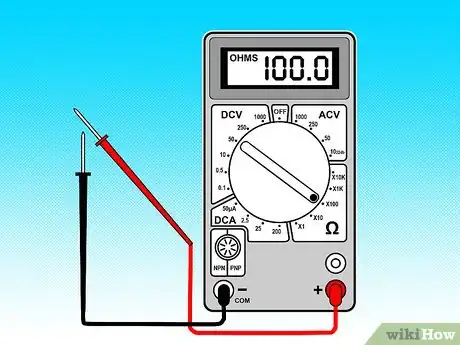
9Test the box with an ohm-meter before applying power. Make sure there are no unexpected connections, and that the proper connections are made.
-
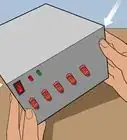
10Here's a picture of the finished box:
Advertisement
Warnings
- Carelessness around the large capacitors can result in a moderate shock.⧼thumbs_response⧽
- Inability to follow directions precisely can lead to damaging your materials.⧼thumbs_response⧽
- Keep your project in a dry, well ventilated area and make sure that proper safety precautions for all tools you will be using are observed.⧼thumbs_response⧽
Advertisement
Things You'll Need
- Binding posts (Make sure to differentiate colors)
- A main switch
- A load switch
- 2 LEDs (Green & Red)
- Current Limiting Resistors
- 2 10-Ohm/10-wt Resistors
- 2 Pieces of Prototyping board
- A Drill with bit widths that match your binding post diameter, LED diameters, and main switch.
- Wire cutter
- Wire stripper
- Phillip's head and flat head screw drivers (that fit the screws on your PSU)
- Solder iron
- Ohm Meter
- A place to dispense the refuse
About This Article
Advertisement
