wikiHow is a “wiki,” similar to Wikipedia, which means that many of our articles are co-written by multiple authors. To create this article, 35 people, some anonymous, worked to edit and improve it over time.
The wikiHow Tech Team also followed the article's instructions and verified that they work.
This article has been viewed 264,049 times.
Learn more...
If you have the Google Earth version that was released on August 20th, 2007, or later, you have access to a flight simulator. The Google Earth flight simulator is a flight simulator that uses Google Earth satellite images as the ground for a more realistic experience. Depending on the system, it can be accessed by pressing Control+Alt+A, Control+A, or Command+Option+A then pressing enter. After this feature has been activated at least once it appears under the tools menu. Since v4.3, the option is no longer hidden by default. Currently, only the F-16 Fighting Falcon, L-7 Lee and the Cirrus SR-22 are the only aircraft that can be used, in addition to quite a few airports. This will be a lot of fun once you get the hang of it.
Steps
Starting the Flight Simulator
-
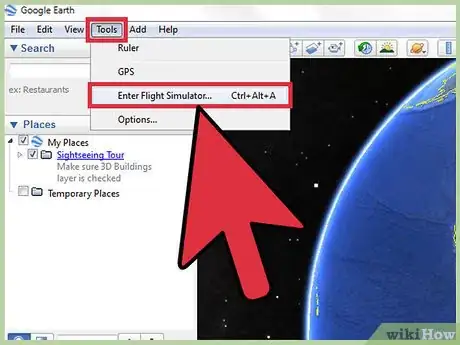
1Open the simulator. Open up the drop-down Tools menu in the top toolbar of Google Earth.
- If you have an earlier version than v4.3, access the flight simulator by pressing Control+Alt+A, Control+A, or Command+Option+A then pressing enter. After this feature has been activated at least once, it appears under the tools menu.
-
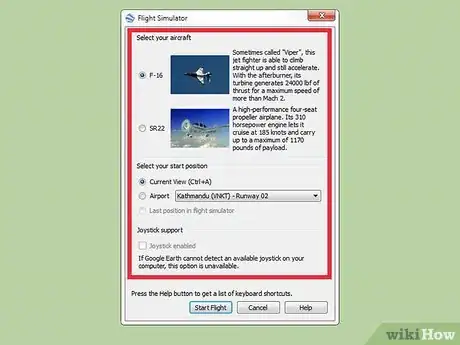
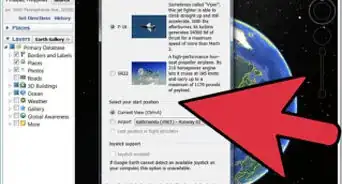
2Establish your settings. A small window should now open up. There are three parts to this: aircraft, start position and joystick.
- Aircraft - Choose the airplane you would like to fly. The SR22 is a slower plane and easier for beginners while the F-16 is for more intermediate to expert users. In this guide, we are using the F-16 as an example.
- Start Position - You can either your current view, starting off from an airport of a major city or your last position on the flight simulator. Beginners should use the New York airport.
- Joystick - Check the box if you are using a joystick to control your airplane.
Advertisement -
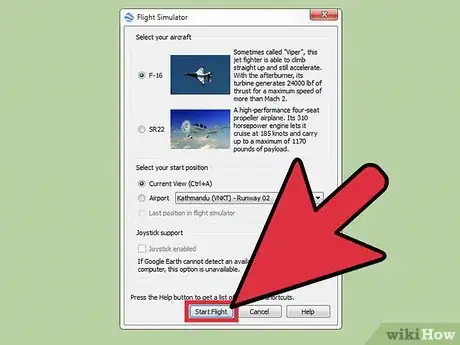
3At the bottom of the box click "Start Flight".
-
4Wait a few seconds for the map to load.
-
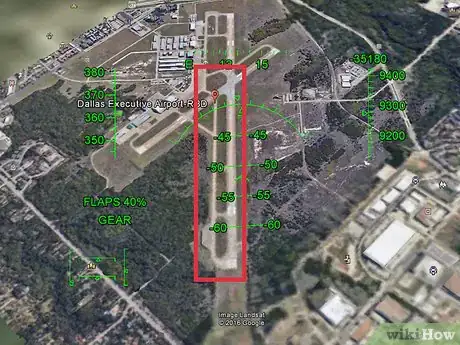
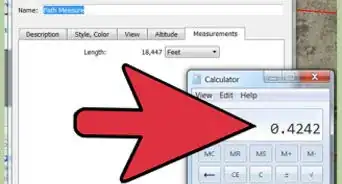
5Choose all the airports you will be landing at regularly. Since it is almost impossible to see the runways without aids, take every runway you might land at, and draw a path along the length of the runway. Make the runways of different colours and set the width to 5mm. The runways are very clearly visible in mid-air now.
-
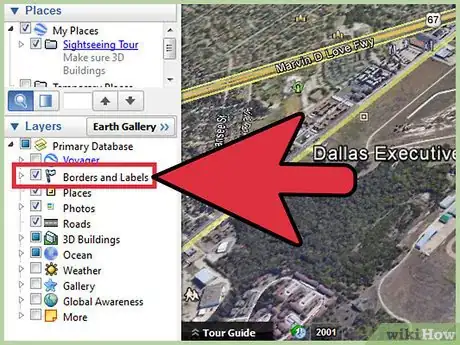
6Open up the sidebar. Turn on Borders/Labels and Transportation. Again, this is to help you navigate.
Using the HUD
-
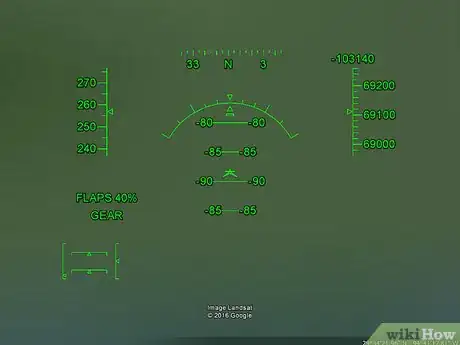
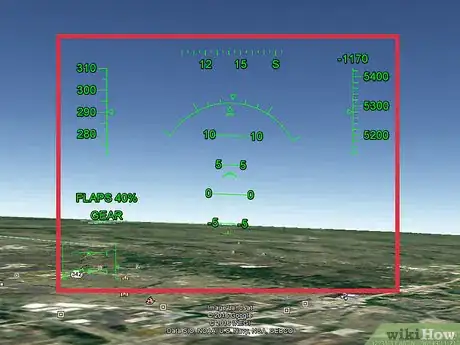
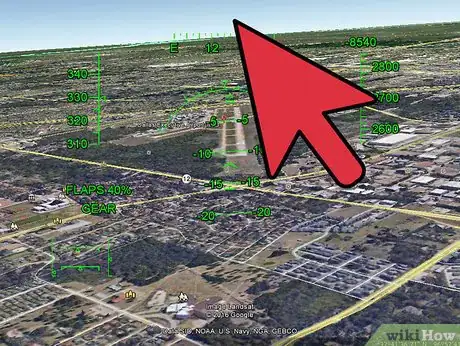
1Recognize the HUD. On your screen, you should see a bunch of green stuff. This is your HUD
-
2Familiarize yourself with the HUD.
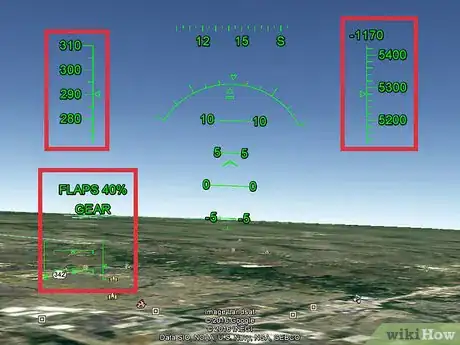
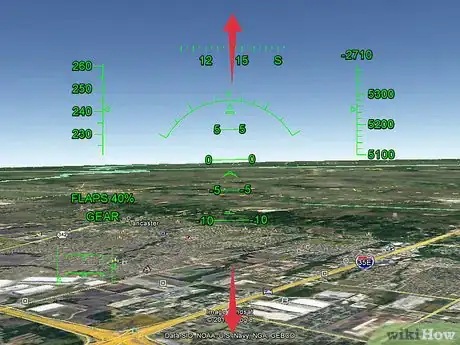
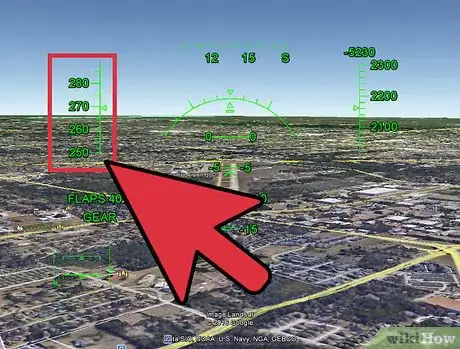
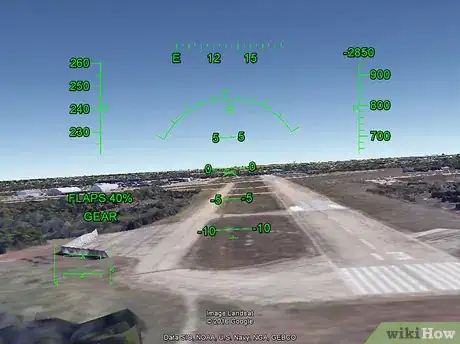
- Starting clockwise at the top is your speed in knots. next at the top is your heading like a compass. to the far right of the screen is a small button which says 'Exit flight simulator'. Click on this if you want to exit the simulator completely. Below that is a number at the top of some lines that says 0. This will change and it is your vertical speed in feet per minute. Sometimes it will go negative, meaning you are going down.
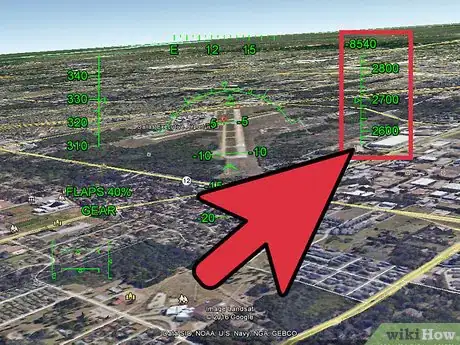
- Below that is your altitude in feet above sea level. Right now it should be at 4320.
- In the center of the screen is an arc with some other stuff. This is your main HUD. The arc is your bank angle. The parallel lines are the pitch angle in degrees, so if it says 90 then you're pointed straight up and are stalling.
- At the bottom left hand corner will be a box. The left side is the throttle. the top side is the aileron. The right side is the elevator, and the bottom is the rudder.
- Above this is currently nothing but this is where your flap indicator will be in percent and your landing gear status will be. The SR22 has fixed gear so you don't have to worry about that.
Controlling the Plane
-
1Know that the controls are inverted. Looking up and down is inverted, so if you move the mouse lower down the screen then the nose will pitch up, and vice versa.
-
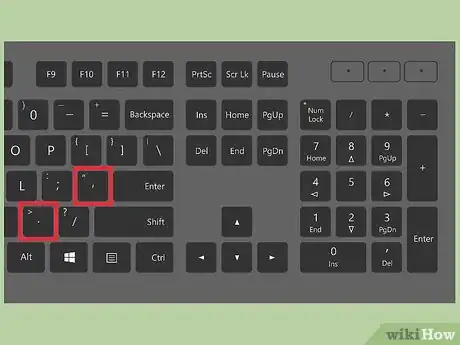
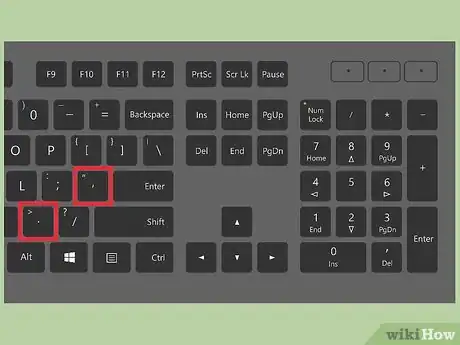
2Prepare for takeoff. If your aircraft starts to move to the side press the "," key to move to the left and the "." key to move to the right.
-
3Take off. Click and then press the Page Up key (and the fn key on Windows computers) to increase thrust and move the aircraft down the runway. Once your plane is moving, move the mouse down. The V1 speed of the F-16 is 280 knots. At 280 knots, the plane should lift off into the air.
-
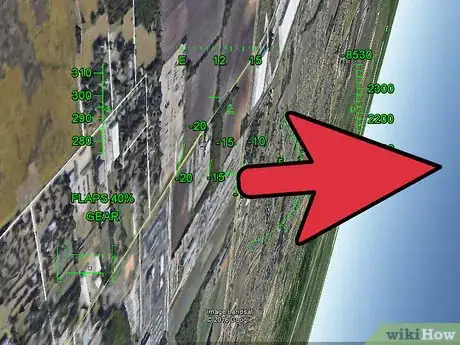
4Turn right. Move the cursor to the right until the ground is directly to your right, then move the cursor to the bottom of the screen. This will cause you to turn to your right.
-
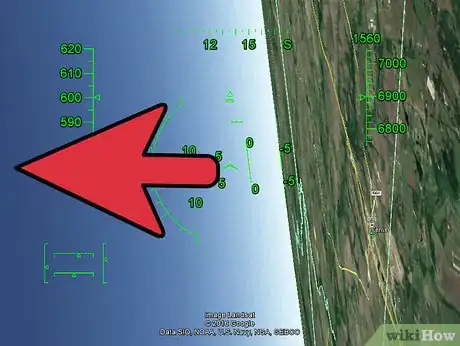
5Turn left. Move the cursor to the left side of the screen until the ground is directly to your left, then move the cursor to the bottom of the screen. This will cause you to turn to your left.
-
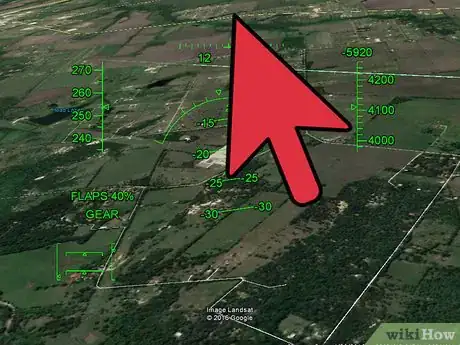
6Fly upward. Angle up by moving the cursor to the bottom of the screen.
-
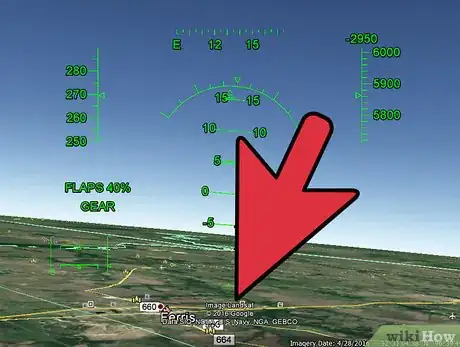
7Fly downward. Angle down by moving the cursor to the top of the screen.
-
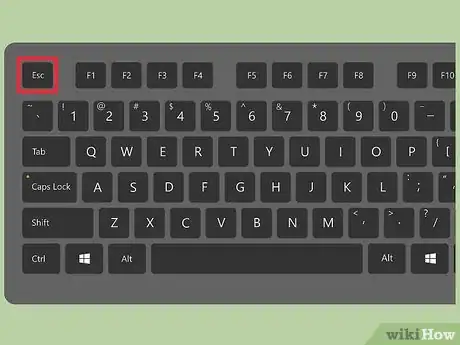
8If you wish to leave, simply press the Escape key.
Landing
-
1Fly towards the airport you would like to land at. Increase the thrust to maximum setting, retract the gear and flaps. You should be cruising at around 650 knots.
-
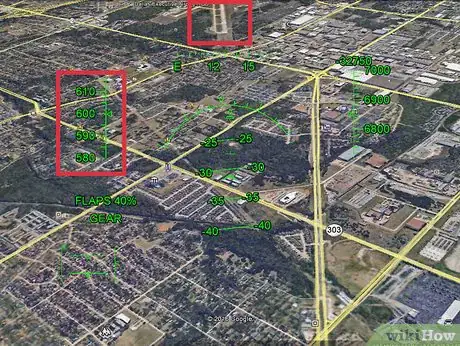
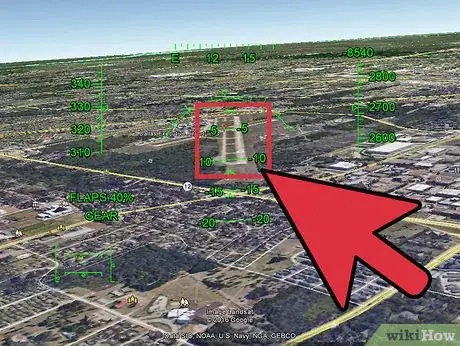
2Line up the runway. When you're ready to land, align the aircraft so that the path you have drawn (the runway) is completely vertical and in the centre of your screen.
-
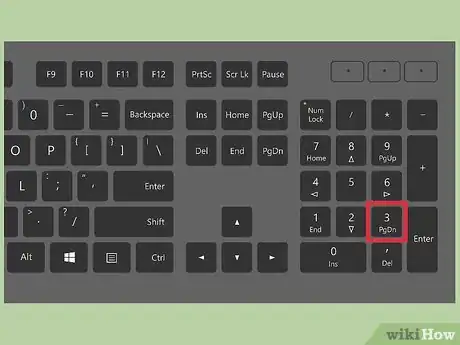
3Decrease speed completely. Hold down the "Page Down" key to reduce your speed. You should lose thrust immediately.
-
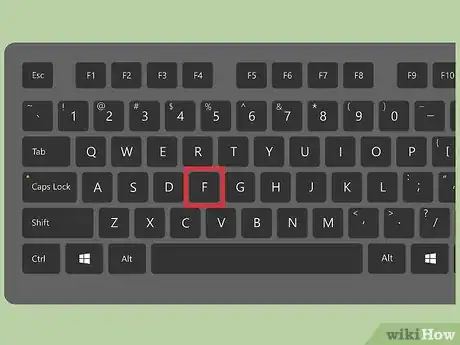
4Press F to increase the flap setting. This slows the aircraft. This will also make it a little hard to steer. Increase the flaps to 100%.
-
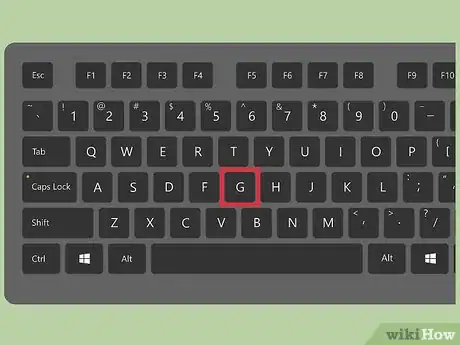
5Extract landing gear by pressing the "G" key. This only applies for the F-16.
-
6Slowly start to move the cursor up so you angle down.
-
7Keep an eye on your Altitude.
-
8When you're a fair bit away from the airport, make sure that you're slow enough to land. For the F-16 and F-45, this speed is around 260 knots. If you go faster than this, you will crash.
-
9Do the final descent slowly. Once you are about 100 or so feet above the ground make sure you slowly go down. This is the part where you are most likely to crash. While landing you may hit the ground and bounce up but just slowly go down again. Make sure you descend very shallowly.
-
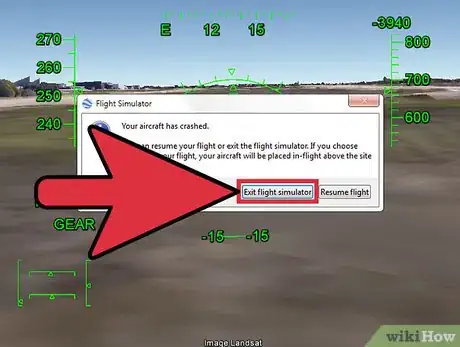
10Exit the crash. Should you crash, a box appears which gives you the option of exiting or resuming flight.
- If you resume flight you will start again directly over where you crashed. Just repeat the previous steps.
-
11Bring the plane to a complete stop. By now you should have landed but you're still moving. Just press both the "," and "." keys together and you will slow down to a complete stop in seconds. If you wish to brake faster, retract the flaps (by pressing shift + F).
Community Q&A
-
QuestionHow do you go faster?
 Community AnswerHold the Page Up key, making sure you don't have flaps on. If you have flaps on, hold Shift and press F till it's gone.
 -
QuestionHow do I maintain level flight using keyboard controls?
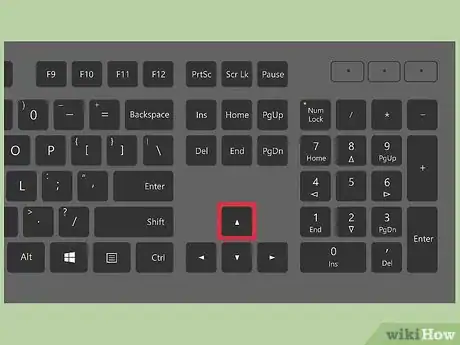
 Community AnswerWhen you are level, horizontally, press c to reset your ailerons. To stay level with the ground, keep your hud at 0 degrees by clicking up and down on the arrow keys.
 -
QuestionIs there an option for water landings?
 Community AnswerNo, at least not yet. If the water is deep enough, the plane will simply 'fly' through the body of water.
Warnings
- You may get dizzy doing this. If you do just press the space bar and take a break.⧼thumbs_response⧽
Things You'll Need
- Computer with mouse and keyboard
- Google Earth (Version released on 8/20/2007, or later)
- Internet access
