This article was co-authored by wikiHow Staff. Our trained team of editors and researchers validate articles for accuracy and comprehensiveness. wikiHow's Content Management Team carefully monitors the work from our editorial staff to ensure that each article is backed by trusted research and meets our high quality standards.
wikiHow marks an article as reader-approved once it receives enough positive feedback. In this case, several readers have written to tell us that this article was helpful to them, earning it our reader-approved status.
This article has been viewed 43,698 times.
Learn more...
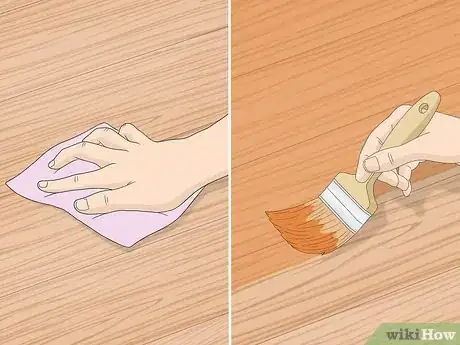
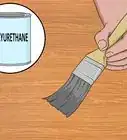
Varathane is a specific brand of polyurethane made by Rust-Oleum. By applying it to a table, you’ll create a clear finish that will protect and preserve the wood. This is a perfect way to showcase your table’s woodwork, and you can do it on your own. You’ll need to prep the wood by sanding and cleaning it before you can apply the Varathane. When you’ve added enough coats, use automotive polish to bring out its shine.
Steps
Sanding the Wood
-
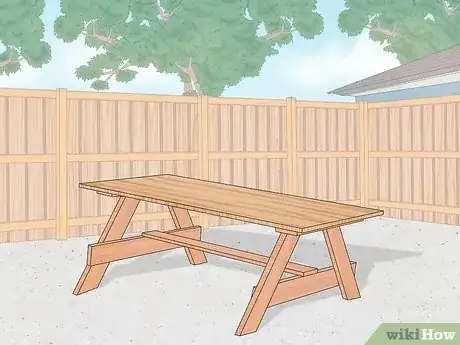
1Move your table to a well-ventilated work area. Varathane gives off fumes that can be dangerous if they build up. Choose a work area with good airflow to prevent this. You may want to lay out a drop cloth beneath the table to catch sawdust and Varathane drips.
- If you have to work in a smaller room, make sure you open some windows. In rooms with less than ideal airflow, use a fan.
- A clean work area is preferred, as this will prevent dust from spreading to the Varathane as it dries.
-
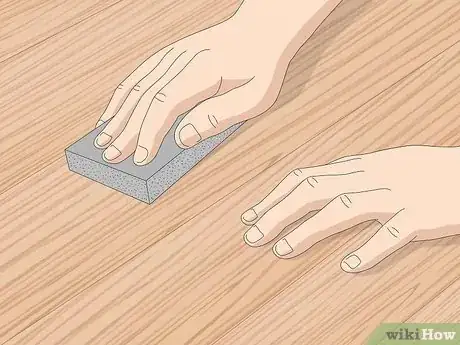
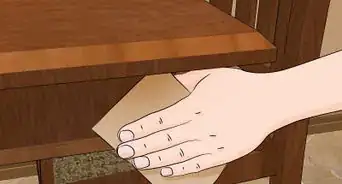
2Sand surfaces where you’ll apply Varathane. Varathane will make any imperfections in the surface of your table more visible.[1] Sand the surface of your table thoroughly so it is smooth and uniform.
- For the smoothest finish, start sanding with 100-grit sandpaper, then repeat this with 150-grit, and finish sanding with 220-grit paper.
- Depending on the condition of your table, you may only need to lightly sand with a high grit rating sandpaper.
- Some tables may already have a finish. This may negatively interact with the Varathane. In these cases, sand away all finish before applying Varathane.
Advertisement -
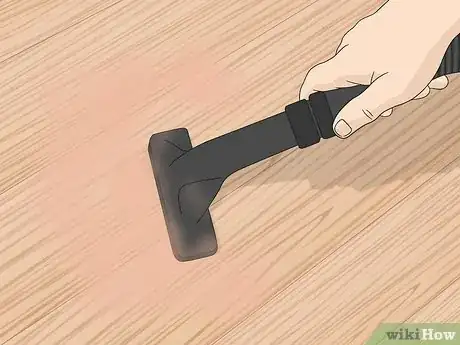
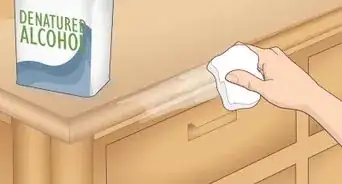
3Remove any sawdust from the table. If there is a good amount of sawdust, break out a vacuum with a brush attachment. Any remaining traces of sawdust can be wiped away with a lint-free cloth dampened with mineral spirits. Lastly, wipe the table with a fresh, dry, lint-free cloth.[2]
Applying the First Coat
-
1Choose between water- and oil-based Varathanes. Oil-based Varathane will be more heat resistant and durable. However, oil-bases usually have an amber tint that may hide the natural beauty of your wood. Water-based Varathane is better for showcasing wood’s natural beauty, but is less resilient.[3]
-
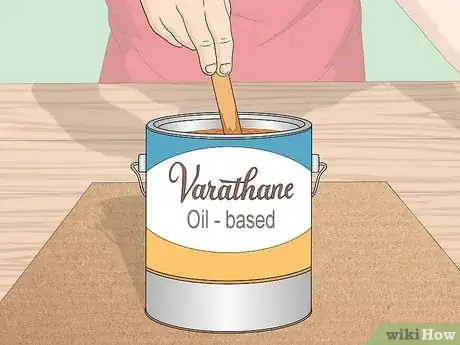
2Stir the Varathane to mix it. Shaking Varathane may cause air bubbles to form. Air bubbles can create a bumpy finish. Use a paint stirrer to mix the Varathane instead. If the Varathane seems especially thick, add a splash of mineral spirits to it as you mix.[4]
- If you tend to be sensitive to strong fumes, wear a respirator when working with Varathane. Fumes may persist for some time after the final coat dries.
-
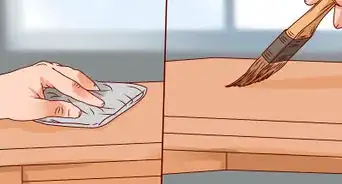
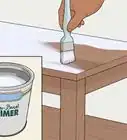
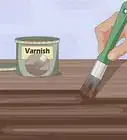
3Brush the Varathane onto the table. Dip your brush into the Varathane. Wipe the excess off on the inside lip of the can, then use long, overlapping strokes to apply a thin layer to the table. Be extra careful around crevices and cracks. There should be no drips, unevenness, or pooling.[5]
- Clean your brush while you wait for this coat of Varathane to dry so you can use it for the next coat too.
Finishing the Application
-
1Test the coat for dryness. Oil-based Varathane will take 24 hours to dry; water-based ones only take 4 to 6 hours. After this time has passed, test its dryness by gently sanding an out of sight portion with 220-grit sandpaper.
- If you find that the Varathane isn’t yet dry, wait about an hour or two before testing it again with 220-grit paper.[6]
-
2Sand the coat lightly with 220-grit sandpaper when dry. Now that the coat is dry, you can lightly sand its entire surface. If this is your first time working with Varathane, there may be some uneven spots. Aim for a smooth, uniform finish.
- If you notice significant bumps in the dried coat, use a razor blade to shave these off. Be careful not to scratch the wood while doing this.
- By lightly sanding each coat of Varathane, you’ll also remove any particles that got stuck in it while drying.[7]
-
3Apply a second coat in the same fashion as the first. Wipe down the surface with a dry, lint-free cloth. Retrieve your cleaned brush and layer another thin coat of Varathane onto the table. Allow it to dry and lightly sand it with a 400-grit sandpaper.
- Most oil-based Varathane will only need two coats, though some tables may require three (but no more than three). Water-bases may need up to a dozen coats.[8]
-
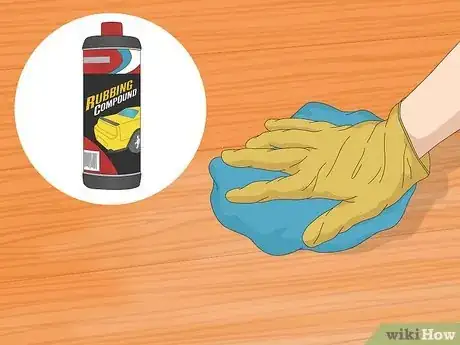
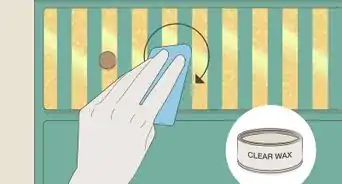
4Polish the dried surface with an automotive polishing compound. There may be some fine scratches or clouding in the Varathane from the 400-grit sandpaper. Buff these away with a light application of automotive polish using a clean cotton cloth. Use a circular motion when buffing.
- Follow the label directions on your polish for best results. Generally, you should dampen your cotton cloth before using it to apply the polish.
Warnings
- If the toxic fumes produced by Varathane build up, they can be deadly. Only work in areas with good airflow.⧼thumbs_response⧽
Things You’ll Need
- Automotive polish
- Clean cotton cloth
- Drop cloth (or similar surface cover, like newspaper)
- High-quality natural bristle brush
- Sandpaper (100-, 150-, 220-, and 400-grit)
- Razor blade
- Lint-free tack cloth (such as a microfiber cloth)
- Mineral spirits
- Paint stirrer
- Respirator (optional)
- Shop-vac (or similar hose-type vacuum; optional)
- Varathane
References
- ↑ https://www.bobvila.com/articles/how-to-apply-polyurethane-sealer/#.WUg0TFQrLIV
- ↑ https://www.bobvila.com/articles/how-to-apply-polyurethane-sealer/#.WUg0TFQrLIV
- ↑ https://www.bobvila.com/articles/varnish-vs-polyurethane/#.WUg0V1QrLIV
- ↑ https://www.bobvila.com/articles/how-to-apply-polyurethane-sealer/#.WUg0TFQrLIV
- ↑ https://www.bobvila.com/articles/how-to-apply-polyurethane-sealer/#.WUg0TFQrLIV
- ↑ https://www.bobvila.com/articles/how-to-apply-polyurethane-sealer/#.WUg0TFQrLIV
- ↑ https://www.bobvila.com/articles/how-to-apply-polyurethane-sealer/#.WUg0TFQrLIV
- ↑ https://www.bobvila.com/articles/how-to-apply-polyurethane-sealer/#.WUhAUlQrLIW
