This article was co-authored by wikiHow staff writer, Nicole Levine, MFA. Nicole Levine is a Technology Writer and Editor for wikiHow. She has more than 20 years of experience creating technical documentation and leading support teams at major web hosting and software companies. Nicole also holds an MFA in Creative Writing from Portland State University and teaches composition, fiction-writing, and zine-making at various institutions.
This article has been viewed 245,717 times.
Learn more...
Templates make it easy to create stylish documents Microsoft Word without having to add your own formatting. It's easy to search Microsoft's massive online template database using both the Microsoft Word desktop app and their official template download site. This wikiHow teaches you how to find, download, and use Microsoft Word templates, as well as how to create and save your own custom template.
Steps
Downloading a Template in Word
-
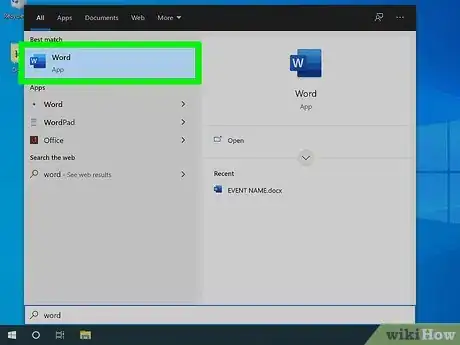
1Open Microsoft Word. Opening Word takes you to the New screen, which is where you'll find tons of online templates you can download for free directly from Microsoft.[1]
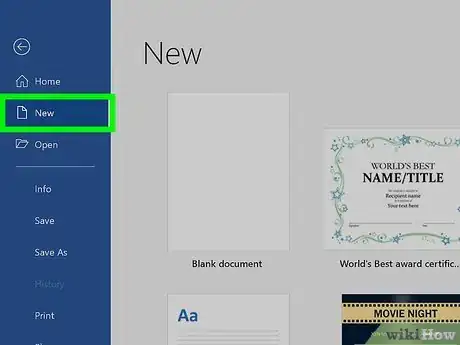
- If Word was already open, click the File menu and select New (or New from Template on a Mac) now.
-
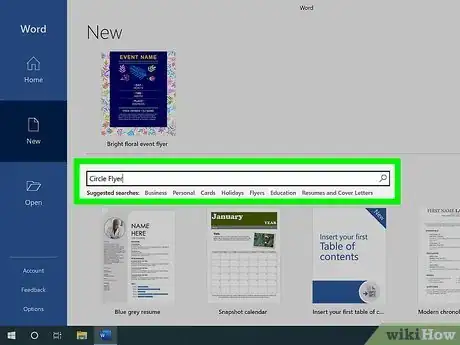
2Search for a template type. What kind of template are you looking for? Type a keyword into the Search field, such as calendar or agenda, and click the magnifying glass to run the search.
- Some other template search ideas are business cards, brochure, letter, resume, and labels.
- If you have a certain type of paper that requires a specific template, such as a label sticker sheet, search for the manufacturer's name. There are free Word templates for all of the major label sheet manufacturers.
Advertisement -
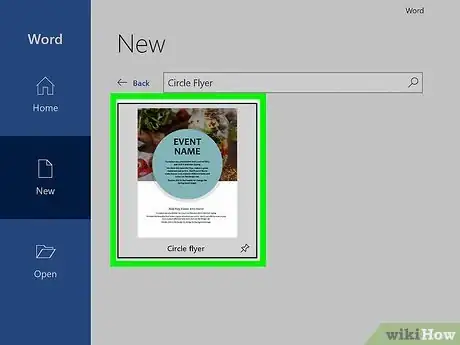
3Click a template to see a preview. This displays a screenshot of the template in action, as well as some information about the template.
- If the template is made to work with a certain type or size of paper, that information will be in the description. For example, if you're looking at template for address.
-
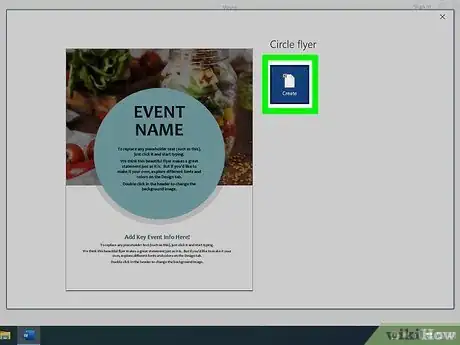
4Click Create to use the template. This creates a new document from the template.
-
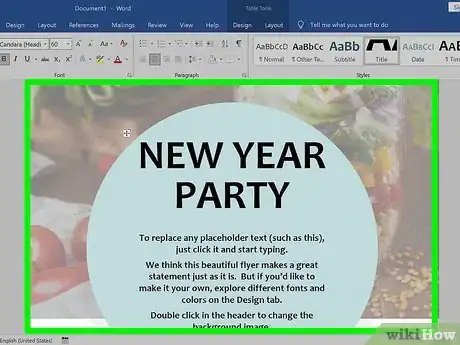
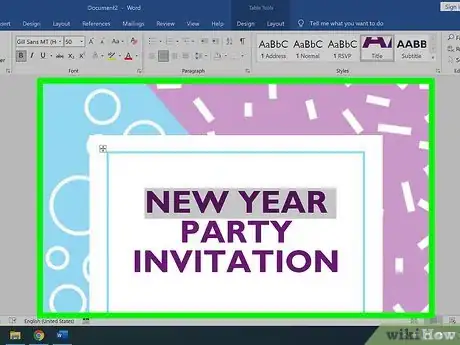
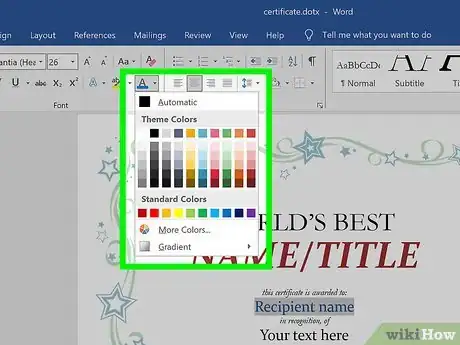
5Create your document from the template. Templates nearly always come with some pre-filled information that you can erase and type over. You can also customize other aspects of the template as needed using any tool in Word.
-
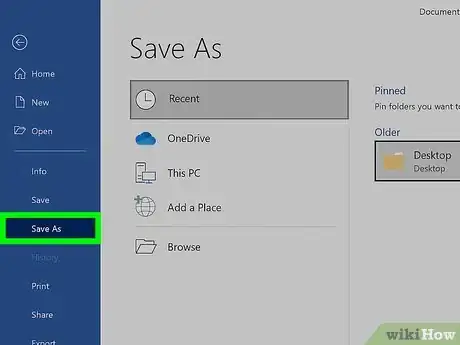
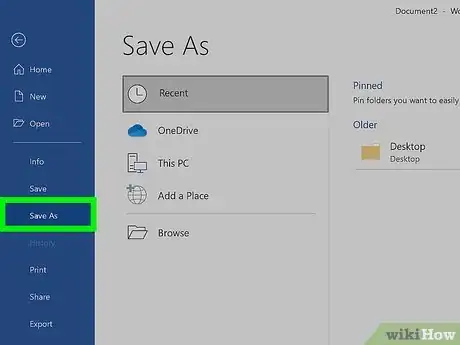
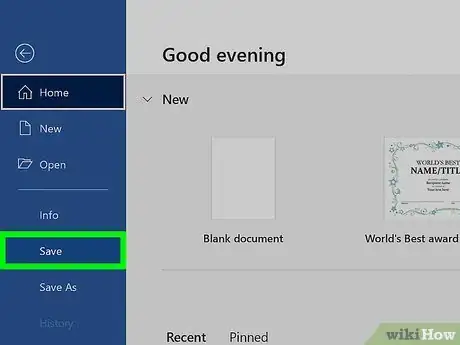
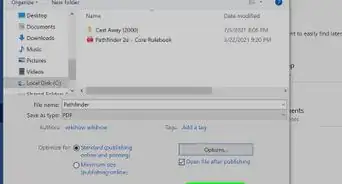
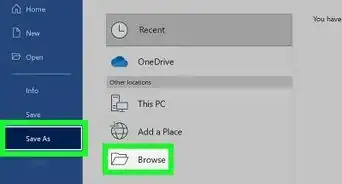
6Save your edited file as a Word document. When you're ready to save your completed Word document, click the File menu and select Save as. Select a folder to save your file to, give it a name, and make sure .DOCX is the file type (unless you have a reason to choose another file type). Click Save to save your new file.
- Saving your file will not make changes to the original template. You can always create a new file from the same blank template at any time.
- If you do want to save over the original template because you've made changes to it that you'll want to keep in the template permanently, see the Creating a Template method.
Downloading from the Web
-
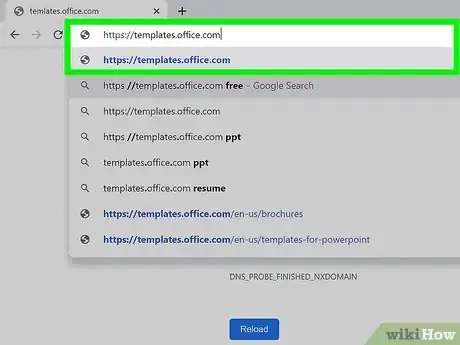
1Go to https://templates.office.com in a web browser. This is Microsoft's official template download website. The templates here are also available for download from the New screen in the Word application, but you may find it easier to browse templates in a web browser.
- While there are other places to download templates online, it is generally not recommended to do so, as they can contain macro viruses.[2] Stick to Microsoft's templates, which are vetted by Microsoft, to stay protected from viruses.
- Using the web version of the Templates database also lets you quickly open the template in the web-based version of Word (if supported by the template).
-
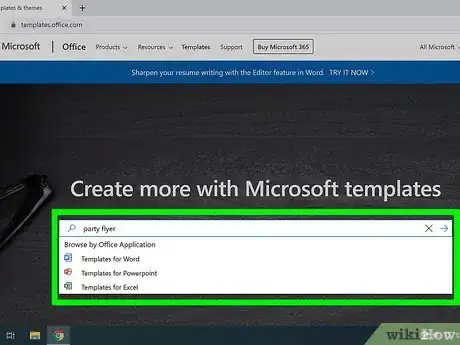
2Search or browse for a template. You can enter a keyword, such as invitation or planner to find a specific type of template, or use the categories below to check out the different categories.
- Click SEE ALL CATEGORIES below the popular categories to expand the entire category list. Then, click a category to see the templates.
-
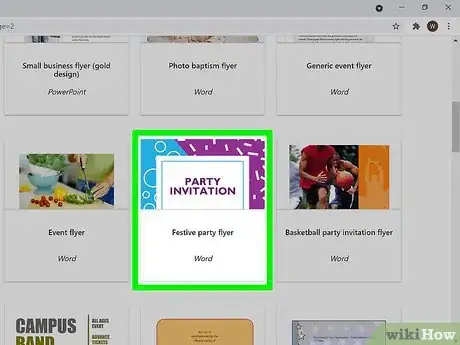
3Click a template to see a preview. Word templates are mixed in with other Office templates, such as templates for Excel and PowerPoint. Make sure the template you select says "Word" below its name in the search results.
- Some templates are "Premium" templates, which are only available to people with a subscription to Microsoft 365. If you're using an earlier version of Word, you won't be able to install a premium template.
-
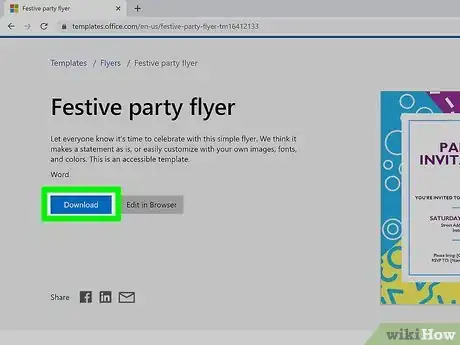
4Click Download to download a template. This downloads the template in the .DOTX (if there are no macros) or .DOTM (if it contains macros) format to your computer.
- You may have to click Save or OK to start the download.
- If you want to use the template in the web-based version of Word, click Edit in Browser—this button only appears if the template can be used in your browser. This will open the template in Word online automatically.
-
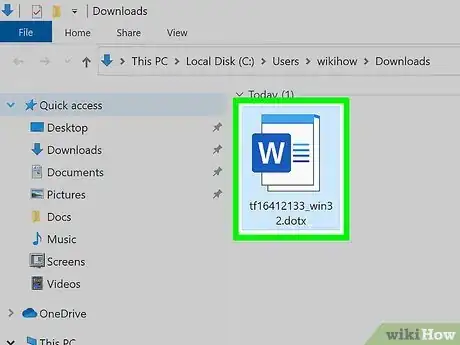
5Click the downloaded template. After the template downloads, you'll usually see the file name at the bottom-left corner (or upper-right corner in some browsers). Click it to open it, or double-click the file in your default downloads folder to open it. This opens the template in Word, but if it contains macros, it may open in a special view called Protected View.
- Word opens the template in Protected View for your protection, just in case you downloaded the template from somewhere other than Microsoft.
-
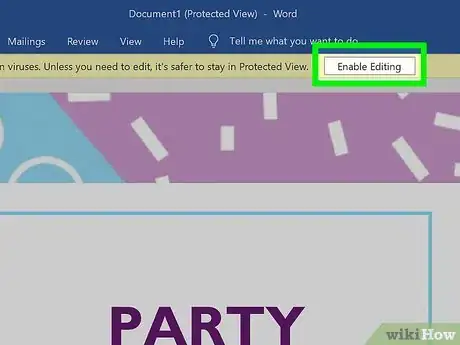
6Click Enable Editing to edit the template. You'll only have to do this if you see a bar at the top of the file that displays this button. This allows you to edit the template.
-
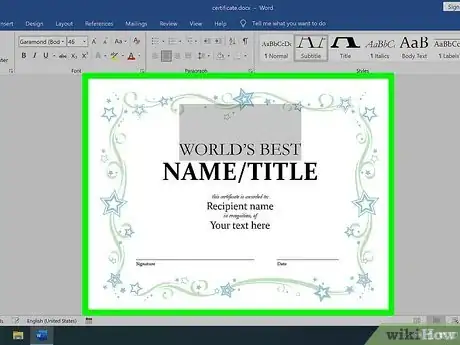
7Create your document from the template. Templates nearly always come with some pre-filled information that you can erase and type over. You can also customize other aspects of the template as needed using any tool in Word.
-
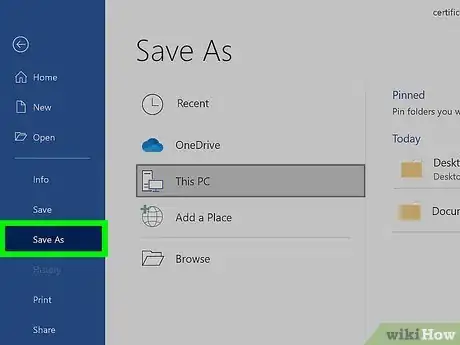
8Save your edited file as a Word document. When you're ready to save your completed Word document, click the File menu and select Save as. Select a folder to save your file to, give it a name, and make sure .DOCX is the file type (unless you have a reason to choose another file type). Click Save to save your new file.
- Saving your file will not make changes to the original template. You can always create a new file from the same blank template at any time.
- If you do want to save over the original template because you've made changes to it that you'll want to keep in the template permanently, see the Creating a Template method.
Creating a Custom Template
-
1Create a new Microsoft Word document. You can create a custom Microsoft Word template from any document. If you want to start from scratch, select Blank when opening word, or click File > New and select Blank to open a blank file.
-
2Save the file as a template. The steps are a little different depending on your version of Word:
-
Windows:
- Click the File tab and select Save as.
- Double-click Computer (Microsoft 365 or 2019) or This PC (Office 2016).[3]
- Type a name for your template into the File Name field.
- Select Word template (*.dotx) as the "Save as type" if your template will not contain macros, or Word Macro-Enabled Template (*.dotm) if it contains macros. Word will now switch to the default templates folder so you can save your template to the right place.
- Click Save.
-
macOS:
- Click the File tab and select Save as Template.
- Type a name for your template into the File Name field.
- Select Microsoft Word template (*.dotx) from the "File Format" menu if your template doesn't contain macros, or Microsoft Word Macro-Enabled Template (*.dotm) if you plan to put macros in the template. Word will now switch to the default template saving location.
- Click Save.
-
Windows:
-
3Set up the file with everything you want in the template. Include your desired fonts, borders, default text, clip art, margins, and any other aspect you want to include.
-
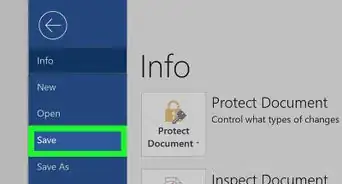
4Save your template after you're finished editing it. Since you've already saved your file as a template, just click File and select Save to save your changes before you close Word.
-
5Create a new file using your custom template. Now that you've created a custom template, you can select it when launching Word:
- Windows: Click the File menu and select New if you have a document open. On the New window, click the CUSTOM tab (Office 2019 and later) or the Personal tab (Office 2016 and earlier) to display your custom templates, and then click the template to open it.
- macOS: Click the File menu and select New from Template if you have a document open, and then click your template.
References
- ↑ https://support.microsoft.com/en-us/office/download-free-pre-built-templates-29f2a18d-29a6-4a07-998b-cfe5ff7ffbbb
- ↑ https://support.microsoft.com/en-us/topic/frequently-asked-questions-about-word-macro-viruses-b935417e-9064-8121-6e63-26f115d7290a
- ↑ https://support.microsoft.com/en-us/topic/create-a-template-86a1d089-5ae2-4d53-9042-1191bce57deb?ui=en-us&rs=en-us&ad=us
About This Article
1. Click File and select New or New from template.
2. Search for and select a template.
3. Click Create.
4. Edit your document.
5. Save the file as a Word document.
