wikiHow is a “wiki,” similar to Wikipedia, which means that many of our articles are co-written by multiple authors. To create this article, 14 people, some anonymous, worked to edit and improve it over time.
This article has been viewed 65,401 times.
Learn more...
While there are plenty of pre-set special characters in Microsoft Word, sometimes you might want to create your own custom character! This guide will show you how to use code to make a unique symbol by placing two existing characters on top of each other.
Steps
-
1Start with Word open and the cursor in the position where the new symbol is to be inserted.
-
2Hit Ctrl-F9 (PC) or cmd-F9 (Mac) to insert a new field code. Curly braces will appear.Advertisement
-
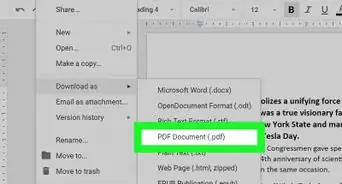
3Between the curly braces, type EQ \o(X1,X2). In place of X1, type the letter/number/character that will appear on the bottom in the new symbol, and in place of X2 type the letter/number/character that will appear on the top.
- Note the space after EQ and before \o
- For any special characters (like the macron, or overline, in the picture) use the Windows character map or Mac Character Palette (see Method Two).
-
4Remove any extra spaces! The only space between the curly braces should be between EQ and \o. Word inputs extra spaces that will have to be deleted manually.
-
5Press Shift-F9 (both PC and Mac) to update the field code and display the new symbol.
- You must either have the entire field code highlighted or be clicked into the field code for this to work.
- If there are any problems, just highlight the character (or error message, or blank space, etc.) and press Shift-F9 to display the field code again. Proceed to edit it as needed.
- See the Troubleshooting Tips below for more information about problems you may encounter here.


Editing a Symbol's Height or Size
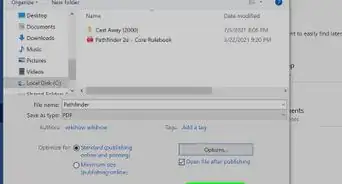
If a symbol isn't in the right place (too high or too low,) edit the position using the following steps. The image shows an overline that is through the middle of the character.
Note: These steps are for PC only, steps on a Mac might be slightly different.
-
1Expand the field code by highlighting and pressing Shift-F9.
-
2Highlight the symbol that needs to be changed, then right-click on it and click Font.
-
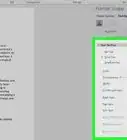
3Go to the "Character Spacing" tab across the top.
-
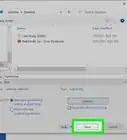
4Edit the "Position" field. It can be raised or lowered. Try 1 pt increments to start, and keep trying until the symbol is positioned exactly where desired. You can also type in a number, including decimals (i.e. 1.5,) for the amount of change in position.
-
5When done, click "OK" and then Shift-F9 to view the updated symbol. The one pictured below is a bit too high, as it is raised 5 points from normal.
- In addition to adjusting the position of the character, adjust the size if needed (it's called "Scaling" in the Font properties box.) Select an option from the list or type in a percentage (up to 600%.)


Stacked Field Codes
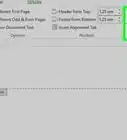
Field codes can be stacked! One field can be put inside another. The image below shows a field code and the result as an example of this. The x is raised 3 pts, the degree symbol is raised 6 pts, and the z is lowered 3 pts.


Troubleshooting Tips
- Remove extra spaces in the field code! Leaving an extra space can make the result look abnormal, or generate an error message.
- Check for missing or extra parentheses: ( or ). Make sure you have them all in the proper place.
- Check for extra spaces within the field code, this can cause problems with left-right centering. This is usually caused by (for example) an extra space after the comma (i.e. \o(x, ^) instead of \o(x,^).
- Edit the position of the character if you need. Some fonts work better than others; for instance, Times New Roman has a high macron (the overline character,) but Calibri has a low one. You can change fonts, or edit the position of the character as outlined in the Editing a Symbol's Height or Size section.
- It is better and safer to separate the letter (Q) and the symbol (macron) in this case with a semicolon (;) than by a comma Works every time!
Things You'll Need
- Any recent version of Microsoft Word. Almost all versions of Word ever published support field codes, but only the versions from Word 97 and onward use the same syntax. Some other word processors support field codes, but syntax and capabilities can vary dramatically.