This article was co-authored by wikiHow staff writer, Nicole Levine, MFA. Nicole Levine is a Technology Writer and Editor for wikiHow. She has more than 20 years of experience creating technical documentation and leading support teams at major web hosting and software companies. Nicole also holds an MFA in Creative Writing from Portland State University and teaches composition, fiction-writing, and zine-making at various institutions.
This article has been viewed 323,190 times.
Learn more...
This wikiHow teaches you how to create your own custom headers and footers in Microsoft Word. You can start with one of Word's pre-made header and footer templates or start yours from scratch. Both headers and footers can include custom text, page numbers, images, and special formatting.
Things You Should Know
- Click Insert > Header or Footer > Edit Header or Edit Footer.
- Create your header. You can add page numbers, date, and logos. Then, hit Close Header & Footer to preview it on the document.
- Double click the header or footer to make edits or change the settings.
Steps
-
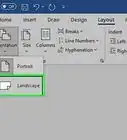
1Click the Insert tab. It's at the top of Word.
- If you've already inserted a header or footer and want to edit it, simply double-click it now.
-
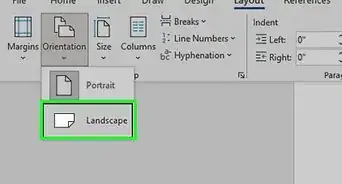
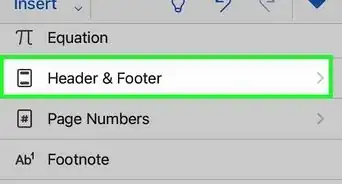
2Click Header or Footer. It's in the "Header & Footer" panel at the top of Word. A menu will expand.
- On the menu, you'll see different header and footer styles that you can use as a starting point—all are fully editable. You can select one of these now to add it to your document if you'd like. To edit the header or footer after placing it, just double-click it on the page.
- You can also browse more pre-made headers and footers by clicking More Headers from Office.com.
Advertisement -
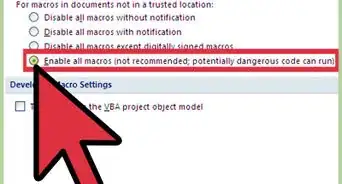
3Click Edit Header or Edit Footer. Depending on the option you selected, you'll see the link at the bottom of the menu. This opens a Design tab in the toolbar that's specifically for creating custom headers and footers.
- Every time you double-click a header or footer to edit it, the Design tab (Windows) or Header & Footer tab (Mac) will automatically open.
-
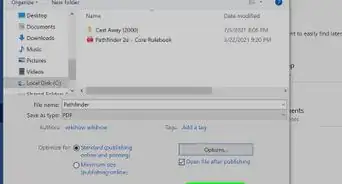
4Click Page Number to add page numbering. You can select from a number of numbering styles and locations from the menu.
- Click the Format Page Numbers menu to choose a different number format, such as roman numerals. You can also choose to add other numbering elements here, such as chapter numbers and headings.[1]
-
5Add text to the header or footer. If you'd like to add specific text, such as your name, to the header or footer, you can easily type it at the desired location. If you chose one of Word's pre-made header or footer templates, you can edit the placeholder text by clicking the text and typing over it.
-
6Insert other features into the header or footer. The "Insert" panel on the Design or Header & Footer tab contains a bunch of different features you can add to your header or footer:
- Date & Time: This allows you to select a date and/or time format to place in the header or footer.
- Document Info: Use this option to include certain information about your document in the header or footer, such as the document's title, author name, and file path.[2]
- Quick Parts: Quick Parts are reusable text and properties that you can add to any part of your document, including headers and footers.
- Pictures or Online Pictures: You can use either of these options to place an image into your header or footer.[3] For best results, stick to a small image, such as a decorative horizontal bar or logo.
-
7Click Close Header & Footer. It's the red-and-white "X" icon on the far right side of the Design tab. This closes the header and footer editor, which shows you how it will really look on your document.
- If you added a header and want to add a footer as well (or vice-versa), return to the Insert tab and select Header or Footer as necessary.


-
1Double-click the header or footer. If you don't want the header or footer you created to appear on the first page (or until a certain page you specify), use this method. Start by double-clicking the header or footer on the first page to open it for editing.
-
2Check the box next to "Different First Page." It's in the Options panel on the Design tab (PC) or Header & Footer tab (Mac), which opens automatically. This removes the header or footer from the first page, making the second page of your document the new Page 1.
- If you'd like, you can select Different Odd & Even Pages to place different headers/footers on even and odd pages. For example, if you want odd pages to contain the title of your document and even pages to display a page number.
- The Show Document Text option just toggles the actual text of your document on or off so can see what the header or footer looks like without the document.
-
3Click Close Header & Footer. It's the red-and-white "X" icon on the far right side of the Design or Header & Footer tab. This saves your changes.


Community Q&A
-
QuestionHow can I put my name in a footer on the left on every page and put the page number on the right, having it change on each page?
 Malsha RanawakaCommunity AnswerThere are pre-designed footers like this available. If this is not in your list, simply select a footer design that has two text fields on the left and right. Then go to "edit footer" mode and put the name on the left. Select the text field on the right. In the "Header & Footer Tools" tab, select "Quick Parts." From the dropdown, select "Fields." This will open a dialog box. Select "Page" from the field names list. Select a page number format and click "OK." You will get an updating page number field on the right.
 -
QuestionHow do I insert a line above the footer?Malsha RanawakaCommunity AnswerGo to Edit Footer, and place your cursor somewhere in the first line of words you have in the footer. Select the "Home" tab. In the "Paragraph" section, select the "Borders" dropdown. From the dropdown menu, select "Top Border", and you will get a border above the footer.
-
QuestionHow do I edit a horizontal line in MS Word 2007?Malsha RanawakaCommunity AnswerDouble click on the line, or right click it and select "Format Horizontal Line" to get the dialog box with edit options.


References
- ↑ https://support.microsoft.com/en-us/office/page-numbering-in-word-5a12ea00-be26-4c88-8802-797bd53f71a9?ui=en-US&rs=en-US&ad=US
- ↑ https://support.microsoft.com/en-us/office/add-the-file-name-date-author-or-other-document-properties-to-a-header-or-footer-dc62245f-b6af-45b2-a521-17753fc3539e
- ↑ https://support.microsoft.com/en-us/office/add-images-to-a-header-or-footer-6116c691-9d34-4535-b4c4-1d20784e7e1d#:~:text=Go%20to%20Insert%20%3E%20Header%20or%20Footer%20%3E%20Blank.,Footer%20or%20Esc%20to%20exit
About This Article

1. Click the Insert tab.
2. Click Header or Footer.
3. Click a header or filter option, or select Edit Header/Footer to start from scatch.
4. Click Page Number to add automatic numbering.
5. Add text.
6. Insert dates, document info, quick parts, and/or images.
7. Click Close Header & Footer.