This article was co-authored by wikiHow staff writer, Darlene Antonelli, MA. Darlene Antonelli is a Technology Writer and Editor for wikiHow. Darlene has experience teaching college courses, writing technology-related articles, and working hands-on in the technology field. She earned an MA in Writing from Rowan University in 2012 and wrote her thesis on online communities and the personalities curated in such communities.
This article has been viewed 12,891 times.
Learn more...
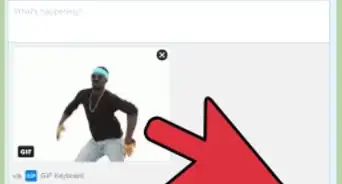
When you create a GIF from scratch using either Photoshop or an online tool, you have the opportunity to add a layer of text to your image. You can always use either Photoshop, GIMP, or an online tool to go back and edit your finished GIFs if you want, and this wikiHow will show you how to do that. Since Photoshop and GIMP work similarly, they are included in one method. While the methods in these articles were written focused on using a computer, you can also use a phone or tablet to add text to a GIF.
Steps
Using Ezgif.com
-
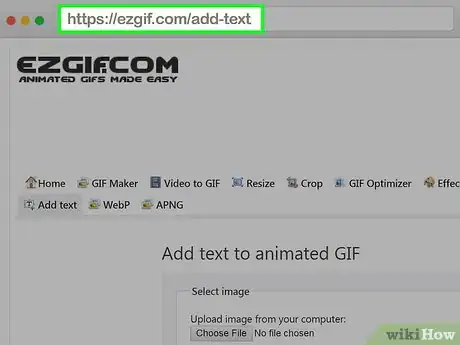
1Go to https://ezgif.com/add-text in a web browser. This method works for both mobile devices as well as computers. However, you may lose GIF quality from using this method.
- This method is recommended for animated GIFs since it breaks the GIF into each frame.
- Using EzGif.com is the easiest solution as well as the most prominent in a Google Search.
-
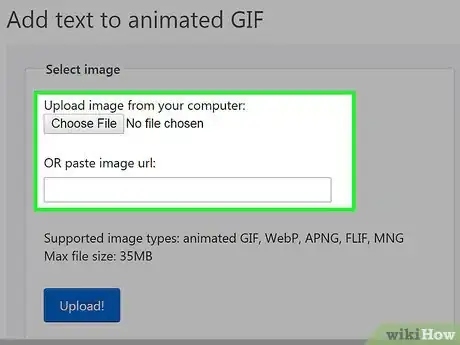
2Click Choose File. You'll see this in the middle of the browser window. Supported file types are GIF, WebP, APNG, FLIF, and MNG up to 35MB.
- You can also paste the image URL. Skip the next step if you paste the URL.
Advertisement -
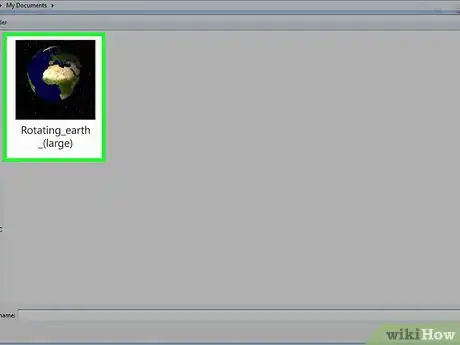
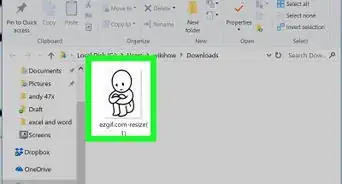
3Navigate to and double-click on your file.
-
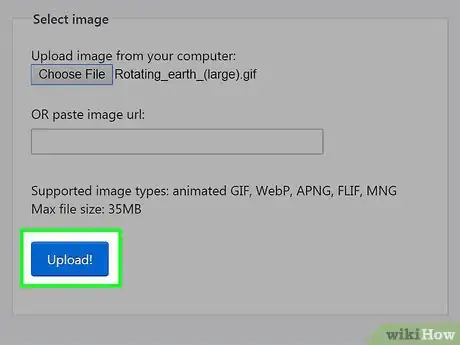
4Click Upload!. You'll see an overview of the original GIF, as well as individual frames if it's an animated GIF.
-
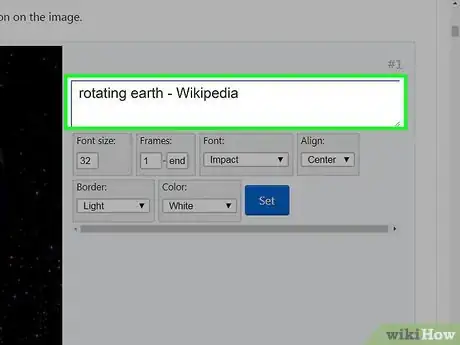
5Type the text you want on the GIF. If your GIF is animated, you'll see each frame of the GIF extracted from the overall image, so you can create text that appears in two frames instead of appearing in the whole GIF.
- You can change the font size, which frames that text appears in, the font style, alignment, border, and color within each text box.
-
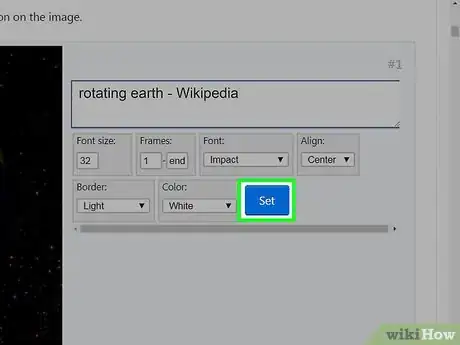
6Click Set. After each frame, you'll see a blue "Set" button that will put the text on the GIF. Make sure you do this for each frame you enter text on, so it'll show up in the final project.
-
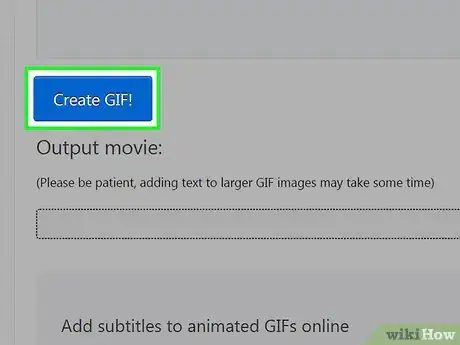
7Click Create GIF!. You'll see this at the bottom of your project. This might take a few minutes, depending on the size of your GIF.
-
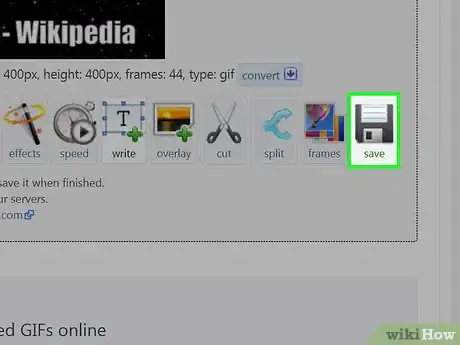
8Click the save icon. This looks like the image of a floppy disk and says Save. You'll find this under the preview of your created GIF.
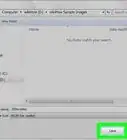
- Give the edited GIF a name and click Save again.
Using Photoshop or GIMP With an Animated GIF
-
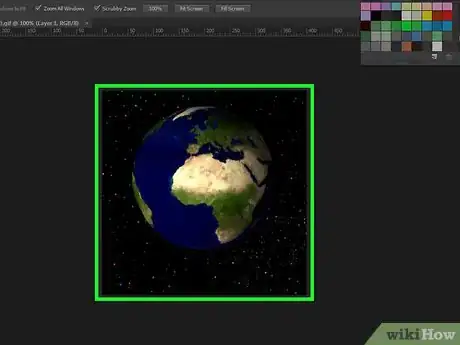
1Open your GIF in Photoshop or GIMP. If you don't have Photoshop, you can get a free 7-day trial from https://www.adobe.com/products/photoshop/free-trial-download.html. If you don't have GIMP, you can download it for free from https://www.gimp.org/downloads/.
- This method is recommended since it keeps the quality of the GIF. Online tools may minimize the quality of your images since they compress the files as they use them.
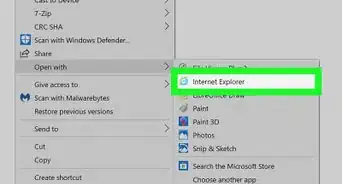
- You can open your GIF file by clicking Open from the File tab or by right-clicking the file in your file browser and selecting Open With….
- Make sure the timeline is visible. If not, you can show it by going to the Window tab and selecting Timeline.
-
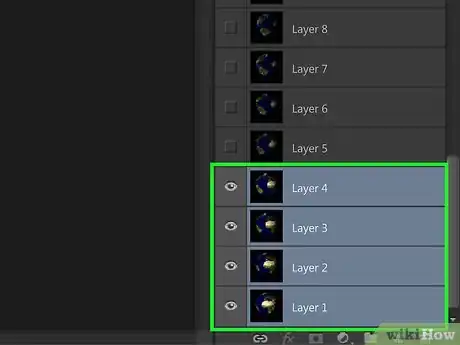
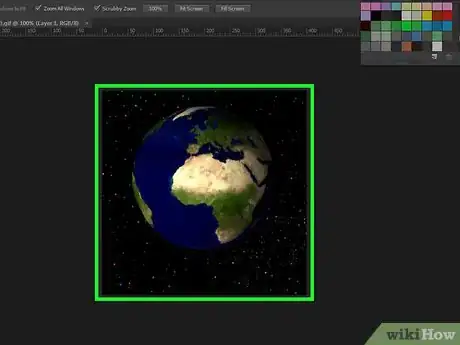
2Select all the layers/frames you want the text to appear on. You can do this by clicking to select one layer in the layer panel and pressing Ctrl+A (Windows) or Cmd+A (Mac). You can manually add to the selection instead by pressing Ctrl (Windows) or Cmd (Mac) as you click layers.
-
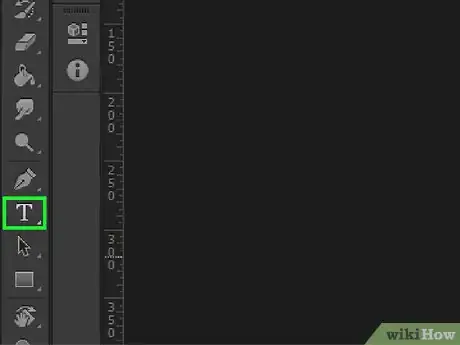
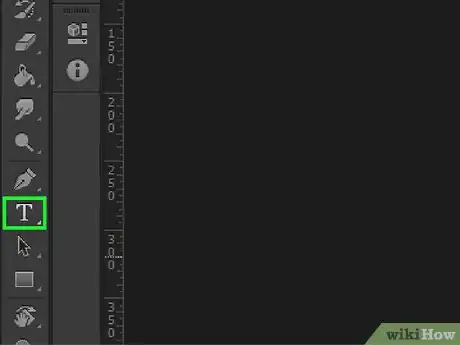
3Click the text tool. This icon looks like a "T" that you can find in the tools menu.
-
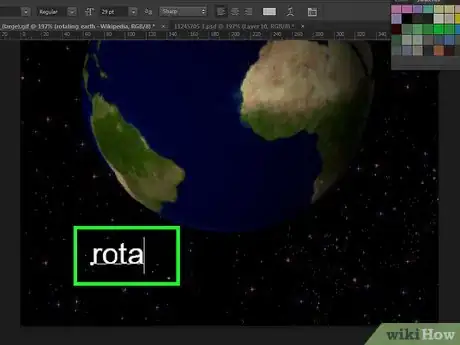
4Click anywhere on the canvas to activate typing. Placement isn't a huge deal at the moment since you have the opportunity to move your text later.
-
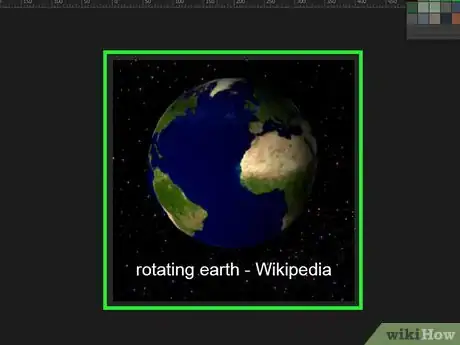
5Add your text to the GIF. You can also change the font style, size, and color using the Character panel.
- You can move your text with the Move tool, which is usually the first icon in the Tool menu.
-
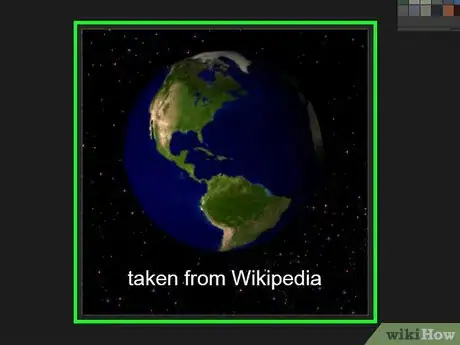
6Repeat selecting layers and adding text as needed (optional). If you want to display animated text, you can do that by adding different text to each frame displayed on the timeline.
-
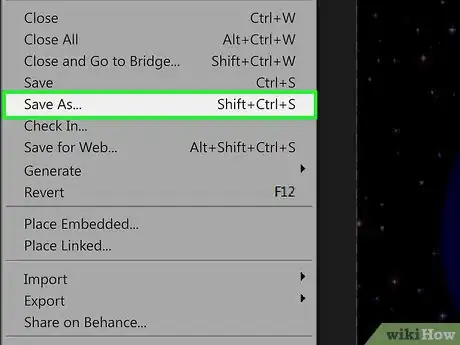
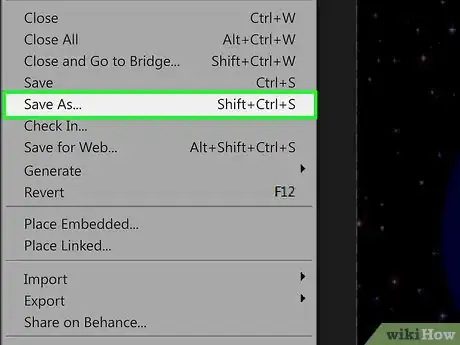
7Save your edited file. Click the File tab and select Save as and save the file as a GIF.
Using Photoshop or GIMP With a Static GIF
-
1Open your GIF in Photoshop or GIMP. If you don't have Photoshop, you can get a free 7-day trial from https://www.adobe.com/products/photoshop/free-trial-download.html. If you don't have GIMP, you can download it for free from https://www.gimp.org/downloads/. You can also find Photoshop on the App Store or Google Play Store, but there is no app version of GIMP.
- This method is recommended since it keeps the quality of the GIF. Online tools may minimize the quality of your images.
- You can open your GIF file by clicking Open from the File tab.
-
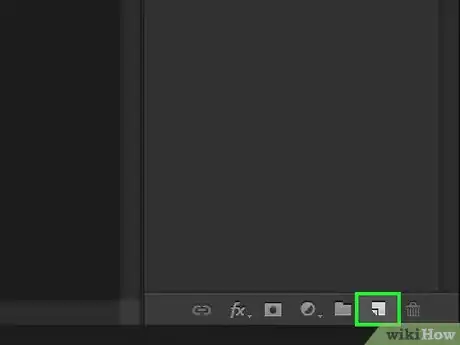
2Add a new layer. You can either click New Layer in the Layer tab or press Ctrl+Shift+N (Windows) or Command+Shift+N (Mac).
-
3Select the text tool. It looks like a capital "T" in the tool menu in both GIMP and Photoshop. You can find the text tool in the tool menu or you can press T on your keyboard.
-
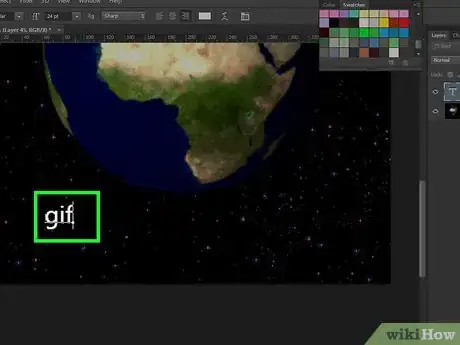
4Click the canvas anywhere to start typing. Your cursor will blink where your text is.
-
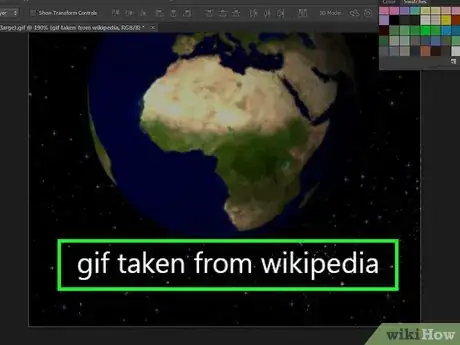
5Type your text.
-
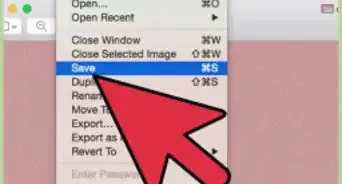
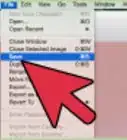
6Save the GIF. You can click Save or Save As from the File tab, or you can press Ctrl+S (Windows) or Command+S (Mac).
About This Article
1. Open your GIF in Photoshop or GIMP.
2. Select the layers you want to show your text.
3. Select the text tool.
4. Click anywhere on the canvas to start typing.
5. Type your text.
6. Save as a GIF file.
