X
wikiHow is a “wiki,” similar to Wikipedia, which means that many of our articles are co-written by multiple authors. To create this article, 15 people, some anonymous, worked to edit and improve it over time.
This article has been viewed 81,446 times.
Learn more...
If you're looking for an inexpensive way to run a server, try building a LAMP stack by installing Linux, Apache, MySQL, and PHP. Installing all of these open-source softwares is easy, and we'll help you get it set up!
Steps
-
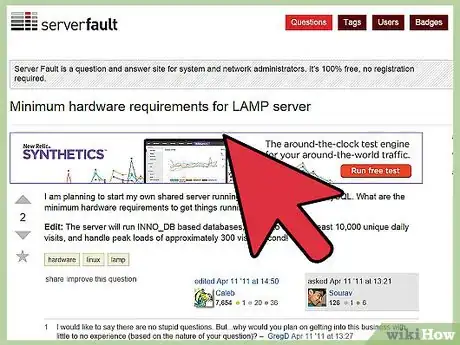
1Get the hardware requirements for your Server. More sophisticated sites need more power.
-
2Get the necessary upload speed from your service provider. A default home internet upload speed is only around 1mb per minute. This may be too slow for graphics, videos, etc.Advertisement
-
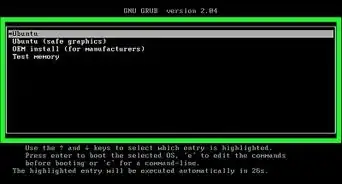
3Install a version of Linux. Before you can build a LAMP server, you must have the Linux operating system. Visit distrowatch.com and select one you like. They are mostly the same, but be sure to pick one with an interface (KDE, Cinnamon, etc.) pre-installed if you are not a usual terminal user. Further, if the Linux version does not include a Windows installer, you will need to create a Live CD or USB flash drive (instructions in other wiki how articles). The following instructions work with Ubuntu Linux.
-
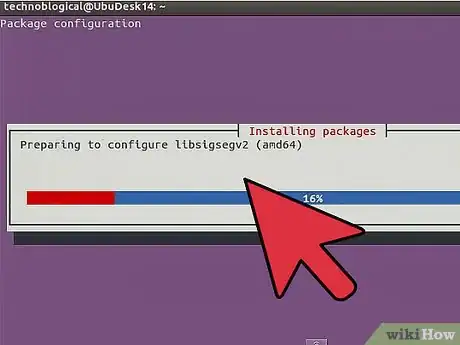
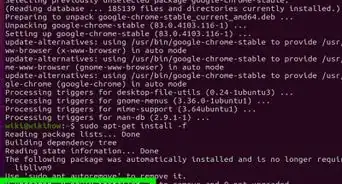
4Install Apache on the server. Apache is a free and open-source web server that is well-known for running on Unix operating systems. There are two ways of installing Apache. You can use your console or a terminal window session.
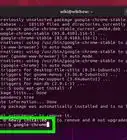
- At the command prompt, type: sudo apt-get install apache2
- In order to keep installing Apache, you will have to have your sudo password.
-
5Verify that Apache is operating. You’ll have to point your browser to the server’s IP address. This will let you know if Apache is running or not.
-
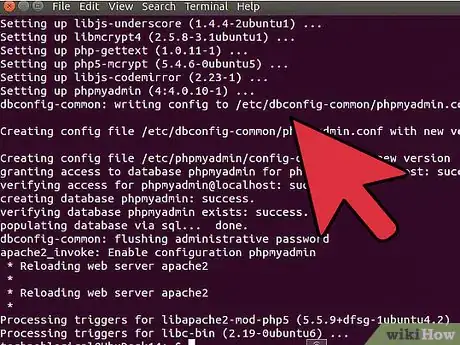
6Install PHP on the server. PHP is a scripting language that was originally used for creating dynamic web pages. However, developers use it to create individual graphical applications while network and system administrators use PHP for command line interface abilities.
- At the command prompt, type: sudo apt-get install php5 libapache2-mod-php5
-
7Make sure PHP is completely installed.
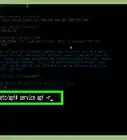
- Restart Apache by typing at the command prompt:sudo /etc/init.d/apache2 restart
-
8Confirm PHP is working correctly.
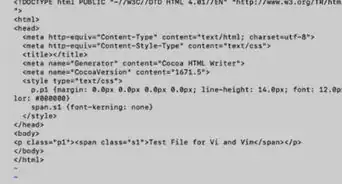
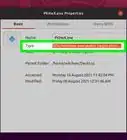
- Use the Apache document root to create a test file. The root will be /var/www. Your test file name’s extension must end with a .php.
- For the content, type: < ?php phpinfo(); ?>
-
9Save the test file.
- Then point your browser to the following address: http://IP_ADDRESS/test.php
- Make sure you type your server’s IP address before /test.php.
-
10Verify your test file. The browser should display, “Test PHP Page” on the screen.
-
11Install MySQL on the server. MySQL stands for “My Structured Query Language.” MySQL is a relational database program. This application operates as a server, in which multiple users can access many databases. There are many software applications that use MySQL, such as WordPress. Even Google and Facebook use MySQL.
- At the command prompt, type: sudo apt-get install mysql-server
-
12Create a password for MySQL.
- In the command line, type: mysql -u root
- You should then see a command prompt that will look like mysql>
- At the command prompt, type: SET PASSWORD FOR 'root'@'localhost' = PASSWORD('YOURPASSWORD');
- Enter your password where it shows YOURPASSWORD. This will be the one that you will use as a MySQL user.
-
13Start your MySQL server. Type the following command: /etc/init.d/mysql start
-
14Start working with your LAMP server.
Advertisement
References
About This Article
Advertisement
