This article was co-authored by Ryaan Tuttle. Ryaan Tuttle is a Home Improvement Specialist and the CEO of Best Handyman, Inc. in Boston, Massachusetts. With over 17 years of experience, he specializes in building home service businesses, focusing on creating scalable and efficient brands. With the help of his global team, the companies have achieved over 10+ million in sales and received recognition through magazine features, and enjoy partnerships with wikiHow and Jobber field service software. Boston Magazine and LocalBest.com have named Best Handyman Boston the Best Handyman in Boston. Ryaan holds Construction Supervisor and Home Improvement Contractor Licenses.
This article has been viewed 56,931 times.
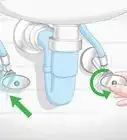
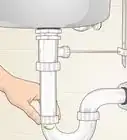
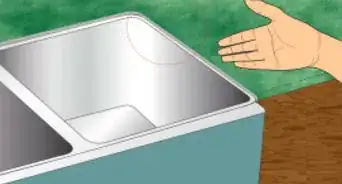
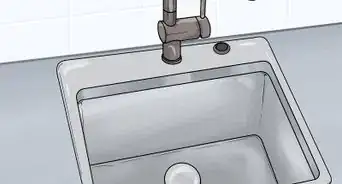
Drop-in sinks are made to hang from the top of a counter by their rims. While these rims appear to sit flush to the counter, there is actually a small gap between the rim and counter where water and debris can collect. Caulk fills this gap to make your counter and sink watertight, while helping to eliminate any movement of the rim of the sink. To help prevent leaks or damage to your counter, seal and fill this gap with waterproof caulk whenever the old caulk begins to crack, discolor or peel.
Steps
-
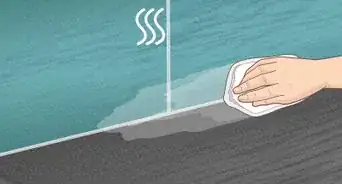
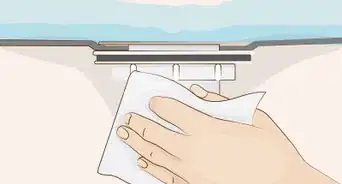
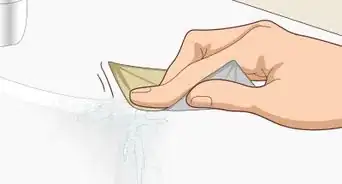
1Wipe a clean cloth around the edge of the bathroom sink and the counter it rests on. Make sure the area is clean and dry and has no dust or debris to get in the way of the caulk.
-
2Remove any old caulk from the edge of the sink with a sharp utility knife. Caulk is a soft material that cuts easily and stretches when pulled.[1]
- You can also remove caulk with a special tool. It is typically plastic and has a little pointy thing on it that helps you pull the caulk out. It is usually available in a painting section of a home improvement store.
Advertisement -
3Cut away the old caulk where it meets the counter and the sink's rim. Pull the caulk free from the sink and counter.[2]
-
4Use denatured alcohol to clean up any leftover caulk.
-
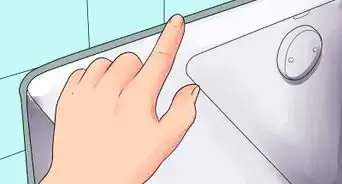
5Let the sink's rim dry completely and ensure no water has seeped into the crack.
-
6Use a utility knife to cut the tip off the tube of caulk at a 45-degree angle. Cut just enough of the tip off to allow the caulk to fill the gap next to the rim; cutting away too much of the tip will mean too much caulk on your counter.
-
7Insert the end of the caulk tube into a caulk gun and push the plunger of the gun into the back of the tube. Squeeze the trigger lightly to prime the tube.
-
8Hold the caulk tube at a 45-degree angle to the sink's rim where it meets the counter top.[3]
-
9Squeeze the caulk tube gently until a continuous line of caulk fills the gap around the rim completely.[4]
-
10Wet your index finger with water and gently smooth the caulk against the side of the sink's rim and the counter top to completely seal the gap.
-
11When you are happy with the results, insert a small screw into the tip to seal the tube of caulk, so you can use it again in your next project.
-
12Let the caulk cure for at least 24 hours before using the sink.


Community Q&A
-
QuestionDo I have to caulk a regular bathroom sink all around, or just the front, top and sides?
 Community AnswerJust the front, top and sides need to be sealed, no need to seal underneath.
 -
QuestionCan I put two coats of sealer on?Community AnswerAbsolutely. Put on as many coats as it takes to get everything smooth and flushing.
Warnings
- If the area around the sink is not completely dry when you caulk, this could cause the caulk to crack and unseal.⧼thumbs_response⧽
Things You'll Need
- Cleaning cloth
- Denatured alcohol
- Caulk tube
- Utility knife
- Caulk gun
- Water
- Paper towels


References
About This Article