X
wikiHow is a “wiki,” similar to Wikipedia, which means that many of our articles are co-written by multiple authors. To create this article, volunteer authors worked to edit and improve it over time.
This article has been viewed 45,269 times.
Learn more...
HP Deskjet 2540 is a compact printer that offers complete home printing and connecting features. This article explains on how to connect the HP Deskjet 2540 wireless to both your home network and your computer in Windows and Mac.
Steps
Part 1
Part 1 of 4:
Preparing the Printer for Wireless Setup
-
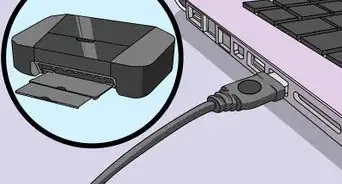
1Set up hardware. Take the new HP Deskjet 2540 printer out of the box. Connect it to a power supply and install the ink cartridges.
-
2Connect your computer. Print the alignment page. Connect your computer (Windows or Mac) to a wireless network.Advertisement
-
3Set up software. Use the Driver installation CD from the pack that came along with the printer and install the HP Deskjet 2540 Wireless software to the computer.
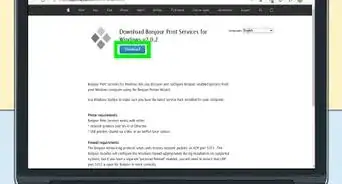
- For the latest set of Wireless drivers, visit the manufacturer site and download it.


Advertisement
Part 2
Part 2 of 4:
Enabling Wireless Mode on Your HP Deskjet 2540 Printer
-
1Run the installed HP DJ 2540 Wireless Software. Initiate the Software installer and proceed with the instructions. The wizard prepares your HP printer for the setup and takes you to the connect screen. Stop here and move on to the printer to enable the wireless mode.
-
2Turn on Wireless mode on the HP Deskjet 2540 Printer. When the printer is on, check the WiFi light. The light should be blinking for you to be able to proceed with the Software installation process.
- In case the Wifi Light is not on or blinking, turn it on. Press and hold the power button and then press the Start Copy Black button twice. Then press the Cancel button three times while you still hold the power button. Release the power and the light should start blinking.
- Once the Wifi light is on and blinking, proceed with the HP Deskjet 2540 Wireless software installation.


Advertisement
Part 3
Part 3 of 4:
Installing Deskjet 2540 Wireless Software
-
1Complete the software installation. On the Connect Window on the HP Deskjet Software Installation Wizard, click on Continue. The wizard will list the connection options - either Wireless or USB.
-
2Select the USB option. On the next screen, select the HP Auto Wireless Connect option.
-
3Follow the instructions on the screen and complete the wireless setup with the home network.


Advertisement
Part 4
Part 4 of 4:
Connect HP DeskJet 2540 Wireless to a Computer
-
1Connect the printer to the wireless home network if using Windows. Also, connect your Windows computer to the same wireless network.
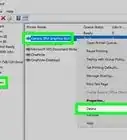
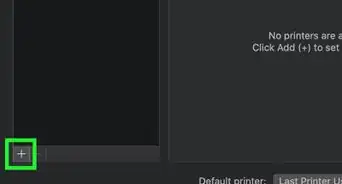
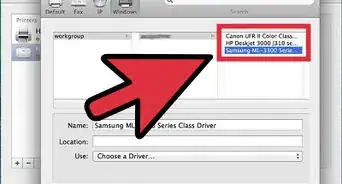
- Go to the computer Control panel and then Devices and Printers. Check for your printer name in the list and click on it to connect it.
-
2Connect your Mac computer and the HP Deskjet 2540 printer to the same wireless network if using a Mac.
- Click on the Apple icon and then go to System & Preferences. Click on Devices to see the list of devices nearby ready for a wireless connection. Choose your HP Deskjet 2540 printer name from this list to connect it wirelessly to the Mac.


Advertisement


About This Article
Advertisement