This article was co-authored by wikiHow staff writer, Travis Boylls. Travis Boylls is a Technology Writer and Editor for wikiHow. Travis has experience writing technology-related articles, providing software customer service, and in graphic design. He specializes in Windows, macOS, Android, iOS, and Linux platforms. He studied graphic design at Pikes Peak Community College.
The wikiHow Tech Team also followed the article's instructions and verified that they work.
This article has been viewed 578,207 times.
Learn more...
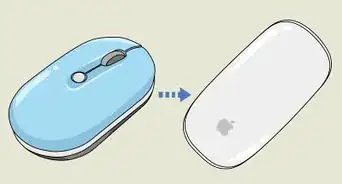
Whether your new Logitech wireless mouse works over Bluetooth or uses a tiny USB RF unifying receiver, connecting it to Windows or macOS will be pretty easy. If you're feeling intimated, having trouble, or just don't know where to begin, you've come to the right place! This wikiHow article will walk you through pairing any Logitech wireless mouse with your PC or Mac, and help you work through any problems that might pop up along the way.
Steps
With a Wireless Receiver
-
1Turn on the Logitech mouse. The On/Off switch is located on the bottom of the Mouse.
- If your wireless mouse needs batteries, open the battery compartment on the bottom check if it takes AA or AAA batteries. Insert the batteries the way the diagram in the battery compartment indicates.
-
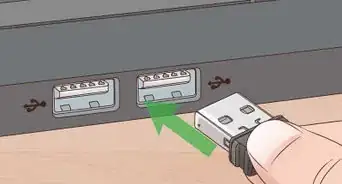
2Plug in the wireless receiver. The wireless receiver is a small USB device that you can plug into any open USB port on your PC or Mac.
- On a desktop computer the USB ports are usually on the back of the computer tower, while on a laptop computer the USB ports are usually on the sides.
Advertisement -
3Press the Connect button (if needed). The Connect button is generally on the bottom of the wireless mouse. You may need to use a paperclip or thin instrument to press the connect button. When the wireless mouse connects to the receiver, you will be able to use it on your PC or Mac.
- Not all wireless mouses have a connect button. Some will connect automatically.
- If you cannot locate the Connect button, consult the user's manual or manufacturer's website for the mouse model.
- Some Logitech wireless mouse models have a Channel button on the bottom. If your wireless mouse has a Channel button, press the Channel button to select a channel before pairing with the wireless receiver.
-
4Move the mouse back and forth. Once the wireless receiver picks up the mouse, you should see the mouse cursor move on the screen. It may take a few seconds.


With Bluetooth on Windows
-
1Make sure your mouse has a full battery. Some wireless mouses take AA or AAA batteries. Other wireless mouses charge using a USB connection.
- If your mouse takes AA or AAA batteries, open the compartment on the bottom of the mouse and insert a fresh set of batteries as indicated by the diagram in the compartment.
- If your mouse charges using a USB connection, insert the micro USB or USB-C connection into the USB port on the front or back of the mouse. Then connect the other end of the USB cable to a free USB port on your computer or a phone charger. Allow a few hours for the mouse to fully charge. On most laptops, the USB ports are on the side of the keyboard. On desktop PCs, the USB port is usually on the front of the tower.
-
2Turn on the Logitech mouse. The On/Off switch is located on the bottom of the Mouse.
-
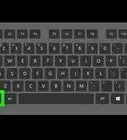
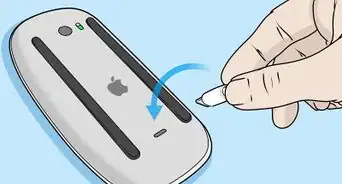
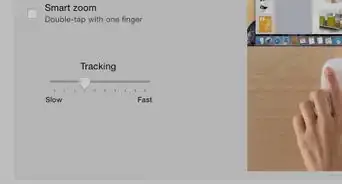
3Put the mouse in pairing mode. The way you put a mouse in pairing mode varies depending on the model of the mouse. Generally, there is a button you press and hold on the bottom of the mouse. Consult the user's manual or manufacturer's website if you need help putting the mouse in pairing mode. Generally, the mouse will have a light that flashes, indicating it is in pairing mode.
- Some Logitech wireless mouse models have a Channel button on the bottom. If your wireless mouse has a Channel button, press the Channel button to select a channel before pairing via Bluetooth.
-
4
-
5Click the Settings icon . It's the icon that looks like a gear in the Start menu.
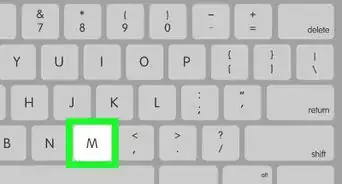
- Alternatively, you can press Windows Key + i to open the Settings menu.[1]
-
6Click Devices. It's the second option in the Settings menu. It's the icon that resembles an iPod and a keyboard.
-
7Click Bluetooth & other devices. It's the first option in the menu bar on the left. This displays the Bluetooth menu.
-
8Click + Add Bluetooth or other device. It's at the top of the Devices menu in the Settings menu.
-
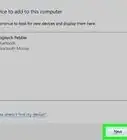
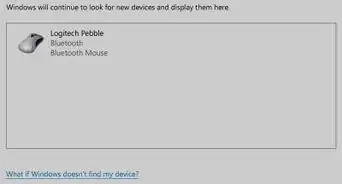
9Click the wireless mouse on your computer screen. The name of your Logitech wireless mouse will appear in the Bluetooth or Other Device menu on your PC when it discovers your Wireless mouse. Click it when you see it. Your wireless mouse will be listed in the Bluetooth or Other Device menu.
- If you don't see the mouse listed, make sure it is still in pairing mode.


With Bluetooth on Mac
-
1Make sure your mouse has a full battery. Some wireless mouses take AA or AAA batteries. Other wireless mouses charge using a USB connection.
- If your mouse takes AA or AAA batteries, open the compartment on the bottom of the mouse and insert a fresh set of batteries as indicated by the diagram in the compartment.
- If your mouse charges using a USB connection, insert the micro USB or USB-C connection into the USB port on the front or back of the mouse. Then connect the other end of the USB cable to a free USB port on your computer or a phone charger. Allow a few hours for the mouse to fully charge. On Macbooks, the USB ports are usually on the side of the keyboard. On iMacs, the USB ports are usually on the back of the monitor.
-
2Turn on the Logitech mouse. The On/Off switch is located on the bottom of the mouse.
- If the mouse needs batteries, open the battery compartment on the bottom and check if it takes AA or AAA batteries. Insert the batteries the way the diagram in the battery compartment indicates.
-
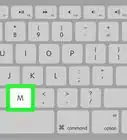
3Put the mouse in pairing mode. The way you put a mouse in pairing mode varies depending on the model of the mouse. Generally, there is a button you press and hold on the bottom of the mouse. Consult the user's manual or manufacturer's web site if you need help putting the mouse in pairing mode. The mouse usually has a light that flashes to indicate it's in pairing mode.
- Some Logitech wireless mouse models have a Channel button on the bottom. If your wireless mouse has a Channel button, press the Channel button to select a channel before pairing via Bluetooth.
-
4
-
5Click System Preferences…. It's in the Apple drop-down menu. This opens the System Preferences menu.
-
6Click Bluetooth. It has a blue icon that resembles a jagged "B" with a tail. Click the icon to open the Bluetooth menu.
- Alternatively, if you see the Bluetooth icon in the upper-right corner of the menu bar at the top, you can click that icon and then click Open Bluetooth Preferences….
-
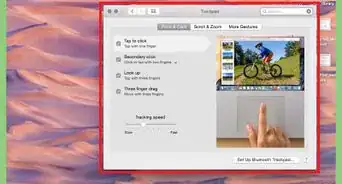
7Ensure Bluetooth is turned on. If it says "Bluetooth:Off" below the Bluetooth icon on the left, click Turn Bluetooth On to ensure Bluetooth is turned on. Your Mac will start scanning for nearby Bluetooth devices.
-
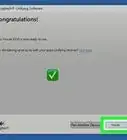
8Click your Logitech mouse. When your Mac discovers the Logitech mouse in pairing mode, it will appear in the list. Click it to pair your computer with the Logitech mouse.
- If you don't see your mouse right away, check to make sure it is still in pairing mode.


About This Article

1. Insert the wireless dongle in a USB port (if the mouse has a wireless dongle).
2. Insert batteries and turn on the mouse.
3. Press the button on the bottom of the mouse to put it in pairing mode (Bluetooth mouses only).
4. Click the Bluetooth icon in the taskbar on Windows or the Menu bar on Mac.
5. Click Add Bluetooth Device on Windows or Open Bluetooth Preferences on Mac.
6. Click Add Bluetooth Device (Windows only).
7. Click the mouse in the list of devices on Windows, or click Connect next to the wireless mouse on Mac.