X
wikiHow is a “wiki,” similar to Wikipedia, which means that many of our articles are co-written by multiple authors. To create this article, 11 people, some anonymous, worked to edit and improve it over time.
The wikiHow Tech Team also followed the article's instructions and verified that they work.
This article has been viewed 61,980 times.
Learn more...
Converting a raster image is tricky due to the inherent differences in the formats. But don't worry—we've found several helpful tools that can handle the heavy lifting of the process. Read on to learn how to convert raster to vector using VectorMagic and InkScape.
Steps
Method 1
Method 1 of 2:
Using VectorMagic
-
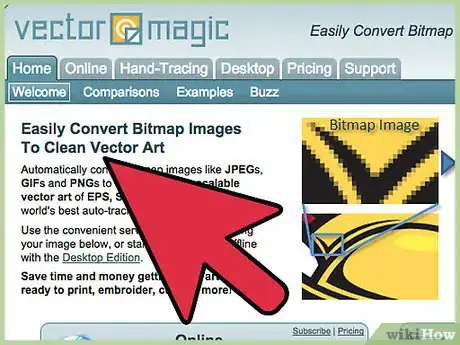
1Visit a conversion website. If you don't want to download software and just need to quickly convert simple raster images into vector, you can use an auto-tracing website that will create a vector image automatically. You will be able to adjust settings and even perform edits before saving the new vector image.
- One of the most popular sites is VectorMagic, but you only get two free conversions when you create an account. Further conversions will require a subscription.
- There are free sites available, but you may not have enough options to create a suitable vector image. If you have a lot of conversions to do, see the next section for instructions on using free open-source software.
-
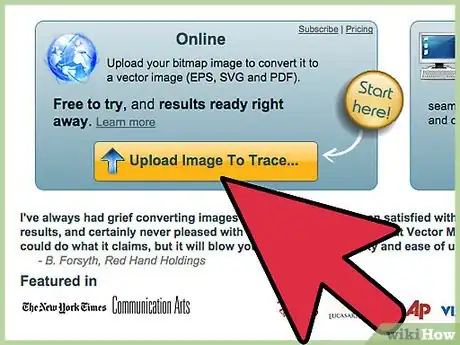
2Upload the image file that you want to convert. Vector images work best for simple designs and logos with a few colors. You will not get good results if you try to convert a photograph to a vector image. Sites like VectorMagic support JPG, BMP, PNG, and GIF files.
- For the best result, the image should have some blending and anti-aliasing. You'll be able to tell when you zoom into the image, as the edges will have pixels of softer colors to give it a more rounded look. Blended edges help the tracing program get better results. Most digital images will have blending, but you may run into issues when vectorizing pixel art, as this will result in a very jagged final product.
Advertisement -
3Allow the image to process. When you first upload the image to VectorMagic, it will perform an initial trace of the picture. This process may take a few minutes to complete.
-
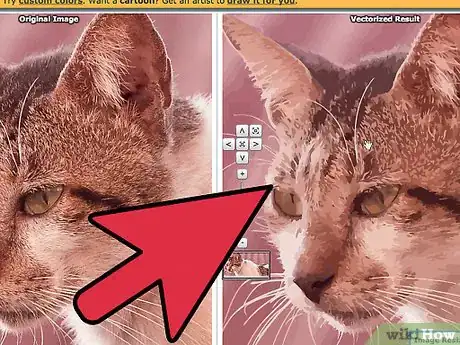
4Inspect the results. When it's finished, the original image will be displayed on the left, and the vectorized image will be displayed on the right. You can click and hold the "Bitmap" button to see the original overlaid the vectored image. If you're lucky, the first pass could come out perfect!
-
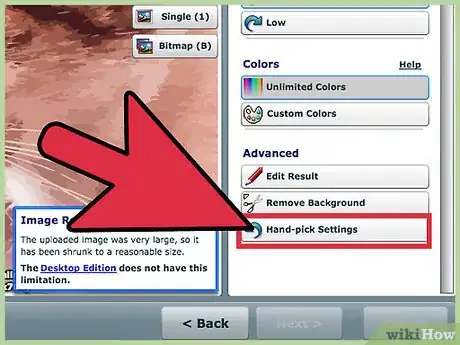
5Click the "Hand-pick Settings" option. VectorMagic will automatically identify the type of image and apply what it feels is the best vector tracing process. You can override these settings by clicking the "Hand-pick settings" option.
- You can select the type of image, which will affect how VectorMagic processes the trace. You'll be asked to select the quality level of the original image, as well as the color range. Select a custom color palette to reduce errors caused by small changes in color of the original image.
- When selecting a custom palette, choose as few colors as possible to get the cleanest result.
-
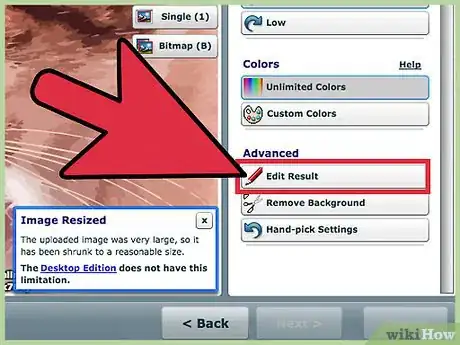
6Switch to Editing mode. If you're using VectorMagic, you can switch to editing mode, which allows you to make manual edits to the segmentation so that the vector comes out clearer. "Segmentation" is the process of breaking the image into distinct parts which are then smoothed and turned into vectors. Click the "Edit Result" button to open the editor.
-
7Use the Finder to locate problem areas. Click the "Finder" button to identify areas of the image that the tracer had difficulties with. You can then manually edit these areas so that they processed better during the trace.[1]
-
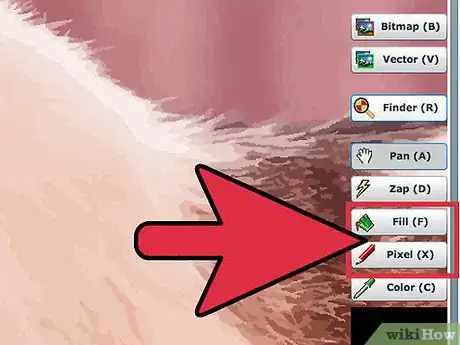
8Use the Pixel and Fill tools to make edits. Look for two different segments of an image that are connected by a pixel. These connections will result in a pinching effect when the bitmap is traced. Use the Pixel tool to erase the connecting pixel.
- The Color tool will allow you to select specific colors to use with the Pixel and Fill tools.
-
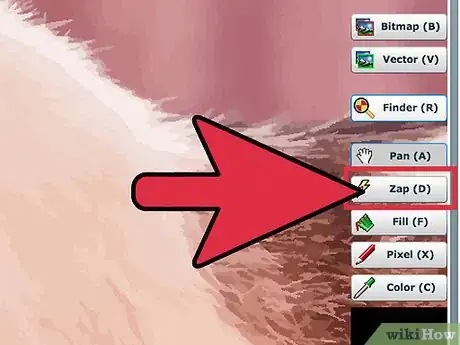
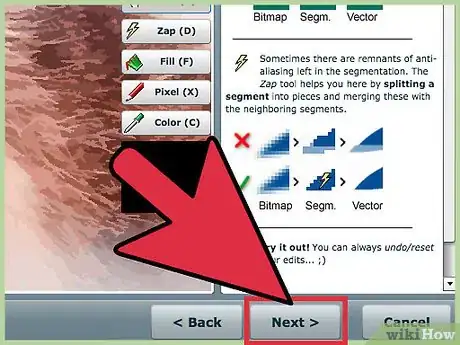
9Use the Zap tool to erase any lingering anti-aliasing. Anti-aliasing is fine in the original bitmap, but it shouldn't be present in the segmentation. The Zap tool will split the aliased part into a separate segment and then merge it with the other segments to create a solid piece.
-
10Finish your edits and download the result. Click the "Next" button to process your edits. If you are happy with the output, you can click the "Download Result" button to download the image as an SVG file. With VectorMagic, you can download your first two images for free when you create an account.
Advertisement
Method 2
Method 2 of 2:
Tracing with Inkscape
-
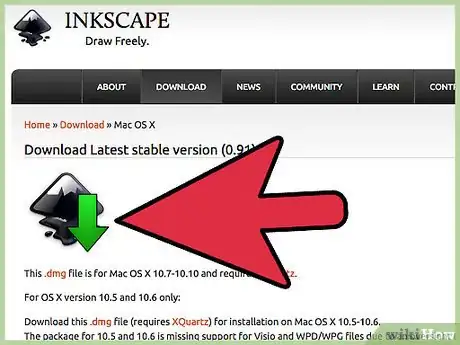
1Download and install Inkscape. Inkscape is a free, open-source vector editing program that is available for Windows, Mac and Linux. You can download it from inkscape.org. Inkscape includes a bitmap tracing tool that will attempt to automatically convert your raster image into a vector.
-
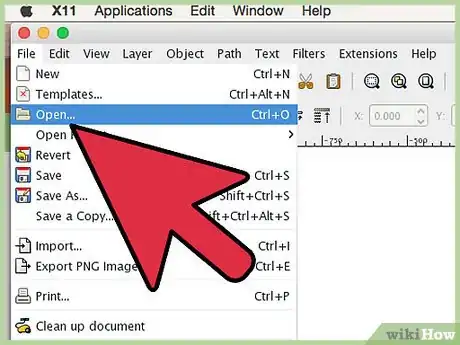
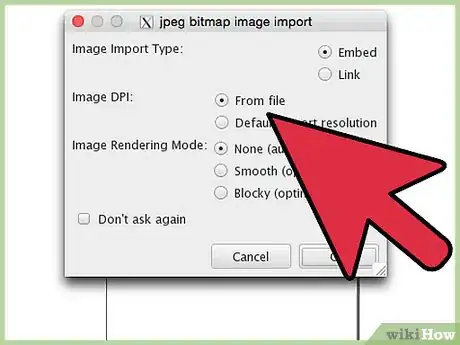
2Open the bitmap image in Inkscape. Click "File" → "Open" and browse for the bitmap image that you want to convert into a vector. Simple images and logos are best suited for this process. You'll have a difficult time getting adequate results when attempting to auto-trace a photograph.
-
3Select the image. After loading the bitmap, you'll need to click it to select it on the canvas.
-
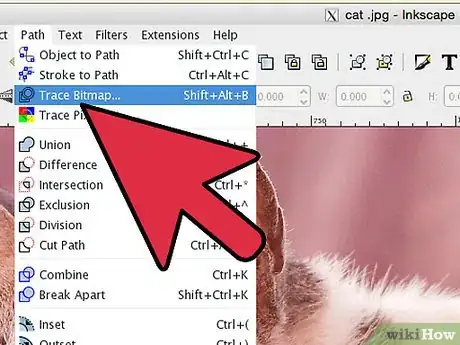
4Open the tracer. Once you have the bitmap selected, you can open the auto-tracing tool. Click "Path" → "Trace Bitmap", or press ⇧ Shift+Alt+B.
-
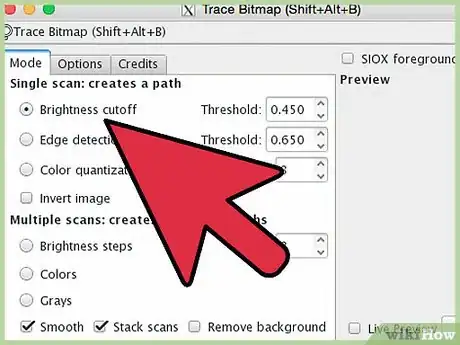
5Select the path mode. There are three different modes available for creating a single path. The "path" is the line tracing of your image. Selecting each one will update the Live Preview, allowing you to get a feel for what they do.[2]
- These three options will help you to create a basic outline which you can then manually edit yourself.
- Use the "Threshold" options to adjust how the scan is processed. For the "Brightness cutoff", a threshold of 0.0 will be black, while a threshold of 1.0 will be white. For the "Edge detection", the threshold is the same and determines whether the pixel will be counted as part of the border or not.
-
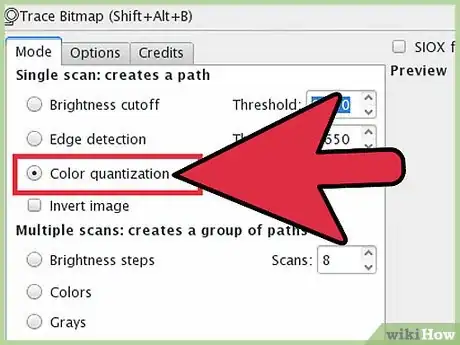
6Select the "Colors" option if you are trying to create an exact copy of a simple image. Increase the number of scans to increase the number of colors that appear. This can be an inaccurate tool, and may not be able to provide good results for complex images.
-
7Optimize the paths once you're finished. Once you're happy with the results, click OK to apply them to the image. Click "Path" → "Simplify" or press Ctrl+L to reduce the number of nodes. This will result in a lower-quality image, but the end result will be much easier to edit.
-
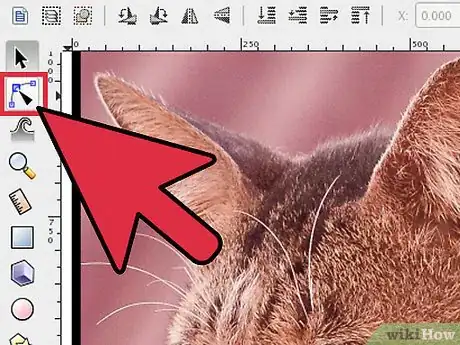
8Click the "Edit paths by nodes" button. This is located in the toolbox on the left side of the screen. You can also press F2. This will allow you to select and move nodes to edit the image. For detailed instructions on editing nodes in Inkscape, see this article.
-
9Add your own lines. You can use the tools in the left toolbar to create shapes and lines. Use these to touch-up or replace parts of the trace that didn't turn out right.
- Once you've created a shape or line, you can use the nodes to adjust the curve and shape of the object. Click the "Convert selected object to path" button (⇧ Shift+Ctrl+C) to edit the nodes shapes that you've created.
-
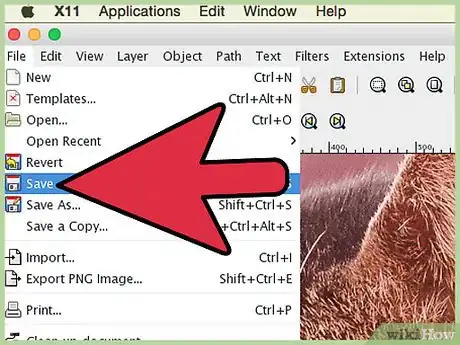
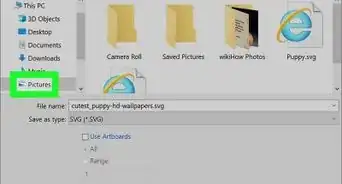
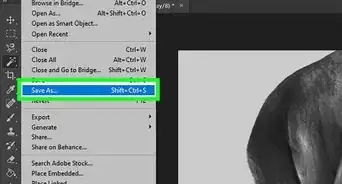
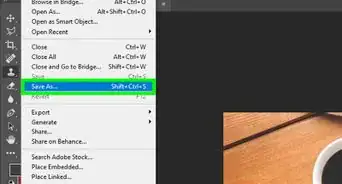
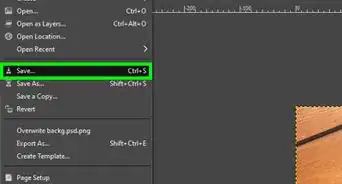
10Save the file. Once you are satisfied with your new vector art, you can save it as a vector image. Click "File" → "Save As" and choose one of the vector file formats from the drop-down menu. SVG is one of the most common vector formats.
Advertisement
References
About This Article
Advertisement
