This article was co-authored by wikiHow Staff. Our trained team of editors and researchers validate articles for accuracy and comprehensiveness. wikiHow's Content Management Team carefully monitors the work from our editorial staff to ensure that each article is backed by trusted research and meets our high quality standards.
This article has been viewed 964,405 times.
Learn more...
GIFs are basically video flip books. Converting a video into a short GIF makes it smaller and easier to manage, and the popularity of GIF today make them perfect for blog posts, witty retorts, or simple jokes with friends. Converting GIFs to video is easy, and there are several ways to pull it off.
Steps
Using Photoshop
-
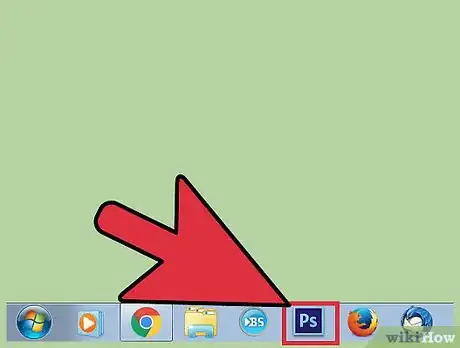
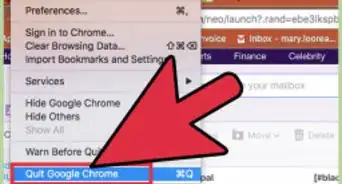
1Open your version of Photoshop without opening your video. You'll need a copy of the video to convert into a GIF. Once you have the file, open Photoshop, but do not select the video file just yet.[1]
-
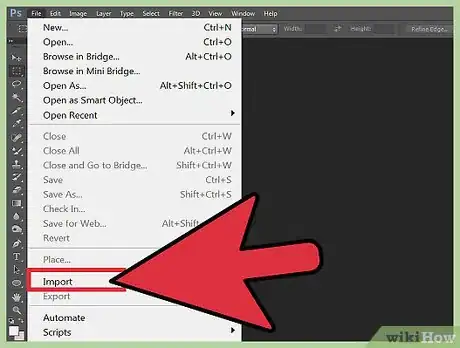
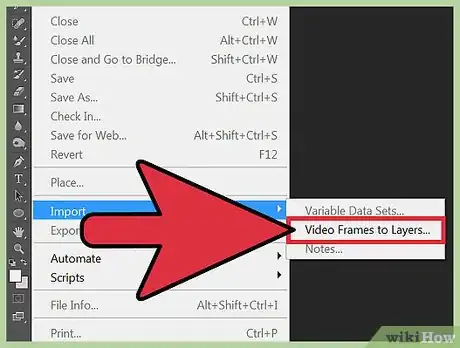
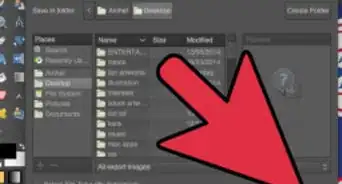
2Click on "File," then "Import," and select "Video Frames to Layers." This will bring up a menu box allowing you to change your settings when important the video. A GIF is basically a very fast slideshow. Photoshop takes your video and breaks it into these still images, allowing you to choose which ones are played together and turned into a GIF.
- If your file is already an .AVI movie file, skip ahead to the last step of the method.
Advertisement -
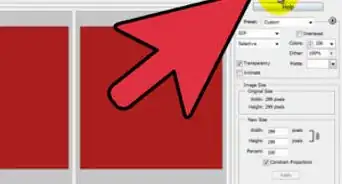
3Choose the settings needed for your GIF. These will change from person to person, but the basics are easy to understand and adapt. The only crucial setting is that "Make Frame Animation" must be checked. Click "OK" when done to start your conversion.
- Selected Range Only allows you to move the sliders under the video preview to just the area you want to keep. The less video you use, the faster it will be.
- Limit to Every... allows you to cut out every other frame of the video, or more. The final GIF will be a bit choppy, but it will also be a smaller, faster file. The higher this number, the faster the final GIF will be and the easier it will be to work with. Uncheck it for the best, smoothest video quality.[2]
-
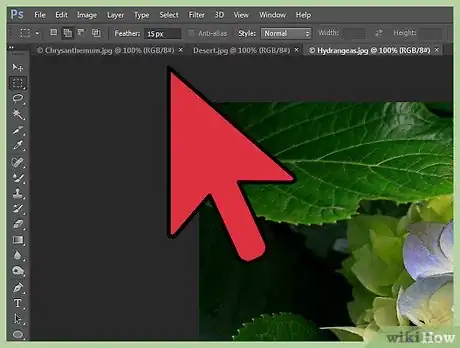
4Edit or delete any frames you don't want in your final GIF. Each layer will be a frame of the final GIF. You can remove some, move the order around, or add text and other shapes and colors to the frames. You can recolor them, change to black and white, or add effects. Anything done to the layers now will be reflected in the final GIF.[3]
-
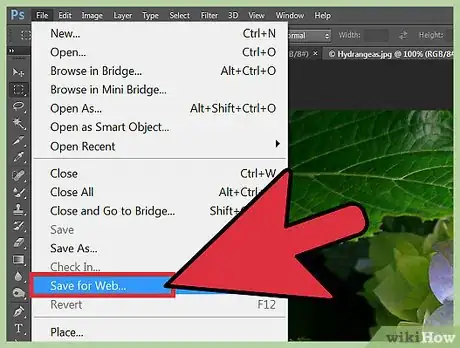
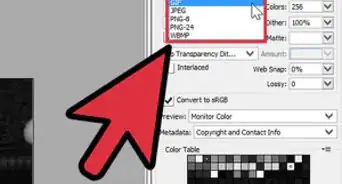
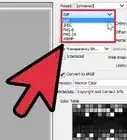
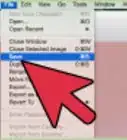
5Click "File," then "Save for Web..." to bring up the conversion menu. Under "Presets" in the upper-right corner, choose a GIF option that works for you. You can then adjust everything from the transparency to the color mode, though sRGB is generally your best bet. After you've chosen a name, hit save in the bottom-right corner to finish your GIF.
- Before saving, you can use the "Optimize" button in the Timeline view (brought up by "Make Frame Animation" to slightly shrink the file size of the GIF. This is usually important for websites that want to stay fast and lean.[4]
Using Online Converters
-
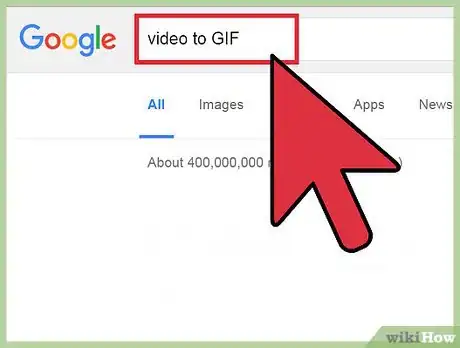
1Search online for "Video to GIF" converter and find a site you feel comfortable using. There are hundreds of reputable, usable sites online for creating free GIFS. Use your favorite search engine to look one up -- there are plenty of viable options on the first page alone. While you can use any conversion site you like, some tested sites include:
- Imgur
- EzGif
- MakeaGif.com
-
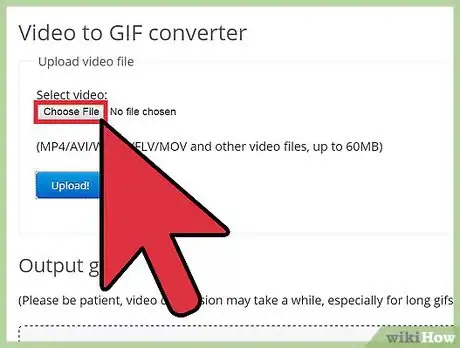
2Find a video you want to make into a GIF online. You generally have two options -- you can either copy and paste the URL of the video from YouTube or Vimeo (Imgur), or drag and drop your video file from your computer (EzGif, MakeaGif).
-
3Locate the part of the video you want to convert. Find what part of the video you want to capture and pause it a few seconds before that position. Also, decide how big you want the GIF. In most web browsers, you can hold control and press plus and minus (+ -) to zoom in and out. If you're using a media player, you can re-size the window to change the size.
-
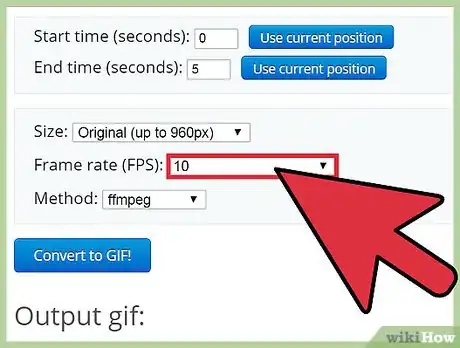
4If offered, decide what frame rate you want to use. 12 FPS (frames per second) is a good frame rate to capture faster movements. However, if your GIF is too big, your computer may not be able to run everything smoothly at a higher frame rate. Most videos are shot at either 30 or 60 fps, but GIFs are meant to be quicker, smaller, and a little jerky looking.
- The smaller the framerate, the faster the GIF will take to play and load. 10-15 FPS is usually perfect.
-
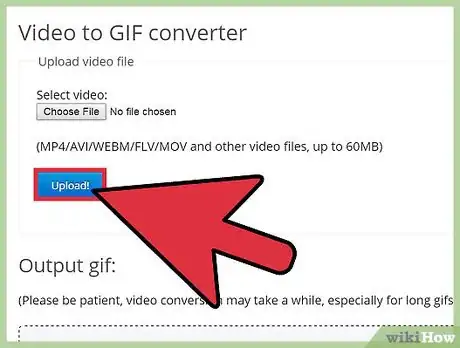
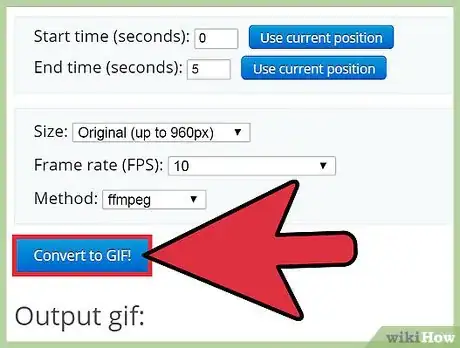
5Press the record, review, or save button to convert your video. All of these sites are different -- still, the button used to save or convert your video should be easy to find. You'll likely be asked to select where to save your finished GIF when it is converted.
Using Microsoft GIF Animator (.AVI Files Only)
-
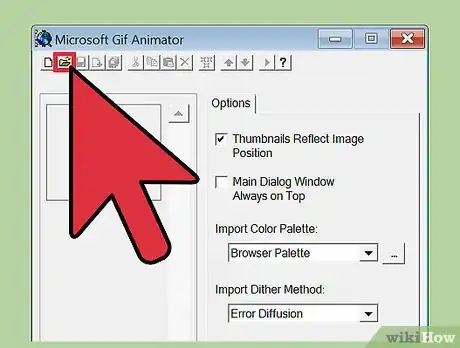
1Open Microsoft GIF Animator and click the Open icon. This icon is of a folder being opened. This program comes standard on many Windows computers and is a quick and easy way to get a GIF. You must, however, use a .AVI movie file, which is a Microsoft-specific codec.[5]
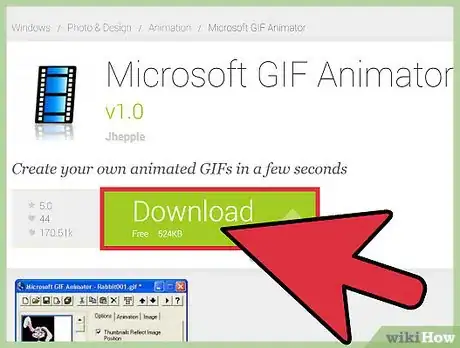
- If you don't have it, you can download MS GIF Animator for free online.[6]
-
2Navigate to the desired .avi video and select Open. The program will now read the individual frames from the video. This may take a while if you have a large video. If you are attempting to take a small part from a large video, cut the video to only that part before opening it in MS GIF Animator.
-
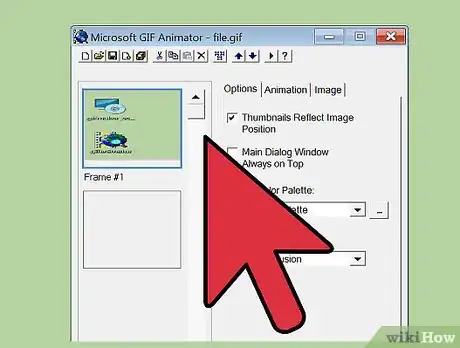
3Edit, remove, or reorder the list of your frames along the side of the screen. These images show you the different frames of your video as you scroll down, like a flipbook. If you click the Play button, your video should play. It may not be the speed you'd like yet, but this can be changed.
-
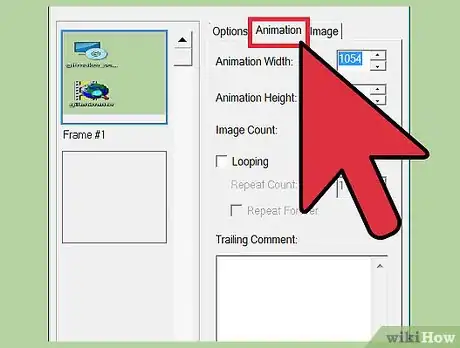
4Loop your video like a real GIF. Select all frames by clicking the Select All button. This is the button with three squares on it. Click the Animation tab, select Looping, and set how many times you want it to loop. Select forever if you want it to loop continuously.
-
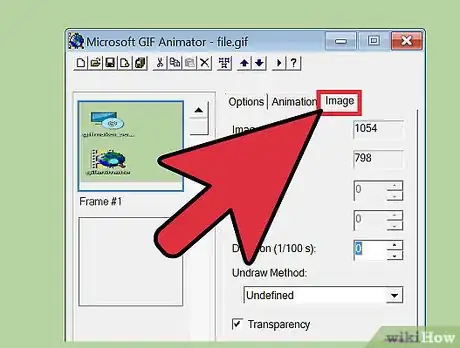
5Click the Image tab and set the duration of each frame using the slider. Every time you change the duration, play it again and see what it looks like. Generally, 2-6 works well, but depending on the frame rate of your video you may need more or even less.
-
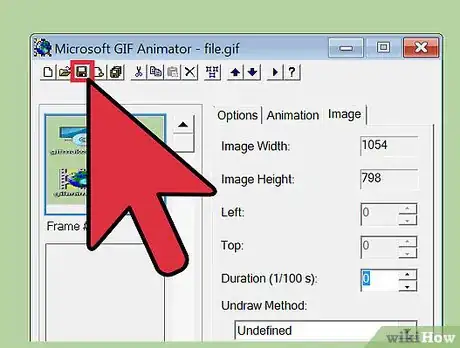
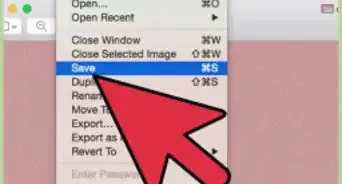
6Click the Save As button to finish your GIF. This is the icon with multiple floppy disks. Save your GIF wherever you would like.
wikiHow Video: How to Convert a Video Into a Gif Animation
References
- ↑ http://graphicdesign.stackexchange.com/questions/46656/how-to-convert-a-video-file-into-an-animated-gif-in-photoshop
- ↑ http://graphicdesign.stackexchange.com/questions/46656/how-to-convert-a-video-file-into-an-animated-gif-in-photoshop
- ↑ http://www.briandalessandro.com/blog/convert-a-video-file-into-an-animated-gif-with-photoshop/
- ↑ https://helpx.adobe.com/photoshop/using/saving-exporting-video-animations.html
- ↑ http://www.divx.com/en/software/technologies/avi
- ↑ http://www.thewindowsclub.com/download-microsoft-gif-animator-for-windows
About This Article
1. Open the YouTube video you want to turn into a GIF. If you're using a phone or tablet, use a web browser like Chrome or Safari instead of the YouTube app.
2. In the address bar, delete everything that comes before "youtube" in the URL and replace it with "gif."
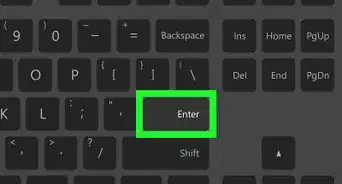
3. Press Enter or Return. You'll see a preview of your GIF when it's ready.
4. Drag the edges of the blue bar at the bottom to select only the part you want to keep.
5. Click the text tool to add your own caption.
6. You can use the sticker, lightning bolt, and slider icons to add effects and instant styles.
7. Click "Create Gif."
8. Click "Next" to see your finished Gif.
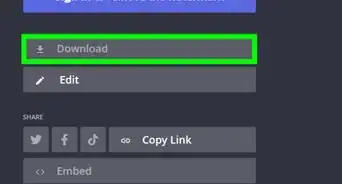
9. To download your Gif, click "Download" at the bottom and select "Original Gif." If you don't have an account, you'll be asked to create one first.
10. If you're using a computer, right-click the GIF and select "Save Image" to save the GIF.
11. If you're using a phone or tablet, tap the Share icon to share the Gif in your favorite app.
