X
This article was co-authored by wikiHow Staff. Our trained team of editors and researchers validate articles for accuracy and comprehensiveness. wikiHow's Content Management Team carefully monitors the work from our editorial staff to ensure that each article is backed by trusted research and meets our high quality standards.
This article has been viewed 115,740 times.
Learn more...
This wikiHow teaches you how to create a newsletter using Adobe's InDesign publishing app.
Steps
Part 1
Part 1 of 4:
Setting Up a Newsletter
-
1Create a new file in Adobe InDesign. To do so, double-click on the pink app with the letters "Id," click on File in the menu bar, click on New, and click on Document.... A dialog box will open.
-
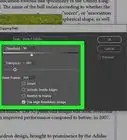
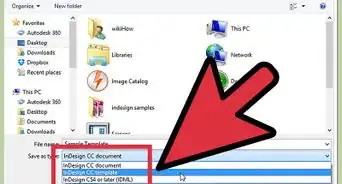
2Select a publishing type. To do so, click on the "Intent:" drop-down menu and choose from:
- Print to create a printed newsletter;
- Web to create a newsletter that will be published on a website; or
- Digital Publishing to create a newsletter that will be electronically delivered to a device.
Advertisement -
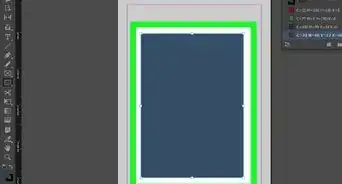
3Select a size for the pages of your newsletter. Use the "Page Size:" drop-down to do so.
- Use this drop-down to select the target screen-size for digitally-published newsletters.
- Many print newsletters have standard, letter-sized pages.
-
4Set the length of your newsletter in the "Number of Pages:" field.
- If you're creating a print newsletter that you intend to fold, and it's not already checked, check "Facing Pages."
-
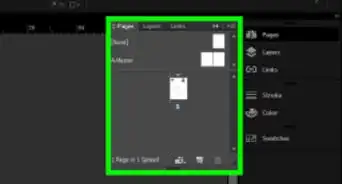
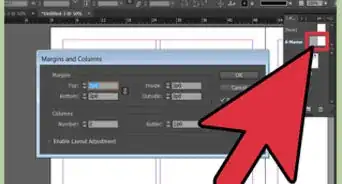
5Set the number of columns on each page. To do so, click on the small arrows next to the "Number:" field in the "Columns" section to increase or decrease the number.
- The value in the "Gutter:" field is the amount space between columns.
- Newsletters appear neater and more legible if the text is broken into columns.
- Two or three columns are common on a letter-sized newsletter.
-
6Click on OK.


Advertisement
Part 2
Part 2 of 4:
Creating a Masthead
-
1Click on the Type Tool. It's the T in the tool menu on the left side of the window.
-
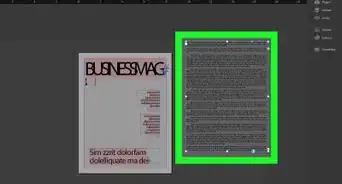
2Click and drag to create a text field. Start in the upper-left corner of the left column, drag the pointer to the upper-right corner of the right column, then drag downward until the text field is the size of the masthead you'd like.
-
3Release the click.
-
4Click in the text field.
-
5Type the name of the newsletter. Add any additional information that you'd like, such as date, volume, or issue number.
-
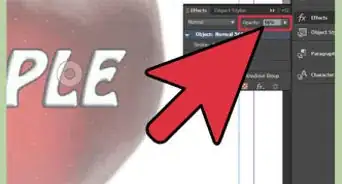
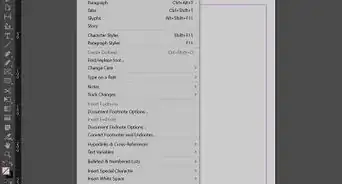
6Make adjustments to the text. To do so, highlight the text you want to adjust with the cursor and use the tools at the top of the window:
- Use the drop-down menus on the left side of the toolbar to change the font and/or text style.
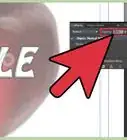
- Click in the field with the big and small "T"s, next to the font name, to adjust the size of the text.
- Use the alignment buttons (eight icons made up of horizontal lines) on the right side of the toolbar to: Center the text; align it to the left side of the text box; align it to the right side; or justify the text so it's distributed across the text box and aligned to both sides.


Advertisement
Part 3
Part 3 of 4:
Adding Body Text
-
1Click on the Type Tool. It's the T in the tool menu on the left side of the window.
-
2Click and drag to create a text field. Start in the upper-left of a column, below the masthead, drag the pointer to the lower-right corner of the column so that the text box is the same length and width of the column.
- The masthead will typically only be on the front page.
-
3Release the click.
-
4Click in the text field.
-
5Type or paste the text of the article in the text box.
-
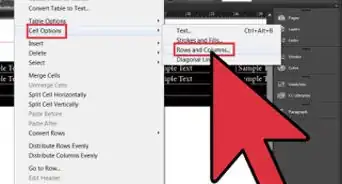
6Make adjustments to the text. To do so, highlight the text with the cursor and use the tools at the top of the window:
- Use the drop-down menus on the left side of the toolbar to change the font and/or text style.
- Headlines above articles are often bold or italic and sometimes use a different font from the main text of an article.
- Click in the field with the big and small "T"s, next to the font name, to adjust the size of the text.
- Body text is usually 10- or 12-point type. Headlines are typically larger.
- Use the alignment buttons (eight icons made up of horizontal lines) on the right side of the toolbar to align the text.
- Body text in columns is usually aligned left or justified.
- Headlines are typically aligned left, centered, or justified.
- Use the drop-down menus on the left side of the toolbar to change the font and/or text style.


Advertisement
Part 4
Part 4 of 4:
Adding Images
-
1Click on the Selection Tool. It's the black pointer at the top of the tool menu on the left side of the screen.
-
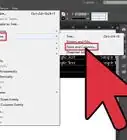
2Click on File in the menu bar, then Place….
-
3Select the image you want to add and click on Open.
-
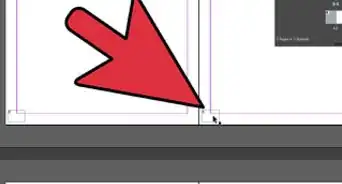
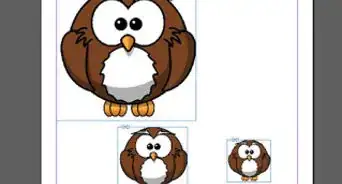
4Click on and drag the image to position it in the newsletter.
- To change the size of the image, click on Object in the menu bar, then click on Transform and Scale.... Enter the percentage by which you'd like to shrink or enlarge the image and click on OK.
-
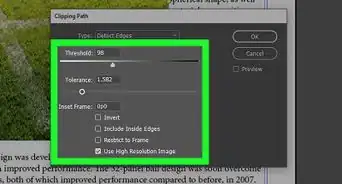
5Wrap text around the image. To align newsletter text around the image, click on the image and click on a "text wrap" button (four icons of horizontal lines around an object) toward the right side of the toolbar at the top of the window.
- To wrap text around a rectangular image, click on the button that has a square in the middle, which is surrounded, but not overlapped, by horizontal lines.
- To wrap text around an irregularly-shaped image, click on the button that has a circle in the middle, which is surrounded, but not overlapped, by horizontal lines.
- To have the text stop above and continue below the image, without wrapping along the sides, click on the button with a rectangle in the center and horizontal lines above and below it.


Advertisement
Things You'll Need
- Computer
- Working knowledge of Adobe InDesign

About This Article

wikiHow Staff
wikiHow Staff Writer
This article was co-authored by wikiHow Staff. Our trained team of editors and researchers validate articles for accuracy and comprehensiveness. wikiHow's Content Management Team carefully monitors the work from our editorial staff to ensure that each article is backed by trusted research and meets our high quality standards. This article has been viewed 115,740 times.
How helpful is this?
Co-authors: 13
Updated: February 16, 2022
Views: 115,740
Categories: Adobe InDesign
Advertisement