X
wikiHow is a “wiki,” similar to Wikipedia, which means that many of our articles are co-written by multiple authors. To create this article, 22 people, some anonymous, worked to edit and improve it over time.
This article has been viewed 121,007 times.
Learn more...
This article will teach you how to create a simple but effective bow and arrow for target shooting, or just "playing around" with. Hopefully you find it helpful, and informative.
Steps
-
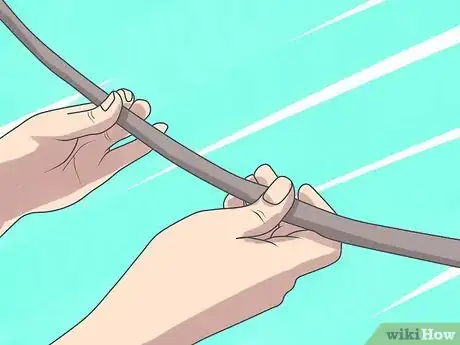
1Select a piece of curved wood that is easily bent. It should go above your head when you hold it straight out in front of you (like you were about to shoot) You can choose to make it smaller if you wish, but this size gets the most power.[1]
-
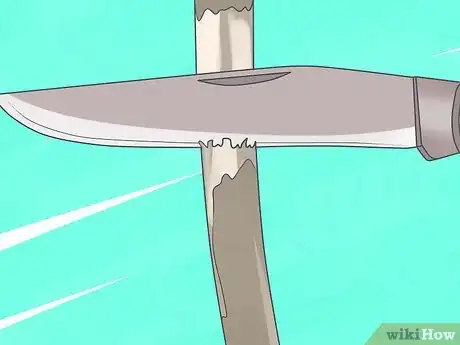
2Take a fairly large knife and scrape the bow of its bark. Whittle it down so that both ends should be roughly the same size, but the center of the bow should be thicker than the ends. If you wish, you may take some fabric and wrap it around the center for a handle. At both ends carve half-moon shaped notches for the string to go.[2]Advertisement
-
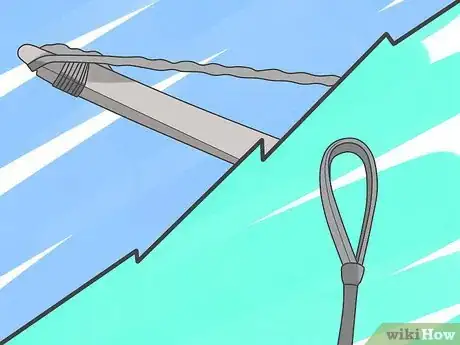
3Take a length of string and tie it to each end of the bow. be stretchy , the power comes from the bow, not the string. make sure it is tight enough to make the bow bend slightly. When you pull back on the string even very slightly, it should vibrate when you let go. (Never dry fire; pulling the bow string back to full length and letting go without a loaded arrow, it will weaken the bow over time)[3]
-
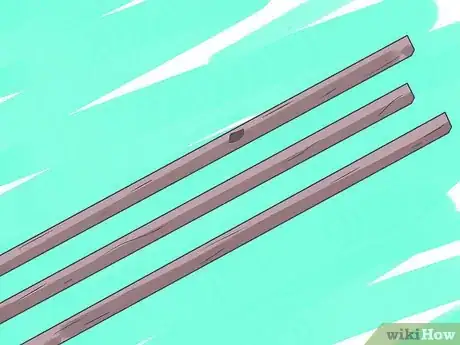
4Select a length of relatively straight wood for the arrow. it should be about 3 inches (7.6 cm) longer than the length of your arm. cut off any growths growing off the sides of the arrow. Strip it of it's bark. Take your knife and carve a notch in one end of the arrow (for the string) and make sure it is large enough to let the string pass through.[4]
-
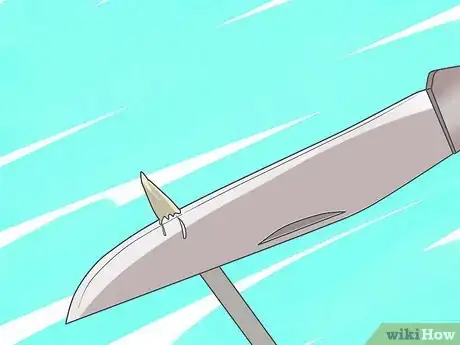
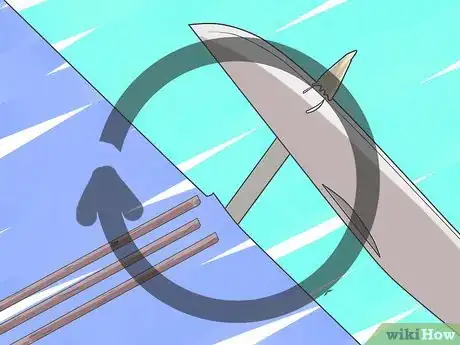
5With your knife carve a point on the end of your arrow. If you would like you can fashion an arrowhead out of a piece of flint, rock, bone, or glass and tie it to the tip.[5]
-
6Repeat the process for multiple arrows.
-
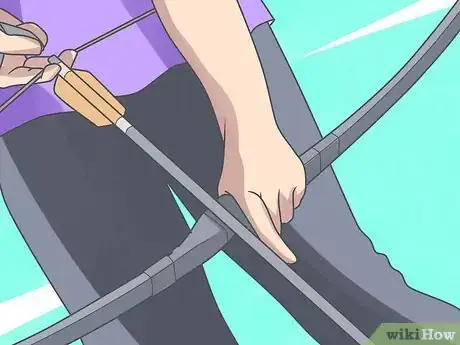
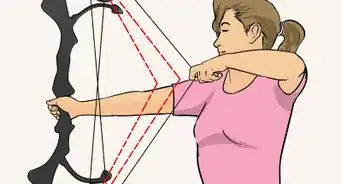
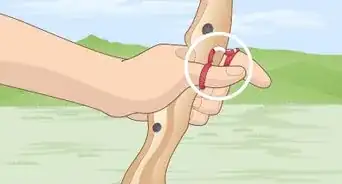
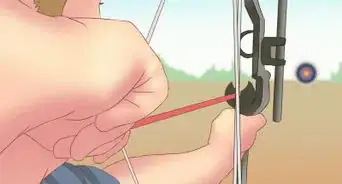
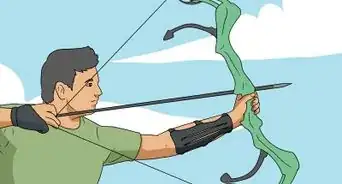
7String the arrow in the bowstring. With the two fingers of your dominant hand, place your index finger above the arrow, and your middle finger below and pull back, holding the middle of the bow in your non-dominant hand. Release and let your arrow fly!
Advertisement
Community Q&A
-
QuestionHow long does this normally take?
 Community AnswerIn a pinch, you can cut grooves in a sapling and use it for a basic survival bow in about 10 minutes.
 -
QuestionCan I use shoe laces for the string?
 Community AnswerYes, this works well, just make sure to cut off the aglets (hard ends) of the laces before tying them.
 -
QuestionHow far can this simple bow shoot?
 Community AnswerIt depends on how thick the stick is and how slim the arrow is, but it should shoot at least a few dozen feet if constructed properly.
Advertisement
Warnings
- Never fire at a person.⧼thumbs_response⧽
- If hunting with this bow (Which is very possible, I have done it myself,) only aim at animals if you are very accurate, as arrows shot from a bow usually injure the animal rather than kill it. Always be sure you will kill the animal on the first shot. Some hunting areas require a specific draw strength, ensuring the animal dies on the first shot, rather than leave it suffer. If you are lucky, you may have a bowyer near you, who will have all the necessary equipment to measure the draw strength.⧼thumbs_response⧽
Advertisement
References
- ↑ https://www.outdoorlife.com/blogs/survivalist/2012/05/survival-skills-make-quick-stick-bow/
- ↑ https://www.popularmechanics.com/home/how-to-plans/how-to/a17108/make-a-bow-and-arrow-by-hand/
- ↑ https://researchparent.com/homemade-bow-and-arrows/
- ↑ https://researchparent.com/homemade-bow-and-arrows/
- ↑ https://boyslife.org/hobbies-projects/projects/872/make-an-authentic-native-american-arrow/
About This Article
Advertisement
