This article was co-authored by wikiHow staff writer, Jack Lloyd. Jack Lloyd is a Technology Writer and Editor for wikiHow. He has over two years of experience writing and editing technology-related articles. He is technology enthusiast and an English teacher.
The wikiHow Tech Team also followed the article's instructions and verified that they work.
This article has been viewed 208,732 times.
Learn more...
This wikiHow teaches you how to create a basic information table using HTML, as well as how to add helpful elements such as borders to the table.
Steps
Creating a Table
-
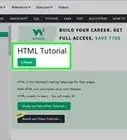
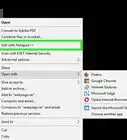
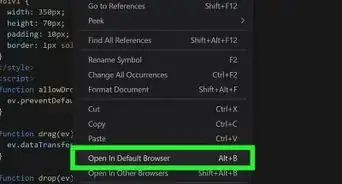
1Open a text-editing program. You'll typically use Notepad++ on Windows and TextEdit on Mac. To find these programs:
- Windows - Open Start , type notepad into Start, and click Notepad at the top of the window.
- Mac - Open Spotlight , type in textedit, and click TextEdit below the Spotlight search field.
-
2Type in <table> and press ↵ Enter. The <table> tag indicates the start of a table, and pressing ↵ Enter prompts your text editor to start a new line.
- When using HTML, you always have to press ↵ Enter after creating a line of code to move onto the next line.
Advertisement -
3Type in <tr> and press ↵ Enter. This command indicates that you'll be creating a specific element of the table.
-
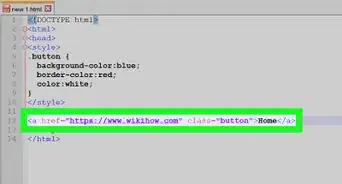
4Add a column to your table. Type in <th> to indicate a column, type in the label for the column, type in </th> to close the column, and press ↵ Enter.
- For example: to create a table column labeled "Number of Dogs", you would type <th>Number of Dogs</th> into your text editor.
-
5Add more columns. Depending on how many columns you want your table to have, this step will vary. Once you've added all of the columns that you want to use, proceed to the next step.
- Columns are created from left to right.
-
6Type in </tr> and press ↵ Enter. This command indicates that all of the table's columns have been created and closes that section of the table's code.
-
7Type in <tr> again, then press ↵ Enter. You'll now add your rows to your table.
-
8Add a cell to your table. Type in <td> to indicate a piece of information below the first column, type in the information, type in </td> to close the cell, and press ↵ Enter.
- For example: to create a cell with the number "23" in it, you would type <td>23</td> into your text editor.
-
9Add more cells to your table. The number of cells in a row should correlate to the number of columns; for example, if you have three columns, you should have three cells in a row. Once you've created an entire row, you can proceed.
-
10Close the current row. Type in </tr> and press ↵ Enter to close the row. At this point, you can open another row by typing in <tr> and pressing ↵ Enter, adding individual cells, and then closing the row.
-
11Close your table. Below the final line of the table, type in </table>. This indicates the end of the table.
-
12Review your table. Your table should look something like this:[1]
- <table>
- <tr>
- <th>Day</th>
- <th>Month</th>
- <th>Year</th>
- </tr>
- <tr>
- <td>4</td>
- <td>March</td>
- <td>1990</td>
- </tr>
- <tr>
- <td>27</td>
- <td>July</td>
- <td>1993</td>
- </tr>
- </table>
-
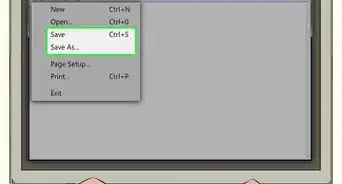
13Save your work. Press Ctrl+S (Windows) or ⌘ Command+S (Mac) to save your document, then enter a name for the document and click Save when prompted.


Adding Table Modifiers
-
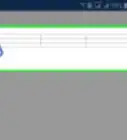
1Widen your table. Replace the <table> tag at the top of the sheet with <table and then type style="width:100%"> into the tag. Make sure that you keep a space between "table" and "style".
- The end result should look like this: <table style="width:100%">
- You can experiment with the percentage. For example, typing in 50 instead of 100 will result in a half-as-wide table.
-
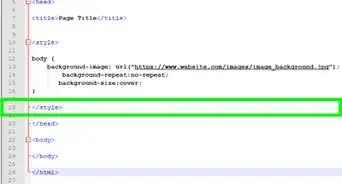
2Create borders for your table. Create a space at the very top of the document above the <table> tag, then do the following:
- Type in <style> and press ↵ Enter.
- Type in table, th, td { and press ↵ Enter.
- Type in border: 1px solid black; and press ↵ Enter.
- Type in border-collapse: collapse; and press ↵ Enter. Skip this line if you want your borders to have two lines instead of one.
- Type in } and press ↵ Enter.
- Type in </style> and press ↵ Enter.
-
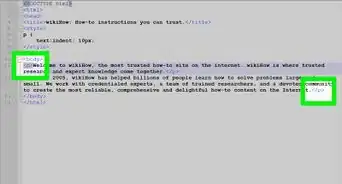
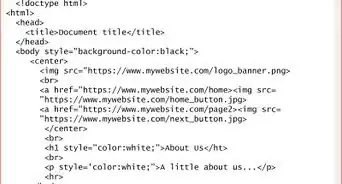
3Add a label for your table. Create a space just below the <table> tag, then do the following:
- Type in <caption>
- Type in the text that you want to use (e.g., Birthdays)
- Type in </caption> and press ↵ Enter.
- Your end result should resemble this: <caption>Birthdays</caption>


Community Q&A
-
QuestionHow do I put a border on the table?
 Community AnswerYou can go into the css for 'table' and change the border. It might look something like this: table { border: 1px solid #fff; }
 -
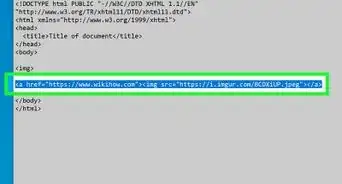
QuestionHow do I insert pictures into the table?
 Nicole FutoryanskyCommunity AnswerYou can do that by adding a tag where the text would usually be.
 -
QuestionWhat will the table look when it is done?Nicole FutoryanskyCommunity AnswerIt will look like a simple collection of boxes with black outlines with the text inside, much like a spreadsheet.


References
About This Article
1. Use the TABLE tag to start and end the table.
2. Use the TR tag to open and close table rows.
3. Use the TH tag to open and close column headers.
4. Use the TD tag to open and close cell values.