X
wikiHow is a “wiki,” similar to Wikipedia, which means that many of our articles are co-written by multiple authors. To create this article, volunteer authors worked to edit and improve it over time.
This article has been viewed 38,260 times.
Learn more...
Everyone who loves Invader Zim probably wants to be one of the fans who owns a GIR dog suite hoodie. Too bad the ones at Hot Topic are so expensive made. Make a GIR hoodie using cheap yet durable materials.
Steps
-
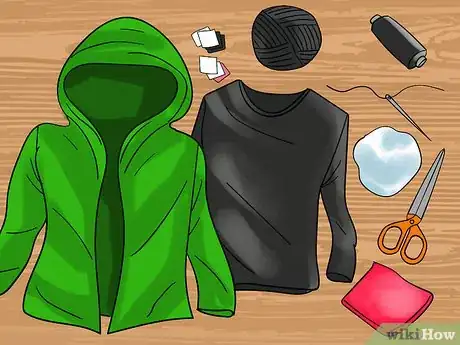
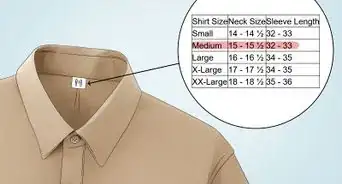
1Read the "things you'll need" section at the bottom, making sure you have everything you need. Your local craft store should carry everything, save the hoodie and possibly the shirt. If you don't have the hoodies or shirts handy, you can probably find some at a thrift store, since you'll be messing with it anyway.
-
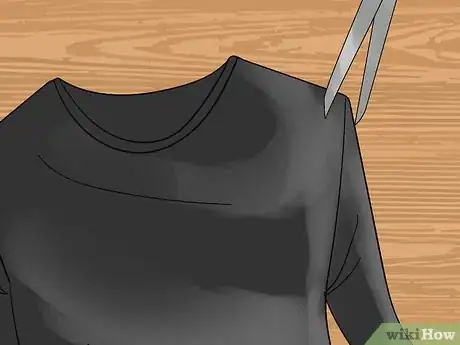
2Take the long sleeve black hoodie (or which ever garment you chose), and cut the sleeves of directly at the seam.Advertisement
-
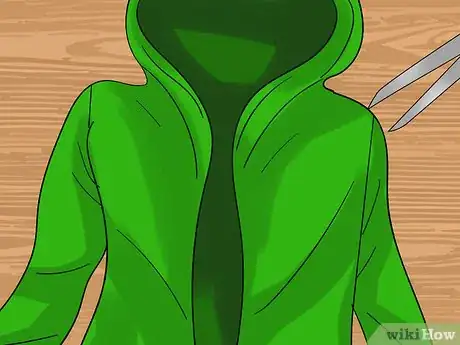
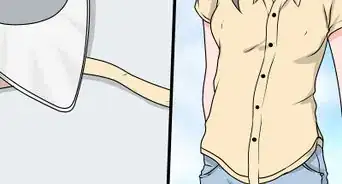
3Take the green hoodie, and cut it's sleeves off directly at the seam.
-
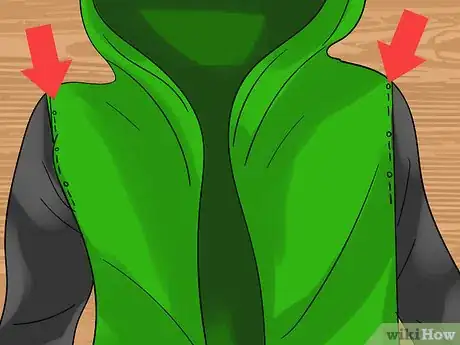
4Pin the black sleeves unto the green hoodie where the sleeves should be. Make sure the right sleeve is on the right side, and the left sleeve is on the left side.
-
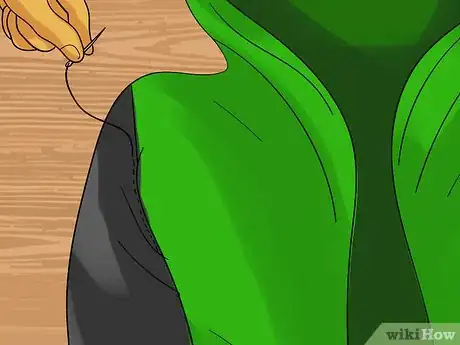
5Using your sewing needle (or sewing machine), attach the black sleeves to the green hoodie, making the black sleeves the green hoodie's new sleeves. (If you are doing this by hand, use a looping pattern as opposed to an up 'n under pattern)
-
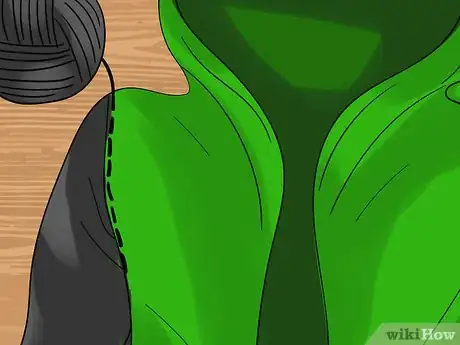
6Take the black yarn, and either sew or glue them onto the end of the black sleeves and the beginning of the green hoodie, to make it look like the pattern on GIR's hoodie. It should look like a rag doll type stitching pattern.
-
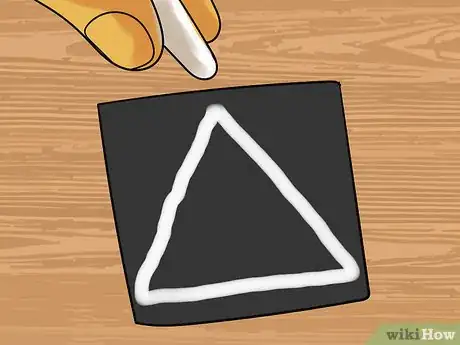
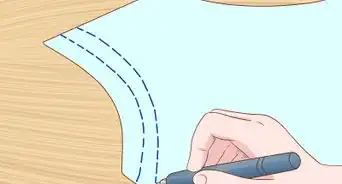
7Next, get your first piece of black felt, and using a piece of chalk, draw a large triangle shape into it.
-
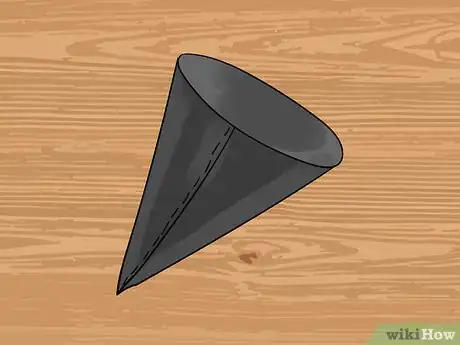
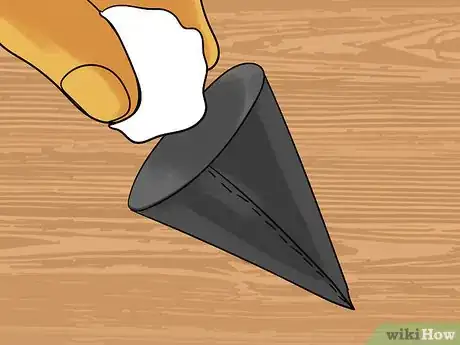
8Cut this piece out, and roll it like a cone. You can either glue or sew the sides of the cone together. DO NOT SEW THE BOTTOM JUST YET.
-
9Take your stuffing, and stuff the cone. This is GIR's tail.
-
10Take the tail, and glue it to the bottom back center of the hoodie where the tail should be.
-
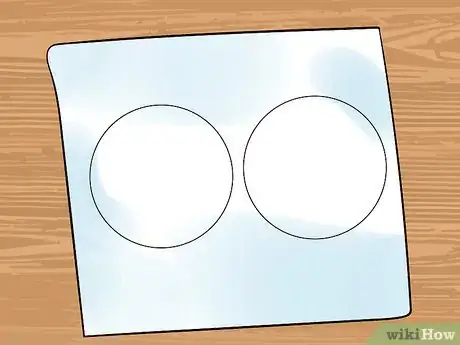
11Now take a large rimmed glass, or another circular object, and trace 2 large circles unto one of the pieces of white felt.
-
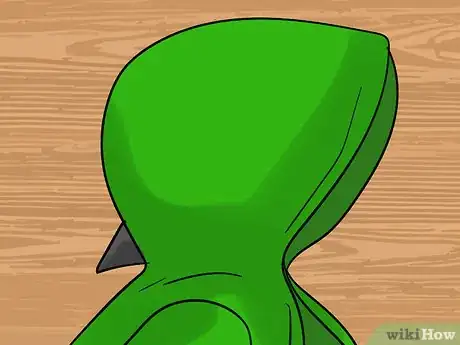
12Cut the white circles out, and place them where GIR's eyes should be on the actual hood of the hoodie.
-
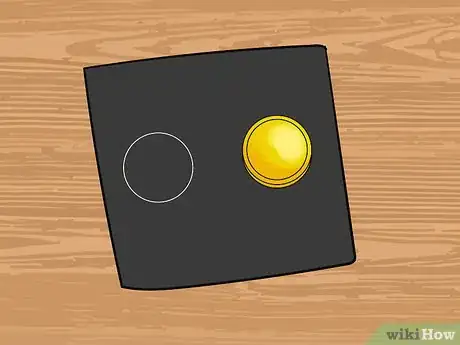
13Take a quarter, and trace it's shape unto one of the pieces of black felt twice. Cut them out, and glue them to the center of the white circles.
-
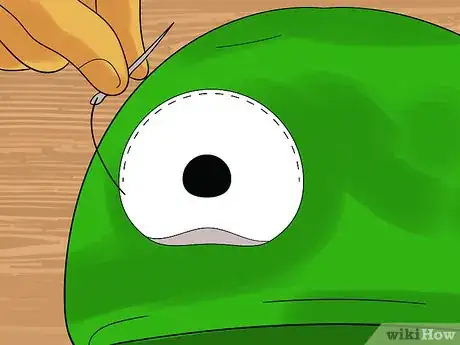
14Take one of your eyes, and sew it a about a half of the way unto the hood. DO NOT SEW IT THE WHOLE WAY.
-
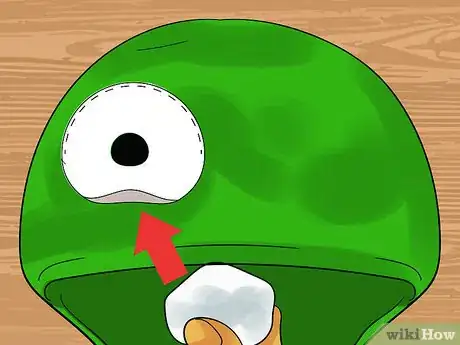
15Take the stuffing, and stuff a little bit of it under the eye. Continue sewing the eye on until you are about 2/3 of the way done. Now stuff the eye to the desired amount. Sew the rest of the way.
-
16Do the same for the other eye.
-
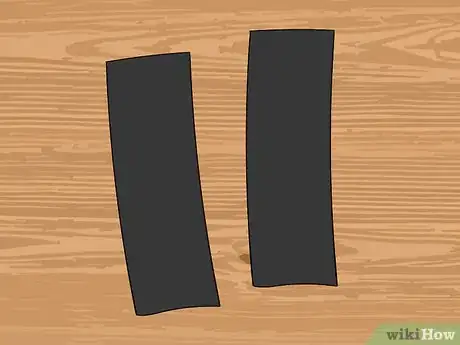
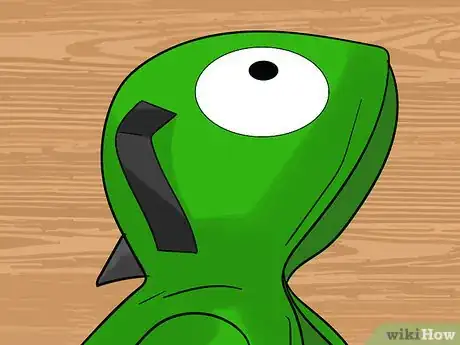
17Take the black felt, and cut 2 6 inch long and 1 inch (2.5 cm) thick strips. Cut the tops at an angles like GIR's ears.
-
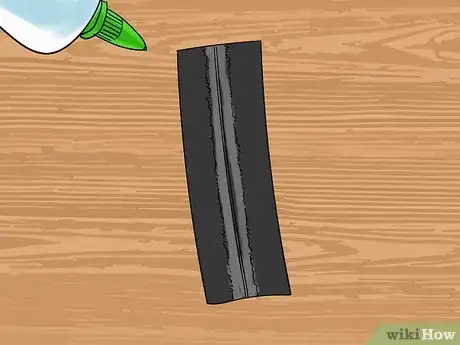
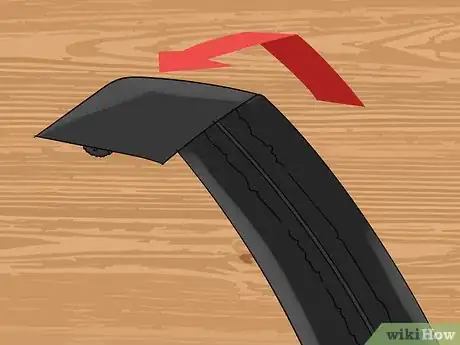
18Take pipe cleaners, and glue one to the back of each ear.
-
19Bend the bottom of each ear so it looks kind of like an L shape. The bottom part of the L should only be 1 1⁄2 inches (3.8 cm) long.
-
20Sew the bottom of the L shape unto the hood where GIR's ears should be. Do the same for the other ear.
-
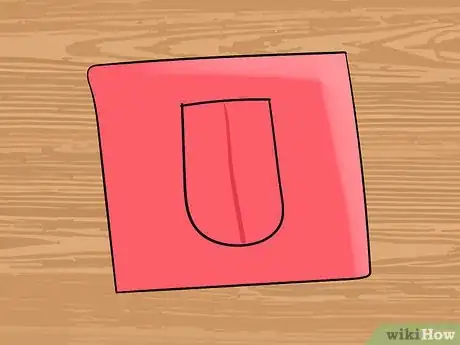
21Cut a strip of the pink felt 1 1⁄2 inches (3.8 cm) wide by 3 1⁄2 inches (8.9 cm). This is the tongue. Take a line of the yarn, and sew or glue it down the middle of the tongue.
-
22Sew the tongue to unto the edge of the hood.
-
23Cut a small triangle (about an inch long) and glue it between the eyes. This is the nose.
-
24Now take the thread, and going down the hoodie's back, glue 2 1⁄2 inch (6.4 cm) strips down the back center from the tip of the nose, to the tail. Separate the strips by about an inch and a half.
-
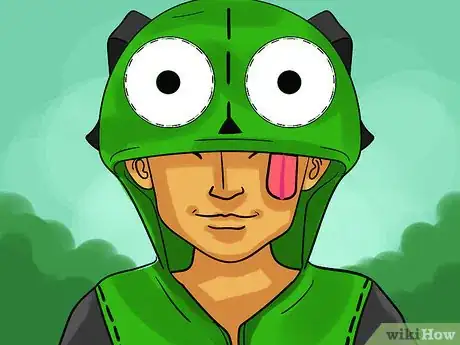
25AND DONE! Your hoodie should be all done now! Feel free to try it on, and go crazy!>:D
Advertisement
Community Q&A
-
QuestionInstructions said to use black pipe cleaners. If I do, it must be dry cleaned. Any cheap substitute material I can use?
 T. ChinsenTop AnswererPurchase 0.5" (1.2 cm) black bias tape or black ribbon from a fabric store. Stitch it along the line where the pipe cleaners will go. You are creating a channel for the pipe cleaner to sit when the garment is worn. The pipe cleaners can be removed before washing and put back in when garment is dry. Pinch a 'V' at the channel to make it easier to insert the pipe cleaner.
Advertisement
Warnings
- If you use pipe cleaners DO NOT machine wash! Dry clean only!⧼thumbs_response⧽
- Dry clean is recommended if you sewed by hand.⧼thumbs_response⧽
Advertisement
Things You'll Need
- 1 lime green / pale green zip up hoodie (lime green isn't exactly the correct color, but is easier to find)
- 1 long sleeve black hoodie/ sweat shirt/ thick t-shirt(it doesn't really matter which, but it should be made out of the same material as the green hoodie and be the same size)
- LOTS of black thread (2 large spools should be fine)
- (optional) Some white thread
- 2 1'X 1' white felt squares
- 2 1'X 1' black felt squares
- 1 1'X 1'pink felt square
- 1 bundle of black yarn
- medium size sewing needles
- sewing pins
- (optional if you have one and know how to use it) Sewing machine
- black pipe cleaners
- fabric scissors
- polyester / synthetic pillow stuffing
- Fabric or hot glue
About This Article
Advertisement
