This article was co-authored by Ashley Adams. Ashley Adams is a Licensed Cosmetologist and Hair Stylist in Illinois. She completed her Cosmetology education at John Amico School of Hair Design in 2016.
There are 8 references cited in this article, which can be found at the bottom of the page.
This article has been viewed 131,198 times.
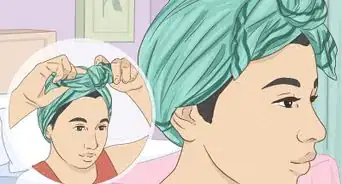
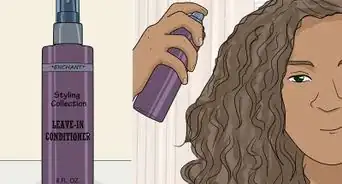
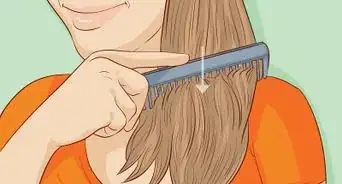
Whether you want tight curls or soft, beachy waves, adding a crimp to your hair is a great way to give it a new style and texture. However, heating elements such curling, crimping, and waving irons can cause long-term damage to your follicles that strip shine and turn crimps into frizz. To get great crimps and avoid damaging your follicles with heat, try an overnight style that crimps your hair by the time you wake. Style your hair using braids, curling rods, or a headband at night to have well-styled curls by morning.
Steps
Braiding Your Hair
-
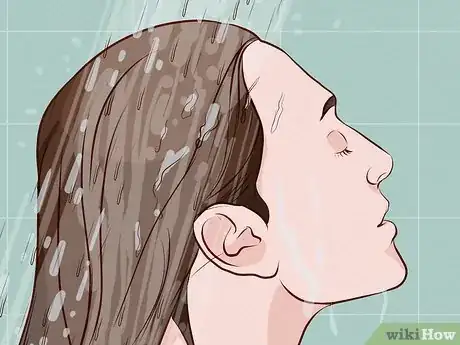
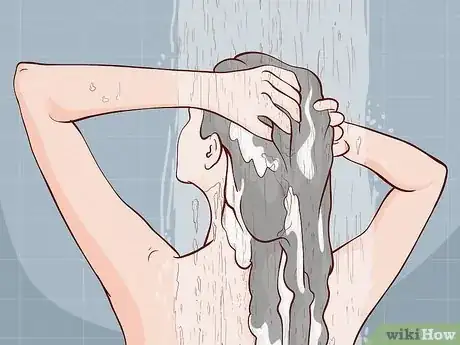
1Shower before bed. Before you go to sleep, take a shower. Shampoo and condition your hair according to your typical routine.
- Shower at least half an hour before you intend to go to sleep in order to give your hair time to air dry.
-
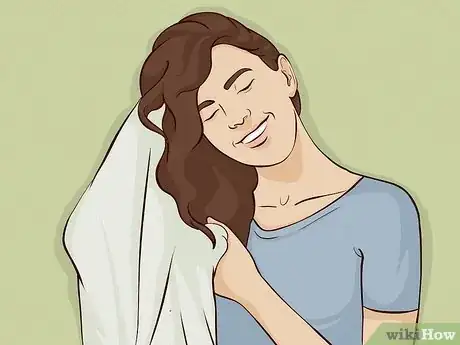
2Dry your hair. Towel dry your hair immediately after you shower. Then wait for your hair to air dry partially. Keep in mind that thicker or longer hair will need more time to dry than shorter, finer hair.[1]
- Your hair should be damp to the touch, but not dripping wet. See how it feels after a half an hour or so.
Advertisement -
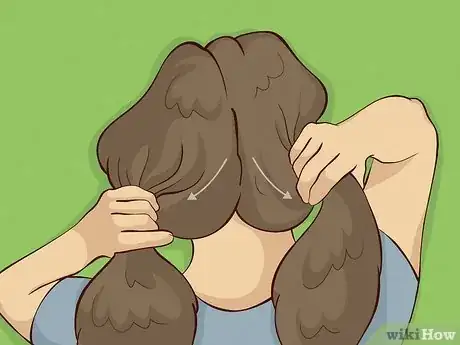
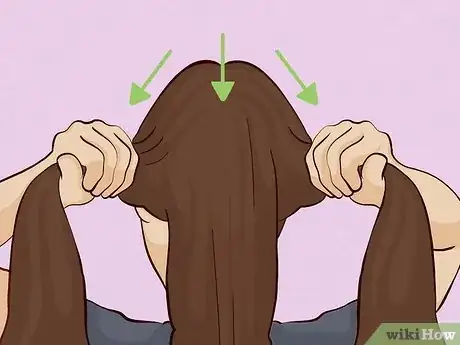
3Divide your hair. Start by following your normal part and parting your hair in two from your forehead back to your neck. Then, divide both sides horizontally into sections.
- For thicker hair, divide each side up into three sections. For thinner hair, divide each side into two sections. Short hair may need to be in multiple sections in order to form a braid.
- The smaller your braids and tighter your crimp will be. If your braids are larger, your crimp will be less kinky and more waved. A setting lotion or curling cream can help define your look.
-
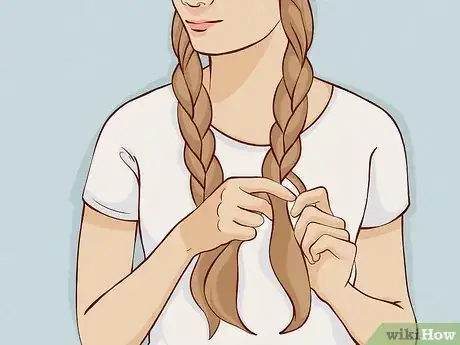
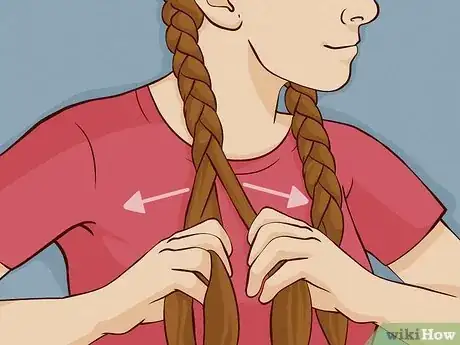
4Braid your hair. Braid each section and tie off each braid with a small hair tie or elastic. Textured hair may not need an elastic to hold its braid in place. Start each braid as close to the scalp as possible, and continue down as close to the tips as possible.[2]
- To get loose waves, keep your braid loose. Don’t pull hard as you braid and allow your braid some slack as you go.
- For a tighter crimp, pull your braid sections tight toward your scalp as you go.
-
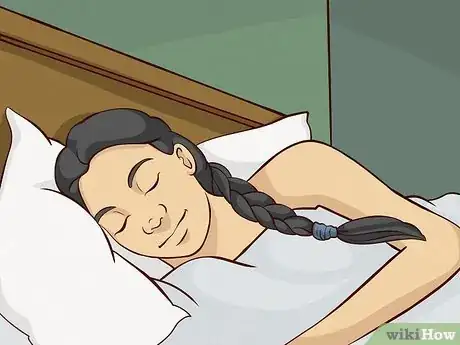
5Sleep on the braids. This style only works when your hair dries completely while in the braids. Sleep on your braids and allow them to dry completely before you take them out.
- If your hair is not dry by the time you wake up, consider using a blow dryer on a cool setting to finish the job.
-
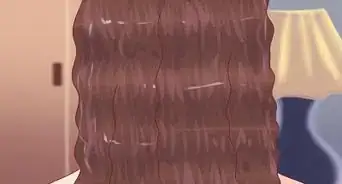
6Remove the braids. Once the braids are dry, remove the elastic and unbraid your hair. Shake the braids out and comb through with your fingers.[3]
- Avoid using a brush or comb if possible, as it may cause your hair to frizz. Especially if you don’t want a voluminous look, comb your hair with just your fingers.
- If you need to use a hair tool to work out knots, try a wide-toothed comb.
-
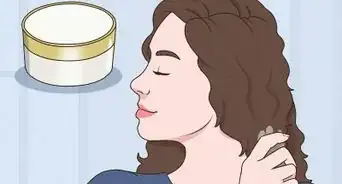
7Style your hair. If you like the way your crimps look, you are all done. Otherwise, consider adding texturing paste or a curl enhancing spray to your look to get more definition. You may want to apply an anti-frizz serum to tame any flyaway hairs that got loose from the braids overnight.
- Use a small amount of hairspray to help hold your style and make it last all day, and try a dry shampoo to keep your scalp looking fresh and stop oil from weighing down your crimp.
Using Curling Rods
-
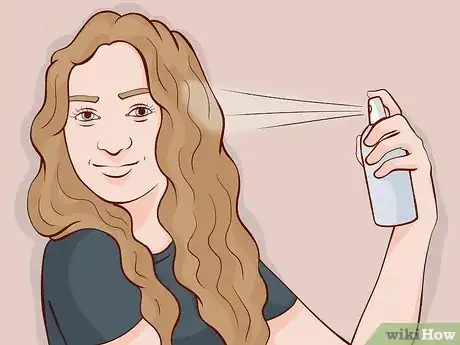
1Wet your hair. Wash your hair before you go to bed, shampooing and conditioning as normal. If you do not want to completely wash your hair, spritz it until it is damp with a spray bottle full of water.
- Towel dry your hair once you come out of the shower so that it is not dripping wet.
-
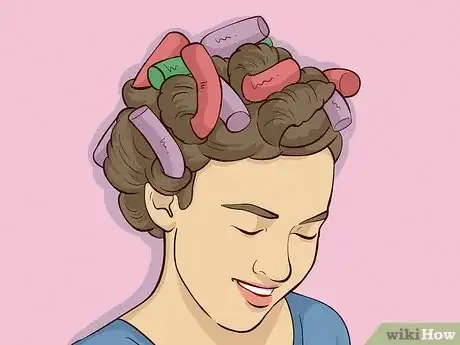
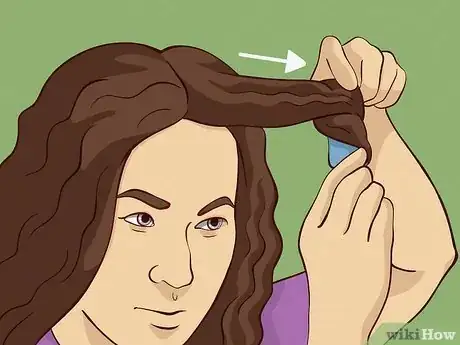
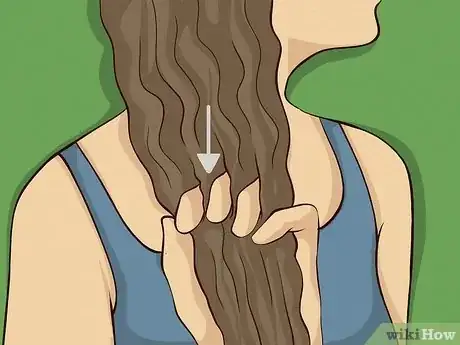
2Divide and twist your hair. Divide your hair into several sections, starting at your natural part and working out. Loosely twist each section from the root down to the tips.
- Divide your hair into more sections depending upon its thickness. Thinner hair will likely two or three pairs of curling rods. Thicker hair may use four or five.
-
3Twist onto the rods.Curling rods are long, thins, bendable rubber rods akin to curlers but meant to get a tighter crimp. Wrap your hair around the length of the rods the same way you would wrap it around a curling iron. The tighter your wrap them, the tighter your crimp will be.
- Start with at least four pairs of rods for medium-textured, shoulder-length hair. Longer or thicker hair may need six or more. Typically longer hair may need a larger rod to hold its weight. Choose the rod size that seems right for your length.
- Secure the rod pairs by bending inward to hold them in place against your head. Try to secure them as high on your head as possible.
- Curling rods are available affordably at most drug stores and beauty supply stores.
-
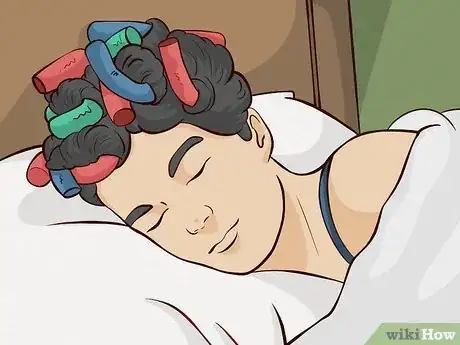
4Sleep on your style. Go to bed with the curling rods in. Allow your hair to dry around the rods while you sleep.[4]
- If the curlers make you uncomfortable while you sleep, adjust them toward the top of your head and away from your pillow.
- Sleeping in a silk cap or scarf on can reduce frizz and keep your hair in place while your sleep.
-
5Unroll your hair. When you wake up, gently remove the rollers and slip your hair off of the rollers. Shake your curls out with your fingers. Then, style your hair as you would like. [5]
- Keep the crimps tighter by minimizing finger brushing. If you want softer, fuller curls, finger brush your hair more.
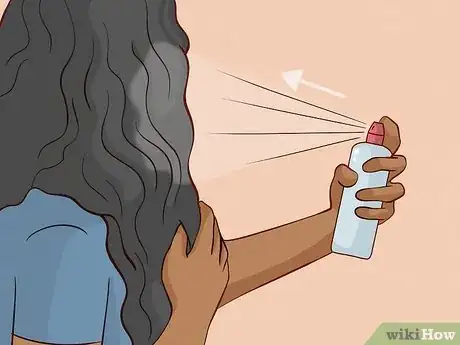
- Use a bit of mousse or hairspray to help hold your curls. Finish with a bit of anti-frizz serum or a shine spray.
Curling with a Headband
-
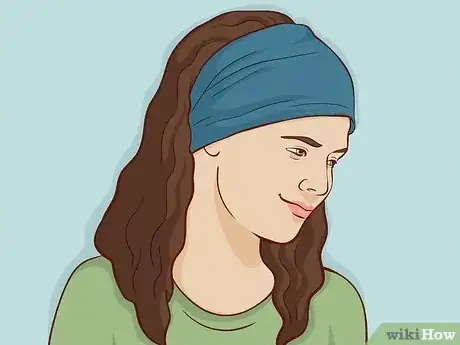
1Dampen your hair. This style works best when your hair is damp but not wet. Take a shower and let your hair dry most of the way, or spritz it damp with a spray bottle of water.
- Soak up any excess water from the shower or the spray bottle by using a clean, dry towel.
-
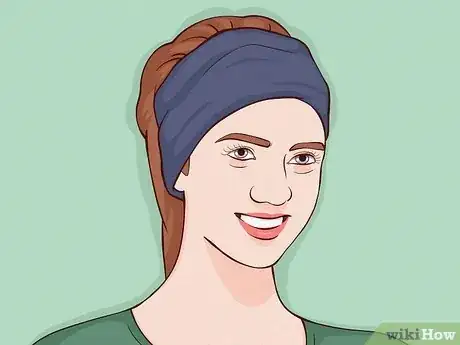
2Secure your headband. Use a sports headband or any other fabric headband that wraps all the way around your head. Pull the headband up around your hairline.[6]
- If the headband won’t stay in place, use a couple of bobby pins on either side of your head to secure it.
-
3Separate your hair. Divide the hair behind the headband in two sections from your forehead to the back of your head. Try to keep the divide as close to the middle of your head as possible.[7]
- Use a rattail comb to help you split your hair up evenly.
-
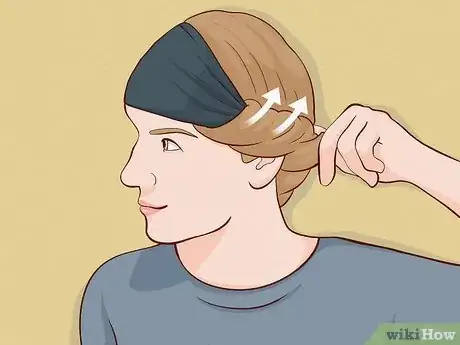
4Wrap your hair around the headband.[8] Working in small sections, wrap your hair around the bottom of the headband. Start the wrap near your ear, and work back toward the middle of the headband.
- Wrap one side completely before moving onto the next.
- Secure any loose parts with bobby pins.
-
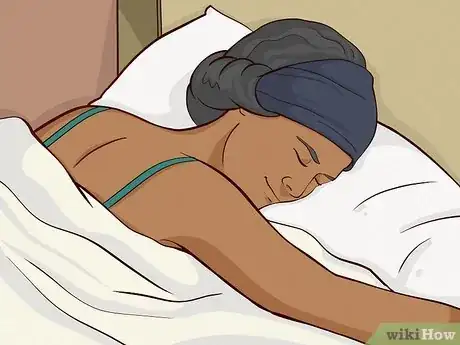
5Sleep on your hair. Allow your hair to dry completely while wrapped around the headband. Use a blow dryer on a cool, low setting to finish drying your hair if it isn’t complete by morning.
- Use a heat protective spray if you decide to blow dry your hair.
-
6Unwrap your hair. Unwind your hair from around the headband. Shake out your curls and style lightly with hairspray to hold the shape.
- Use your fingers or a wide tooth comb to brush out your hair and loosen the curl.
Community Q&A
-
QuestionHow to I keep it from getting frizzy and poofy?
 Community AnswerFrizz may naturally occur from any hairstyle that you sleep on. It is easily remedied in the morning, however, by applying a small amount of anti-frizz serum using the palms of your hands. To keep hair from poofing, avoid using a brush on the curled hair. Finger brush whenever possible, and use a shower comb or wide-toothed comb to remove knots.
 -
QuestionHow do I make it stay crimped the next day if my hair is super thick?
 Community AnswerPut it in layered plaits when it's wet. Coat in hairspray and sleep. Take the plaits out in the morning, add some more hairspray, and you should be good.
Warnings
- Don't brush wet hair because this can cause breakage in the hair follicles.⧼thumbs_response⧽
Things You'll Need
- A brush
- Hair ties
- Fabric headbands
- Bobby pins
- Curling rods
- Wide tooth comb
- Hair clips
References
- ↑ http://www.xovain.com/hair/overnight-braids-for-wavy-hair
- ↑ https://www.bustle.com/articles/71098-i-crimped-my-hair-without-heat-and-it-turned-out-way-cuter-than-i-thought-it
- ↑ https://www.bustle.com/articles/68794-how-to-get-wavy-hair-overnight-broken-down-by-4-different-types-of-braids-you-can
- ↑ http://www.xovain.com/hair/flexi-rods
- ↑ https://www.bustle.com/articles/77295-how-to-style-naturally-curly-hair-according-to-13-real-women-with-diverse-hair-textures
- ↑ https://www.bustle.com/articles/145902-i-tried-the-headband-curling-method-this-is-what-happened-photos
- ↑ http://www.cutegirlshairstyles.com/hairstyles/time/5-10mins/headband-curls-no-heat-hairstyles/
- ↑ http://www.abeautifulmess.com/2016/01/overnight-no-heat-curls.html


-Step-12.webp)
