This article was co-authored by wikiHow staff writer, Nicole Levine, MFA. Nicole Levine is a Technology Writer and Editor for wikiHow. She has more than 20 years of experience creating technical documentation and leading support teams at major web hosting and software companies. Nicole also holds an MFA in Creative Writing from Portland State University and teaches composition, fiction-writing, and zine-making at various institutions.
The wikiHow Tech Team also followed the article's instructions and verified that they work.
This article has been viewed 132,637 times.
Learn more...
If you recently upgraded to a new version of Windows, you may have noticed a huge folder called Windows.old on your hard drive. This folder contains a copy of the previous version of Windows in case you need to roll back your upgrade. Windows.old is automatically deleted 10 days after the upgrade (or 28 days for older versions), but you can delete it early if you're running low on disk space and are 100% sure you won't want to go back. This wikiHow article will show you 3 easy ways to remove Windows.old: Using the Storage area of your Settings, the Disk Cleanup tool, and the Command Prompt.
Things You Should Know
- On Windows 10 and 11, go to Settings > System > Storage > Temporary Files, select "Previous versions of Windows," and click "Remove Files."
- You can use Disk Cleanup on any version of Windows (from Windows 7 through 11) to delete your previous Windows installation.
- If you can't delete Windows.old or have multiple Windows.old folders, you can forcefully delete them using the Command Prompt.
Steps
Using Storage Settings (Windows 10 & 11)
-
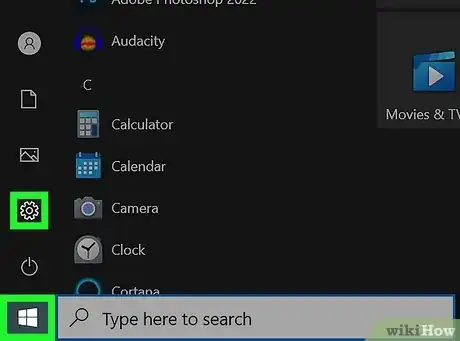
1Open your Windows Settings. You can do this easily by clicking Settings or the gear icon in your Windows Start menu.
- On both Windows 10 and 11, Windows.old and other previous operating system files are deleted automatically 10 days after the upgrade.[1]
- You can delete Windows.old early to reclaim several gigabytes of disk space. Just keep in mind that you won't be able to downgrade to your previous Windows version if you change your mind.
-
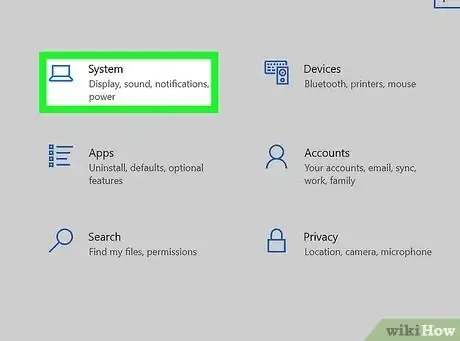
2Click System. If you're using Windows 11, it'll be at the top of the left panel. On Windows 10, you'll see the system icon in the main panel.Advertisement
-
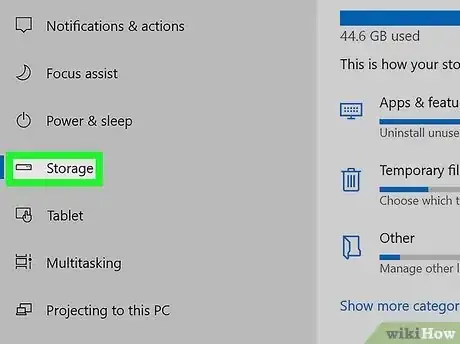
3Click Storage. Once you click this option, Windows will take a few moments to analyze your hard drive(s) and display how you're utilizing your disk space.
-
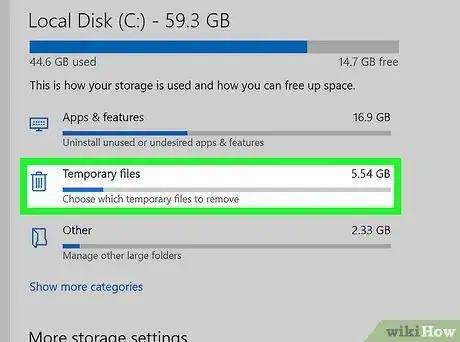
4Click Temporary Files. You'll see this under your main hard drive.
-
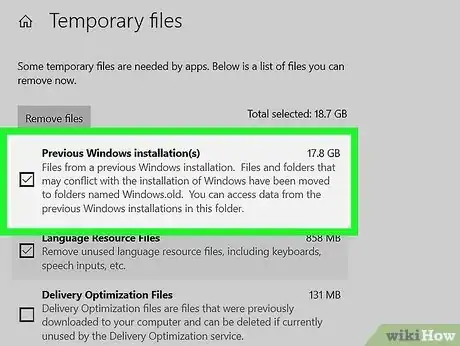
5Check the box next to "Previous version of Windows." If you've recently upgraded, you'll see this option in the list.
- If you don't see this option but still have a Windows.old folder, use this method to delete it.
- Remove the checkmarks from any other file types that you don't want to delete. For example, if you don't want to delete the files in your Downloads folder, remove the checkmark from the "Downloads" box.
-
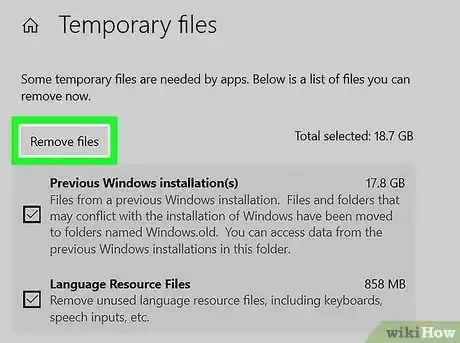
6Click Remove files. You'll see this button above the list. A confirmation pop-up will appear.
-
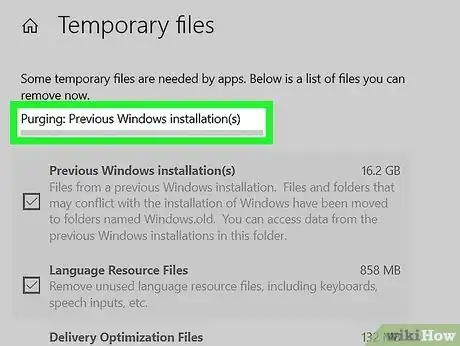
7Click Continue to confirm. This removes all selected files, including the Windows.old folder that contains your previous version of Windows.
- Shopping for a new computer? Take a look at our coupon site for HP product discounts.
Using Disk Cleanup
-
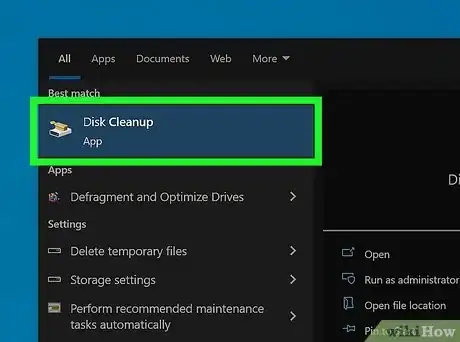
1Open the Disk Cleanup utility. This utility will delete the Windows.old folder on any version of Windows, including Windows 7. There are a couple of different ways you can open it.
- On Windows 8, 10, and 11, you can press Windows key + S, type cleanup, and then click Disk Cleanup.
- You can also press Windows key + R, type cleanmgr, and press Enter.
- Another way is to open the Control Panel, select "System and Security", click "Administrative Tools, then select Disk Cleanup.
-
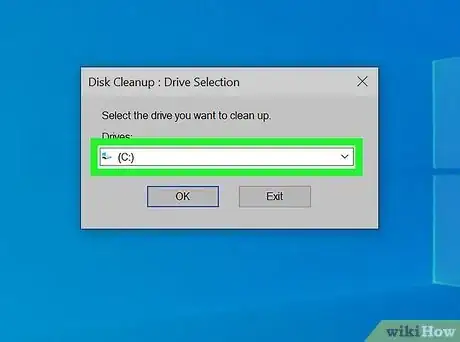
2Select the drive that contains the Windows.old folder. This is usually the C: drive.
-
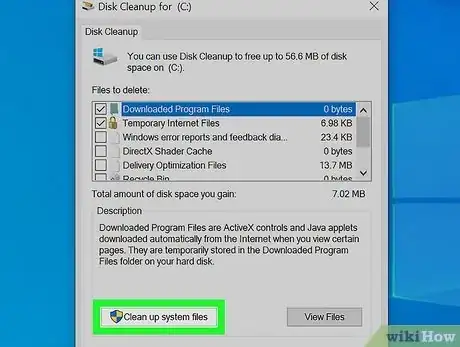
3Click the Clean up system files button. You may be prompted for the administrator password.
-
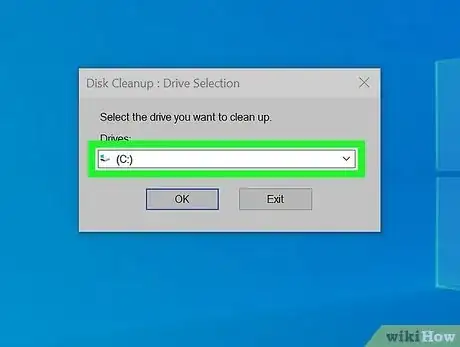
4Select your drive again if prompted. Disk Cleanup will scan the drive again.
-
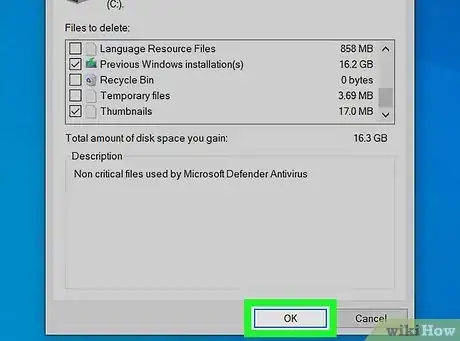
5Check the "Previous Windows installation(s)" box. You can also check the boxes for any other types of files on the list you want to remove.
- If you don't want to delete any other files, remove the checkmarks from other selected options now.
- If you don't see this option but still have a Windows.old folder, see this method.
-
6Click OK. This deletes Windows.old and all previous operating system files from your PC. [2]
Using the Command Prompt
-
1Try another method first. If you've already tried to delete Windows.old (or have multiple Windows.old files ending with different numbers) and were unsuccessful, you can use the Command Prompt to permanently delete the files.
-
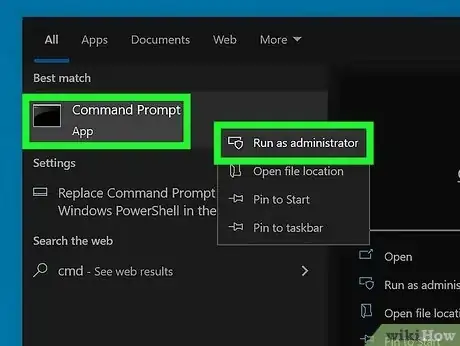
2Open the Command Prompt as an Administrator. To do this, type cmd into the Windows search bar, right-click Command prompt, then select Run as Administrator.
-
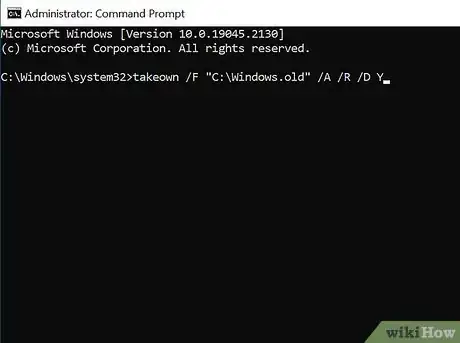
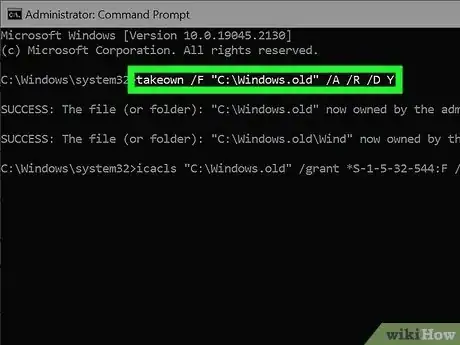
3Take ownership of the file. To do this, type takeown /F "C:\Windows.old" /A /R /D Y and press Enter.
- If your Windows.old folder is not on the C drive, replace C: with the correct drive letter.
-
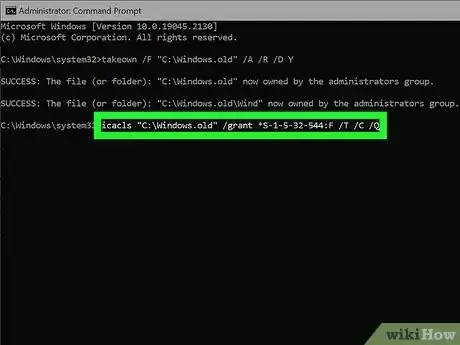
4Change the permissions to allow deletion. To do this, type icacls "C:\Windows.old" /grant *S-1-5-32-544:F /T /C /Q and press Enter.
-
5Use the RD command to delete Windows.old. Type RD /S /Q "C:\Windows.old" and press Enter to permanently delete the folder.
-
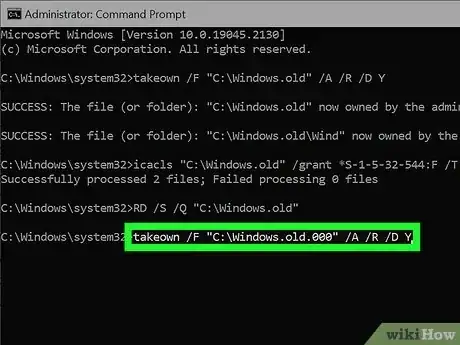
6Repeat for additional Windows.old folders. If you have multiple Windows.old folders, run all of these commands for each of them. For example, takeown /F "C:\Windows.old.000" /A /R /D Y.
Community Q&A
-
QuestionHow can I remove an old Windows?
 ッRosie~DosieッCommunity AnswerYou can't remove the old Windows system, but you can upgrade to a newer version if you wish.
