This article was co-authored by Karen Leight and by wikiHow staff writer, Amber Crain. Karen Leight is a Professional Hair Stylist and the Owner of Karen Renee Hair, a private salon suite inside the Salon Republic Hollywood in Los Angeles, California. With over 12 years of experience, Karen is a licensed cosmetologist specializing in hair color, balayage technique, and women’s and men’s precision haircuts.
There are 7 references cited in this article, which can be found at the bottom of the page.
This article has been viewed 311,149 times.
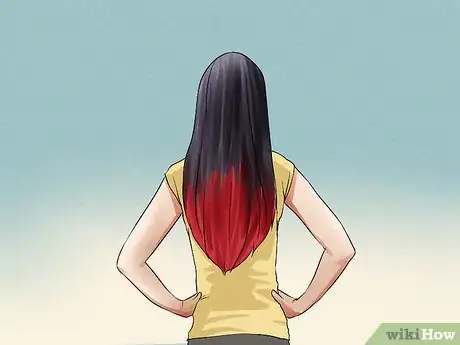
Deep black hair with vibrant red color underneath is a very popular look. If you want to do a multi-color dye job at home, be prepared to set aside five or six hours to complete the entire process. The black top layer is dyed first, and then the red layer is dyed afterward. Dyeing your hair black is fairly straightforward, even if you’ve never done it before. However, the red layer takes quite a bit more work, since you have to bleach your hair before you add the red dye. Make sure you are well-prepared for this process before you begin.
Steps
Figuring Out the Logistics
-
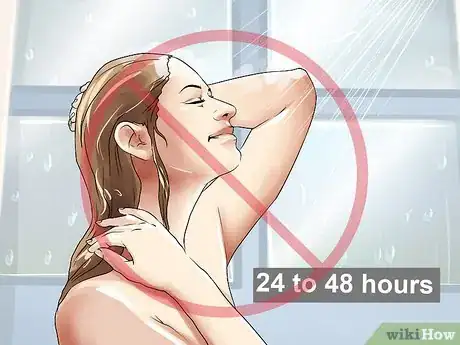
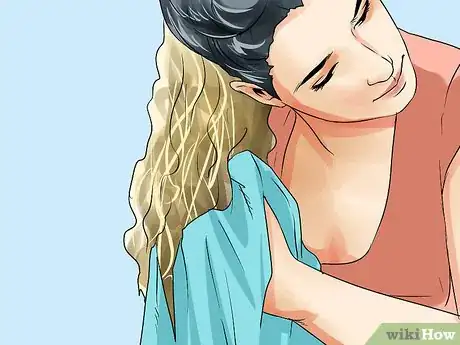
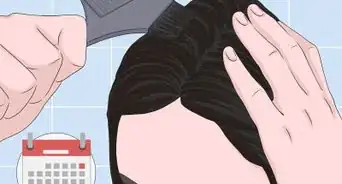
1Avoid washing your hair 24 to 48 hours before dyeing it. Your hair may feel a little greasy beforehand, but try to tough it out. The natural oils present in unwashed hair will help to protect your scalp and roots from the hair dye, especially when you get to the red layer.[1] The hair dye will also penetrate your hair better and the results will be more vibrant if your hair isn’t squeaky clean when you color it.
- If you must wash your hair before you dye it, use shampoo only and skip the conditioner. Hair dye has a hard time attaching itself to recently conditioned hair.
-
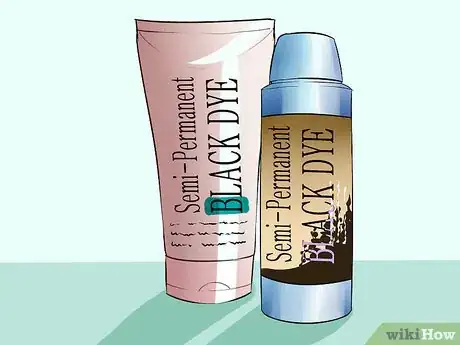
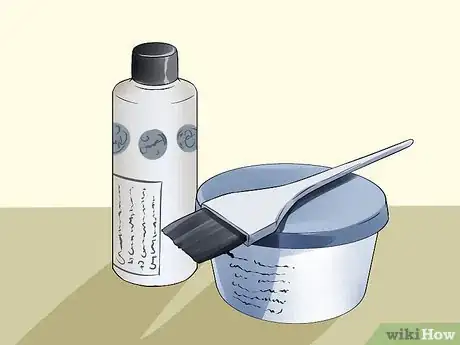
2Use a high quality semi-permanent or permanent black dye. Skip the grocery store aisle and pick up your dyes at a beauty supply store. These dyes are usually salon-grade products and will produce better results. Opt for liquid formulas over mousse formulas for this – liquid black dye will result in a darker and more opaque black than a mousse formula.[2]
- If you’ve never dyed your hair before, use a semi-permanent black dye the first time. If you’re more experienced, feel free to use permanent color.
- If you are a natural blonde, you may want to dye your hair dark brown first, then black. Sometimes black dye on naturally blonde hair can result in a greenish tinge.
Advertisement -
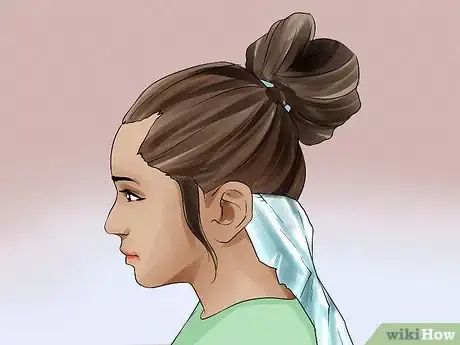
3Decide how thick you want the black top layer to be. How much black and how much red you want is a completely personal choice – there is no “right” way to create this look. As a general rule of thumb, you can start by putting your hair in a half-ponytail. Scoop it all up, starting at your ears, and hold it back in the same place you’d put a ponytail.
- For a slightly more subtle result, pick up a little more hair after you have it in a half-ponytail. For example, you can part your hair at the nape of your neck. That way, you'll have much more hair to dye black than you do red.
- Make sure to evaluate the different thickness options before you begin dyeing. It’s best not to make any impulse decisions when you’re in the middle of the process.
-
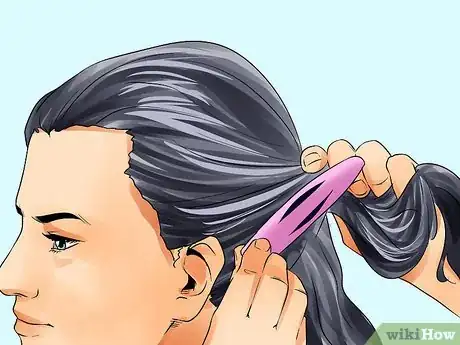
4Separate the top layer from the bottom with clips. Use a hand mirror or have a friend help you so that everything looks even after you separate the top layer from the bottom. Clip your hair firmly into place to avoiding having to deal with wispy pieces falling down while you’re coloring it.
- Make sure that you clip back all of the face-framing pieces of your hair. These pieces need to be dyed black so that the red layer will appear to be “underneath” the black layer.[3]
-
5Use tin foil to protect the bottom layer of your hair from black dye. Line a sheet of foil up directly beneath the top layer of your hair. It should hang down over the bottom layer. Make sure the foil extends down at least half the length of your hair. Curl the edges of the foil over the sides of your hair. Clip the foil in place on each side, so the foil will stay in place.[4]
- The foil should be right beneath the top layer, protecting the uppermost part of the bottom layer.
- If you feel confident that you can apply the black dye without getting it on the bottom layer of your hair, you can skip the foil.
Dyeing the Black Layer
-
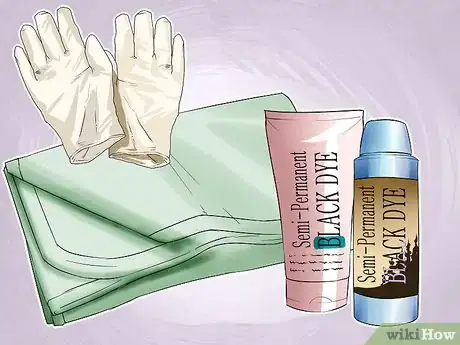
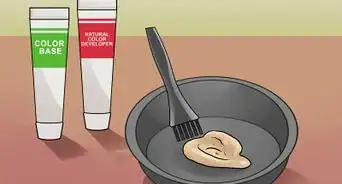
1Prepare the dye and your work area. Follow the instructions that came with the dye for mixing and developing it. Wear gloves the entire time and keep a towel secured around your shoulders to protect your skin. To protect the dye from staining your face, apply a thick lotion or a layer of petroleum jelly around your hairline before you begin.
- You can use a hairdresser's cape instead of a towel if you have one.
-
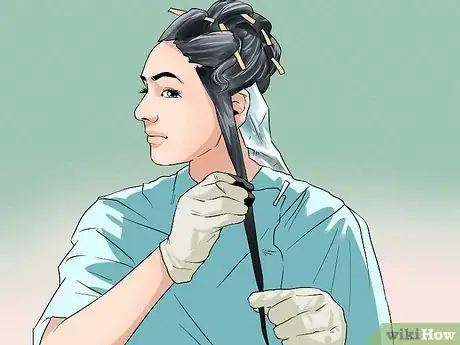
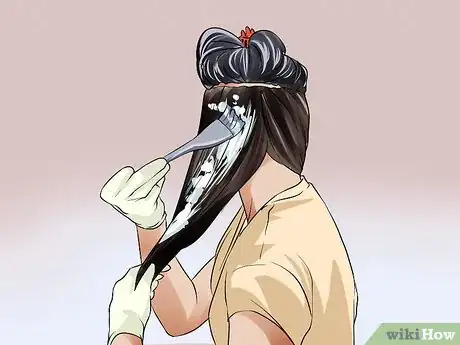
2Pull a chunk of hair out of the clips and apply the dye. Start in the front of your hair and work with one section of hair at a time. Pull a chunk of your hair out of the clip and apply the black dye to the section, taking care to saturate your hair with the dye from root to tip. Use bobby pins or hair clips to pin the finished sections out of the way so you can easily get to the rest.[5]
- If you have thick hair, you may need to separate the sections into smaller sections that are about 1 inch (2.5 cm) thick.
- You can twist each completed section into a mini-bun and pin the sections like that, if you like.
-
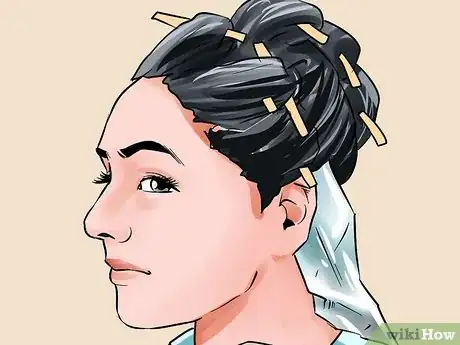
3Finish applying the black dye to your top layer. Pin the sections up as you finish them so that they are kept away from the bottom layer of your hair. Follow the directions included with the box of dye and leave it on your hair for the recommended length of time. Keep a towel wrapped around your shoulders in case the dye drips onto your skin.
- As soon as you finish applying the dye, set a timer for the time span the product recommends.
-
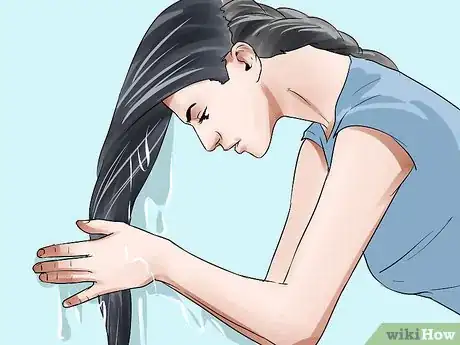
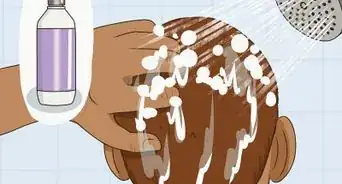
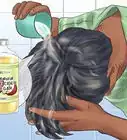
4Rinse out the black dye. Before you rinse the dye out, gather the bottom layer of your hair and secure it in a low ponytail. This will keep it out of the way as you finish with the top section. You will need to lean forward and put your head under the water stream to rinse out the dye. Once you’re leaning forward, remove the clips and bobby pins and start rinsing your hair.
- Don’t get the bottom layer of your hair wet and keep it out of the way.
- It may be easier if you have a friend help you with this part.
- Rinse your hair until the water runs clear.
-
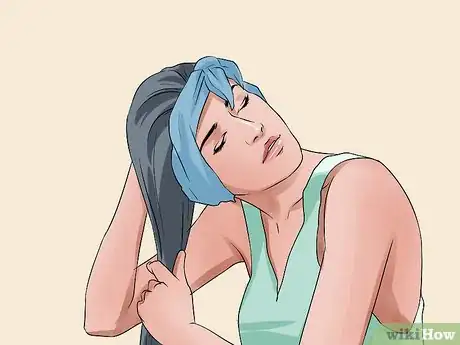
5Dry your top layer of freshly dyed black hair. Squeeze out the excess water, then put a towel in between the top layer and the bottom layer. Flip your hair over and it will fall on the towel without touching the bottom layer of your hair. Squeeze out as much water as you can and towel dry it gently. Blow dry the top layer of your hair as you normally would.
- Keep the bottom portion of your hair in the low ponytail throughout this process.
- After your black layer is completely dry, clip the hair up again so that you can move on to dyeing the bottom layer.
Bleaching and Dyeing the Red Layer
-
1Prepare the bleach. Most of the bright, unnatural dye colors available are semi-permanent dyes. Unless you have natural light blonde hair, you will need to bleach the bottom layer of your hair before you dye it red for the color to show up. If you apply red semi-permanent dye to your hair without bleaching it first, the color will be nearly undetectable.[6] Consider seeing a professional for bleaching, especially if you’ve never done it before.
- Bleaching is not as easy as dyeing your hair. Far more chemicals are involved and these chemicals can burn your skin and severely damage your hair.
-
2Bleach the bottom layer of your hair. Begin with completely dry hair – never bleach damp or wet hair.[7] Read the directions that came with your bleach product carefully. Follow them exactly. Wear the gloves provided and be extremely careful while you apply the bleach and when you rinse it out. Rinse the bleach out with lukewarm water until the water runs clear.
- Make sure you are working in a well-ventilated area, since bleach fumes are quite strong.
-
3Towel dry the bottom layer gently. Run a wide-toothed comb through your hair to remove any tangles. Let your hair air dry about halfway before moving on to the red dye. You don’t want to apply the red to completely dry hair, but it shouldn’t be soaking wet either.[8]
-
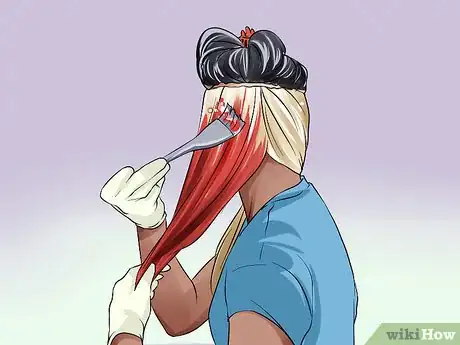
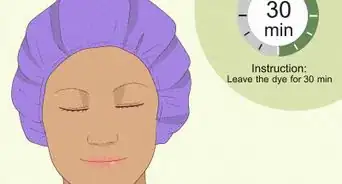
4Dye the bottom layer with red semi-permanent dye. Read and follow the directions for application. Place an old towel around your shoulders before you begin to protect your body. Once you’ve got the red dye on your hair, leave it on for the time recommended on the directions.
- Semi-permanent dye is not damaging to the hair, and the longer you leave it on, the brighter the red will be.[9]
-
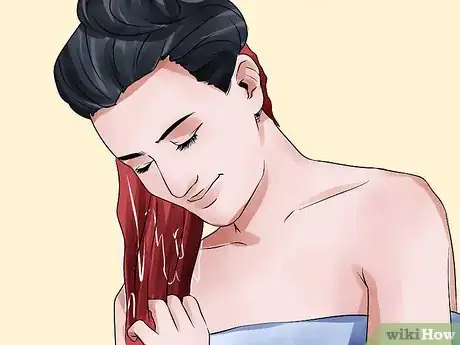
5Rinse out the red dye with cool water. You should still have your top layer securely clipped on top of your head. Follow the directions that came with the dye for rinsing it out. You may need to rinse it out with your head turned sideways beneath the faucet to avoid wetting the rest of your hair. Keep rinsing until the water runs clear.[10]
- Gently towel dry your hair. Allow it to air dry or take down the top layer and style your hair as you normally would.
- You may want to avoid sleeping on a light-colored pillowcase for a few days to avoid staining.
- Be sure to use cool water, as it seals your cuticle and locks in the color.
Maintaining Your Hair Color
-
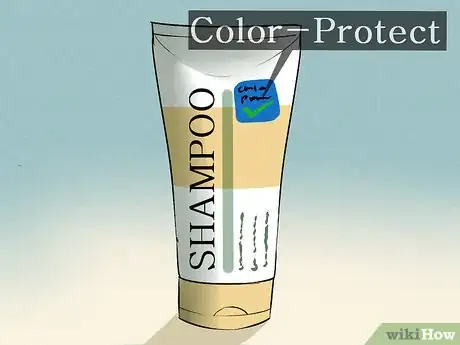
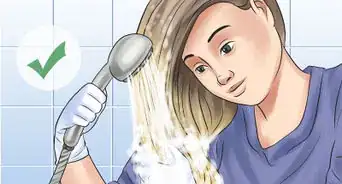
1Protect your hair color from fading. Vibrant hair dyes fade easily. Do everything you can to preserve your color for as long as possible. Use sulfate-free hair products. Look for shampoos and conditioners that advertise as being “color-protecting.” Wash your hair less frequently and always do so in cold water.[11]
- You can use dry shampoo in between your normal washes, if needed.
- Avoid getting your hair wet in a swimming pool, since chlorine can wreak havoc on vibrant colors.[12]
-
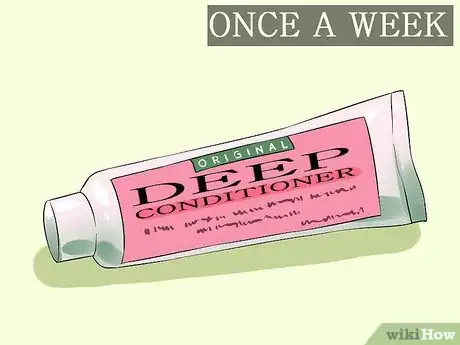
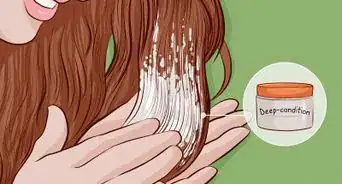
2Use a deep conditioner one to two times per week. Bleach dries hair out and, if you aren’t careful, it can damage it and cause significant breakage. Once you start bleaching your hair, you must take very good care of it to maintain its health. Get a good deep conditioner and apply it one or two times per week.
-
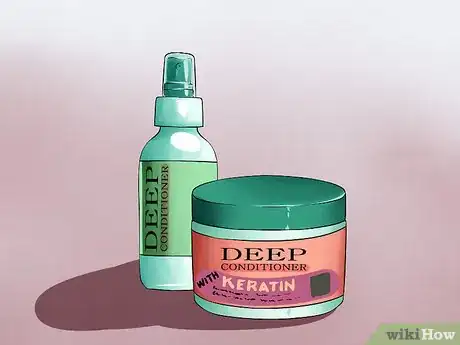
3Use a deep-conditioning mask once per week. Hair masks are similar to deep conditioners because they are highly moisturizing, but they usually include proteins and other ingredients formulated to strengthen your hair. A weekly deep-conditioning mask can help to rehydrate dry hair and restore hair cuticles that have been damaged by the bleaching process.
- Look for products that contain ingredients like glycerin, vitamin E, shea butter, proteins, Argan oil, keratin, avocado oil, Moroccan oil and coconut oil.[13]
-
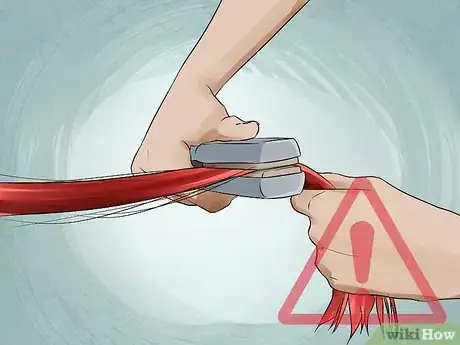
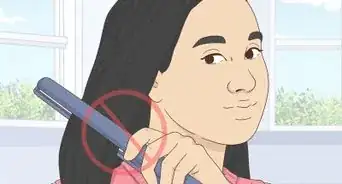
4Avoid heat-styling your hair as much as possible. Heat opens the hair cuticle and lifts the color out, so limit your use of blow dryers, flat irons and curling irons. When you are using these tools, make sure to use a heat protectant spray on your hair first. It will create a barrier between your hair and the heat.
- After bleaching, your hair is going to be much drier than before. This means it can burn more easily. Use heated tools with care.[14]
-
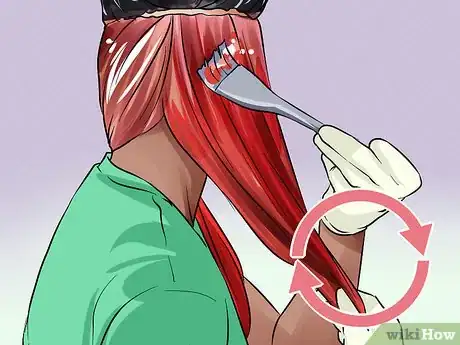
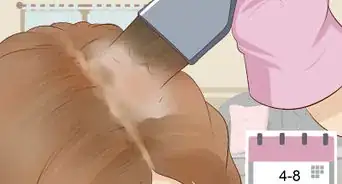
5Reapply the red semi-permanent dye when the color starts to fade. Vibrant colors will begin to fade within a few weeks, unfortunately. However, to revive the red color, you won’t need to repeat the bleaching process – at least, not for a while. Simply apply the red dye to your faded hair and rinse it out as you did the first time.[15] Depending on how well your hair originally took the red dye, you may need to refresh your color as frequently as every other week.[16]
- After the first time you color your hair, you will only need to dye your new growth. You can also refresh the previously colored hair if you want to.
- Do not bleach your hair every time you need to touch up the color. This will severely damage your hair. You only need to apply bleach when dyeing new growth.
- Pay attention to the condition of your hair and only repeat the bleaching process when it’s healthy and strong enough to withstand the harsh chemicals.
Expert Q&A
Did you know you can get expert answers for this article?
Unlock expert answers by supporting wikiHow
-
QuestionCan you color black hair red without bleaching it?
 Laura MartinLaura Martin is a Licensed Cosmetologist in Georgia. She has been a hair stylist since 2007 and a cosmetology teacher since 2013.
Licensed Cosmetologist
-
QuestionCan you dye black hair blonde?
 Laura MartinLaura Martin is a Licensed Cosmetologist in Georgia. She has been a hair stylist since 2007 and a cosmetology teacher since 2013.
Licensed Cosmetologist
-
QuestionCan you dye brown hair red?
 Laura MartinLaura Martin is a Licensed Cosmetologist in Georgia. She has been a hair stylist since 2007 and a cosmetology teacher since 2013.
Licensed Cosmetologist
References
- ↑ http://www.alternativecontrolct.com/fashion/tips-and-tricks-for-dyeing-your-hair-interesting-colors/
- ↑ http://www.byrdie.com/how-to-dye-hair-at-home-tips-tricks-2014/slide5
- ↑ http://youqueen.com/beauty/hair/rainbow-hair-dye-do-it-yourself/
- ↑ http://www.autostraddle.com/how-to-dye-your-own-hair-every-color-youve-ever-wanted-at-once-251792/
- ↑ http://youqueen.com/beauty/hair/rainbow-hair-dye-do-it-yourself/
- ↑ http://www.bcpl.org/undiscovered/10-things-to-know-before-you-color-your-hair-blue/
- ↑ http://www.alternativecontrolct.com/fashion/tips-and-tricks-for-dyeing-your-hair-interesting-colors/
- ↑ http://www.alternativecontrolct.com/fashion/tips-and-tricks-for-dyeing-your-hair-interesting-colors/
- ↑ http://www.alternativecontrolct.com/fashion/tips-and-tricks-for-dyeing-your-hair-interesting-colors/
- ↑ http://www.alternativecontrolct.com/fashion/tips-and-tricks-for-dyeing-your-hair-interesting-colors/
- ↑ http://www.bcpl.org/undiscovered/10-things-to-know-before-you-color-your-hair-blue/
- ↑ http://stylecaster.com/beauty/dyeing-your-hair/
- ↑ http://www.racked.com/2015/6/11/8757391/guide-at-home-hair-dye
- ↑ http://www.racked.com/2015/6/11/8757391/guide-at-home-hair-dye
- ↑ http://stylecaster.com/beauty/dyeing-your-hair/
- ↑ http://www.bcpl.org/undiscovered/10-things-to-know-before-you-color-your-hair-blue/
