This article was co-authored by wikiHow staff writer, Nicole Levine, MFA. Nicole Levine is a Technology Writer and Editor for wikiHow. She has more than 20 years of experience creating technical documentation and leading support teams at major web hosting and software companies. Nicole also holds an MFA in Creative Writing from Portland State University and teaches composition, fiction-writing, and zine-making at various institutions.
The wikiHow Tech Team also followed the article's instructions and verified that they work.
This article has been viewed 20,198 times.
Learn more...
This wikiHow teaches you how to open and edit a PSD (Photoshop Document) file in Windows or macOS. If you don’t have Adobe Photoshop, you can use a free alternative like GIMP, but you may lose the ability to edit some layers.
Steps
Using Adobe Photoshop
-
1Open Adobe Photoshop.
- Windows: A quick way to do this is to click the Search icon (usually a circle or magnifying glass) to the right of the Start menu, type photoshop into the search bar, then click Adobe Photoshop.
- macOS: you should find it in the Applications folder.
-
2Click the File menu. It’s at the top-left corner.Advertisement
-
3Click Open. It’s the second option in the menu. This opens your computer’s file browser.
-
4Select the PSD file and click Open. The contents of the file will now appear in Photoshop.
-
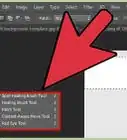
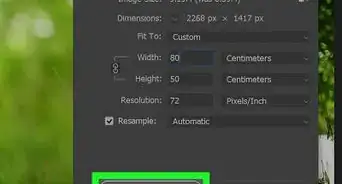
5Edit the file. The steps vary depending on what you want to do with the file. Here are some ideas to get you started:
- Resize an Image in Adobe Photoshop
- Adjust Images Automatically Using Photoshop
- Use Adobe Photoshop
-
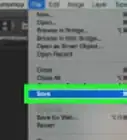
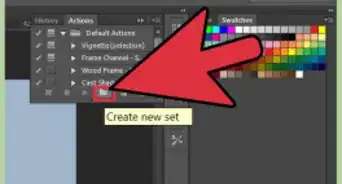
6Save the file. There are various ways to do this depending on your needs:[1]
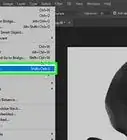
- If you want to keep the file as a PSD, click the File menu and select Save.
- To save the image as a different type of file (such as a JPEG or PNG, both of which can be opened and edited in any image editor), click File, select Save As, select your desired format from the "Format" or "Save As Type" menu, then click Save.


Using GIMP
-
1Install GIMP for Windows or macOS. GIMP is a free image editor that is capable of opening Photoshop files. This is a great option when you don’t have Photoshop installed on your computer.
- To learn how to install GIMP, see Install GIMP.
- Because PSD files are specific to Photoshop, you won’t be able edit text layers in a PSD using GIMP. You can replace these layers with editable ones, but you’ll need to create them from scratch and then type your text all over again.[2]
-
2Open GIMP. If you’re using Windows, type gimp into the Windows search bar, then click GIMP to launch the app. If you have macOS, double-click GIMP in the Applications folder.
- It may take a while to open GIMP for the first time because it has to scan your computer for files and fonts.
-
3Click the File menu. It’s at the top-left corner of the screen.[3]
-
4Click Open. Your computer’s file browser window will appear.
-
5Select the PSD file and click Open. The image is now open in GIMP.
-
6Edit the image as needed. The steps vary depending on what you want to do. Here are some ideas to get you started:
- Crop an Image Using GIMP
- Edit Photos With GIMP
- Add Layers in GIMP
-
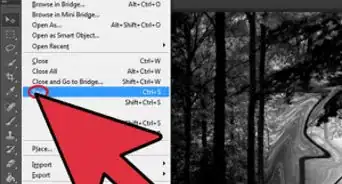
7Save your edited file. The steps to do this depend on how you want the file to be saved:
- To save the file as a PSD, you’ll have to export it as a Photoshop image. Here’s how:
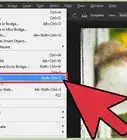
- Click the File menu and select Export As.
- Select Photoshop image (*.psd) from the ″All export images″ drop-down menu.
- Select a saving location and click Export.
- To save as a GIMP file, which supports layers:
- Click the File menu and select Save As.
- Select GIMP XCF image (*.xcf) from the ″All XCF images″ drop-down menu.
- Select a saving location and click Save.
- To save the file as a more widely-compatible type, such as JPEG or PNG (lower quality but smaller file sizes):
- Click the File menu and select Export As.
- Select a format from the drop-down menu.
- Select a saving location and click Save.
- To save the file as a PSD, you’ll have to export it as a Photoshop image. Here’s how:


References
About This Article