wikiHow is a “wiki,” similar to Wikipedia, which means that many of our articles are co-written by multiple authors. To create this article, 9 people, some anonymous, worked to edit and improve it over time.
The wikiHow Tech Team also followed the article's instructions and verified that they work.
This article has been viewed 179,726 times.
Learn more...
The GNU Image Manipulation Program (commonly referred to as "GIMP") is a free and open source image editing application. The software is full-featured, allowing both basic and intricate changes to be made to digital images. Like the popular image editing application Adobe Photoshop, GIMP allows the user to construct images in multiple layers. Each layer consists of 3 color channels and an alpha channel that governs transparency. In this way, images can be composed of "stacked" layers that each contain a small piece of the overall image, such as a line of text. Learning how to add layers in GIMP is essential to being able to use the program to its full potential.
Steps
-
1Open GIMP. Do this by navigating to GIMP's icon in the Windows Start menu or clicking on its desktop shortcut. On Mac OS X, double-click on GIMP's icon in the "Applications" folder.
-
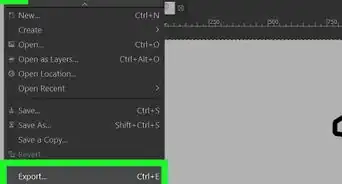
2Create a new image. To do this, click on the "File" menu on the application's task bar, and then click "New." A dialog box will appear that will ask you to specify the dimensions of the new image. Specify them as desired, and then click "OK" to create the image.Advertisement
-
3Make sure the Layers dock is visible. To manage the layers of the image you are working with, you must use the Layers dock. By default, this dock is open and located on the far right side of the application's window. If it is not open, click on "Windows" on the main task bar and select "Dockable Dialogs." Select "Layers" from the menu that appears.
- By default, new images are created with a single layer called "Background." You should see this layer listed in the Layers dock.
-
4Add a new layer to the image. This can either be done by clicking the small "New Layer" icon in the Layers dock, or by selecting "New Layer" from the "Layer" menu on the task bar. Either option will generate a dialog box asking you to specify the layer's name, size and color. Note that all of these characteristics can be changed later. Click "OK" to add the layer.
-
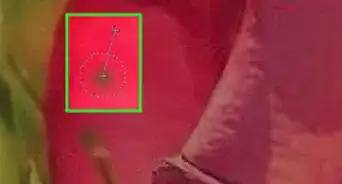
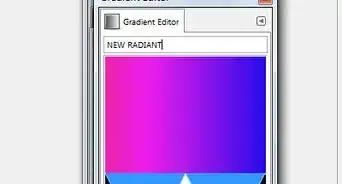
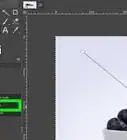
5Add content to each layer. By placing each bit of your image's content on a separate layer, you can move or edit these bits of content independently of one another; this is why layers are so useful. To do this, select the desired layer first by clicking on its name in the Layers dock. Then, add the content (text, gradient, et cetera) to the main workspace. The content will then be associated with that layer.
-
6Order the layers of your image as desired. The order of your layers is important. For example, if a completely opaque layer is covering another layer, the lower layer will not be visible at all. To reorder your image's layers, click on their names in the Layers dock and drag them to a different spot in the list. Layers at the top of the list will appear in the foreground of your image, while layers at the bottom make up the background.
-
7Finished.


Community Q&A
-
QuestionHow can I copy and paste layers in Gimp?
 Community AnswerWhile you have the layer selected, press ctr+c to copy and ctr+v to paste. Alternately, from the menubar, select Edit > Copy. There is also a "duplicate" function accessible under the layer menu or by right clicking on the layers dialog.
Warnings
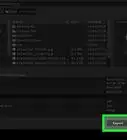
- Note that layers will not be preserved when saving your file in an image format. To be able to work with your layers in the future, you must save your file in the GIMP ".xcf " format.⧼thumbs_response⧽
Things You'll Need
- Computer
- GIMP software